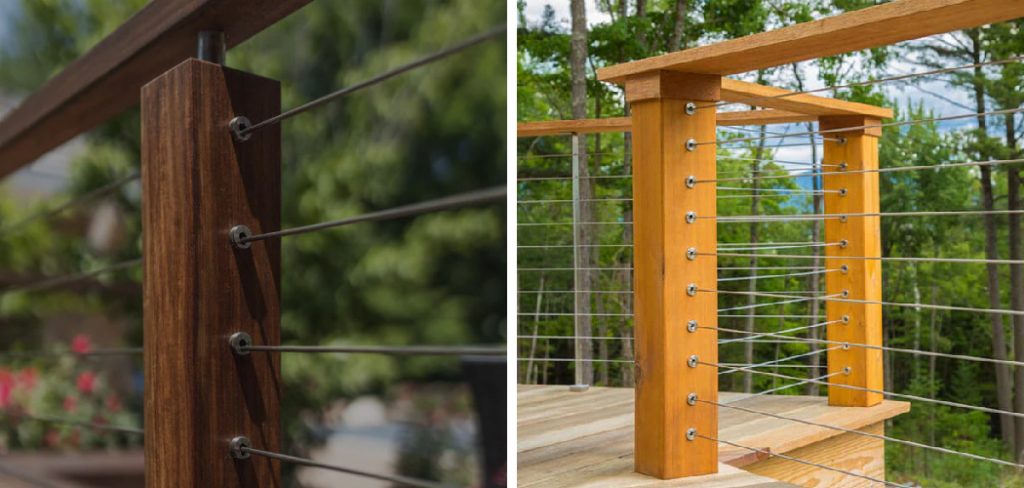
How to Install Cable Railing With Wood Posts
Installing cable railing with wood posts is a simple process that can be completed in a few hours. The railing system consists of posts, cable, and clamps and is perfect for decks, staircases, and other areas where traditional railings may not be practical. This article will show you how to install cable railing with wood posts and provide some tips on choosing the right materials and tools for the job. Let’s get started!
What Causes Cable Railing to Fail?
There are several reasons why cable railing can fail. The most common cause is poor installation. If the posts are not properly secured or the cables are not tensioned properly, the system will be weaker and more likely to fail. O
Another common cause of cable railing failure is improper maintenance. If the system is not regularly inspected and cleaned, corrosion can weaken the metal components and eventually cause the system to fail. Cable railing is also susceptible to damage from weather and ultraviolet (UV) rays. Over time, the sun can cause the plastic components to become brittle and break, and wind and rain can damage the wood posts.
Additionally, snow and ice can build up in the system and cause it to fail. The other main cause of cable railing failure is improper materials. If the wrong type of metal is used for the posts or the wrong type of plastic is used for the clamps, the system will be more likely to fail. Lastly, if the system is not designed properly, it will likely fail.
Why Should You Install Cable Railing With Wood Posts?
There are several reasons why you should install cable railing with wood posts. First, cable railing is much stronger than traditional railings, making it perfect for decks and staircases. Second, the cable railing is low maintenance and does not require regular painting or staining. Third, cable railing is weather resistant and will not rust, rot, or corrode.
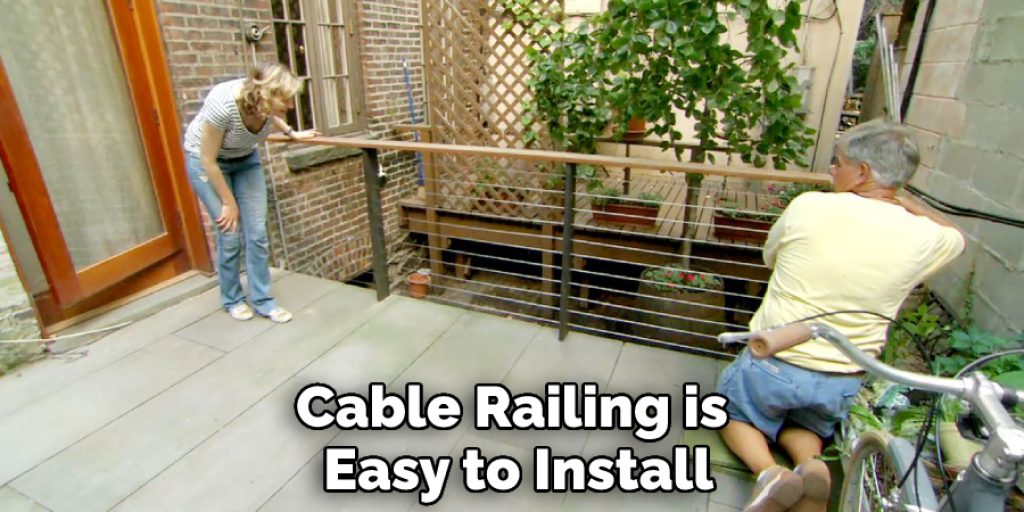
Additionally, the cable railing is easy to install and can be completed in a few hours. If you are looking for a strong, durable, and low-maintenance railing system, cable railing is the perfect solution. Another great thing about cable railing is that it can be customized to fit any space. Whether you have a small deck or a large staircase, cable railing can be made to fit your needs.
Finally, cable railing is an environmentally friendly option as it is made from recycled materials and contains no toxic chemicals.
Tools and Materials Needed
Installing cable railing with wood posts is a simple process that can be completed in a few hours. The tools and materials you will need for the job include:
- Drill
- 1/8″ drill bit
- Hammer
- Measuring tape
- Level
- Saw (reciprocating or miter)
- Cables
- Wood posts
- Plastic or metal clamps
- Screws
- Washers
Step by Step How to Install Cable Railing With Wood Posts
1. Choose the Right Wood Posts
The first step in installing cable railing with wood posts is to choose the right wood for the job. The most important factor to consider is the strength of the wood. The posts must be strong enough to support the weight of the railing system and the people who will be using it.
Additionally, the wood must be properly treated to resist rot and decay. Some good options for treated wood include cedar, redwood, and pressure-treated pine. Avoid using untreated lumber as it will not last as long and is more likely to fail.

2. Measure the Area
Before you begin, you need to measure the area where you will install the railing. This will help you determine the number of posts and the length of the cables you will need. Additionally, it is important to ensure that the posts are evenly spaced so that the system is strong and stable. Use a measuring tape to measure the distance between the posts and mark the location of each post with a pencil.
First, measure the total length of the area. Then, divide this number by the spacing between the posts. This will give you the number of posts you will need. For example, if the area is 12 feet long and you want to space the posts 2 feet apart, you will need six posts.
3. Cut the Posts to Size
Once you have determined the number and spacing of the posts, you need to cut them to size. If you are using pre-cut posts, skip to the next step. Otherwise, use a saw to cut the posts to the correct length. For example, if you are using 6-foot posts and spacing them 2 feet apart, you will need to cut the posts in half. First, measure the length of the post and mark it with a pencil. Then, use a saw to cut the post at the marked location. Repeat this process for all of the posts.
4. Drill Holes in the Posts
Next, you need to drill holes in the posts for the cables. The size of the holes will depend on the diameter of the cables you are using. A 1/8-inch drill bit is a good option for most cables. Begin by drilling a hole in each post at the marked location. If you are using 6-foot posts, you will need to drill two holes in each post—one at the top and one at the bottom.
If you are using shorter posts, you will only need to drill one hole per post. Avoid drilling the holes too close to the edge of the post, as this will weaken the wood.
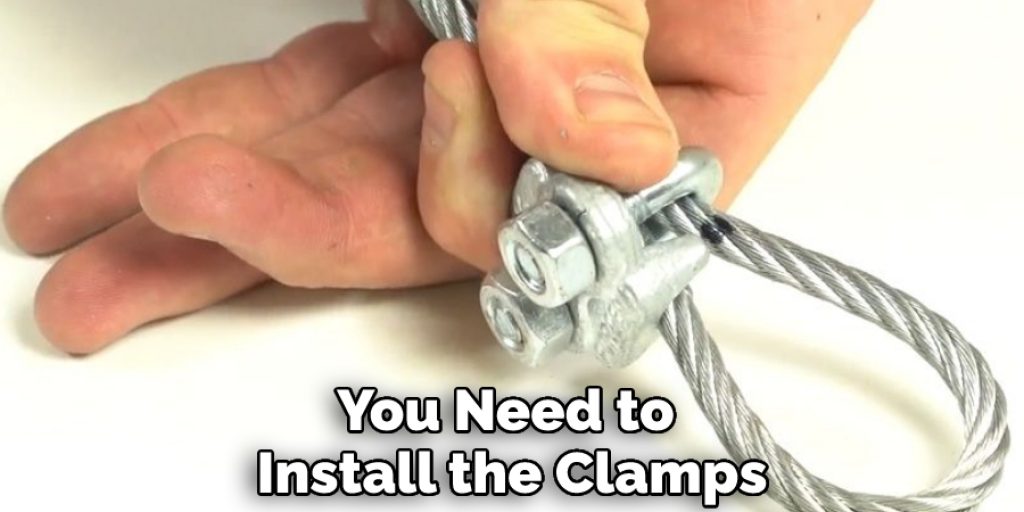
5. Install the Clamps
After drilling the holes, you need to install the clamps. These will hold the cables in place and provide additional support for the railing system. There are two types of clamps—plastic and metal. Plastic clamps are less expensive but are not as durable. Metal clamps are more expensive but will last longer. Choose the type of clamp that best fits your needs and budget.
To install the clamps, first, insert the clamp into the hole. Then, use a screw to secure the clamp in place. Repeat this process for all of the holes.
6. Insert the Cables into the Clamps
Once the clamps are in place, you can insert the cables. First, measure the length of the cable and cut it to size. Then, insert the cable into the clamp and use a screw to secure it in place. You can add a washer to the screw if the cable is too loose to tighten it. Repeat this process for all of the clamps. If you are using plastic clamps, you may need a cable tie to secure the cables.
7. Tension the Cables
After all of the cables are in place, you need to tension them. This will make the system stronger and less likely to fail. To tension the cables, first, loosen the screws on the clamps. Then, pull the cable tight and retighten the screws. Repeat this process for all of the cables. Try to avoid over-tightening the screws, as this can damage the cables.
8. Attach the Washers and Screws
Once the cables are tensioned, you must attach the washers and screws. These will secure the system in place and prevent it from moving. To attach the washers, first, insert a washer into each clamp. Then, use a screw to secure the washer in place. Repeat this process for all of the clamps. To attach the screws, first, insert a screw into each clamp. Then, use a wrench to tighten the screw. Repeat this process for all of the clamps.
9. Inspect the System
After all the components are in place, you must inspect the system. This will ensure that it is safe and secure. First, check all of the clamps to make sure they are tight. Next, check the cables to ensure they are not frayed or damaged. Finally, check the posts to make sure they are secure. Repairs must be made before using the system if you find any damage. You can now use your new cable railing system if everything looks good.
10. Enjoy Your New Cable Railing
You have now installed your new cable railing system. This system is strong and durable and will last for many years. Try not to damage the system and keep it clean to ensure it always looks its best. Enjoy your new railing, and be safe!
You Can Check It Out To Rewind Boat Lift Cable

How Much Does It Cost to Install Cable Railing With Wood Posts?
The cost of installing a cable railing with wood posts will vary depending on the length of the railing, the type of wood used, and the number of posts needed. The average cost of materials is $25 per linear foot. This does not include the cost of labor, which will vary depending on the difficulty of the installation. The average cost of labor is $50 per hour. Therefore, the total cost of installing a cable railing with wood posts will be between $50 and $100 per linear foot.
Conclusion
So there you have a complete guide on How to Install Cable Railing With Wood Posts. Always follow the instructions carefully and inspect the system before using it. We hope you enjoy your new railing!
You Can Check It Out To Connect Soundbar to Tcl Tv With Optical Cable