How to Install Floor Pans Without Welding
Installing floor pans without welding is a great way to save money and time for vehicle repairs. Welding requires specialized tools and often an additional cost for the materials, whereas, with this method, you can get the job done quickly and affordably. Not only does this method require fewer materials, but it also provides increased safety as there is no need to use open flames or welding sparks. Additionally, using this method can help protect the vehicle’s interior from rust and corrosion due to moisture buildup in tight spaces.
One of the biggest advantages of installing floor pans without welding is that it eliminates the need for pre-cutting and welding. This means that you can use various sizes and shapes so long as they fit into the general space available in your vehicle. Additionally, this saves time since no cutting or welding must be done before installation. In this blog article, you can find step-by-step instructions on how to install floor pans without welding.
Materials You Will Need
- Floor pans
- Floor pan adhesive
- Masking tape
- A putty knife
- A metal file
- Sandpaper in both 80 and 220 grits
- Primer
- Paint
- Rust inhibitor
- Ratchets, wrenches, and screwdrivers (optional)
Step-by-step Instructions for How to Install Floor Pans Without Welding
Step 1: Inspect the Floor Pans
Before installing the floor pans, inspect them to ensure they are in good condition and do not have any damage or rust. Clean the area where you plan on installing the floor pans using a wire brush and an automotive degreasing cleaner. This will help ensure the surface is clean and free of debris or dirt.
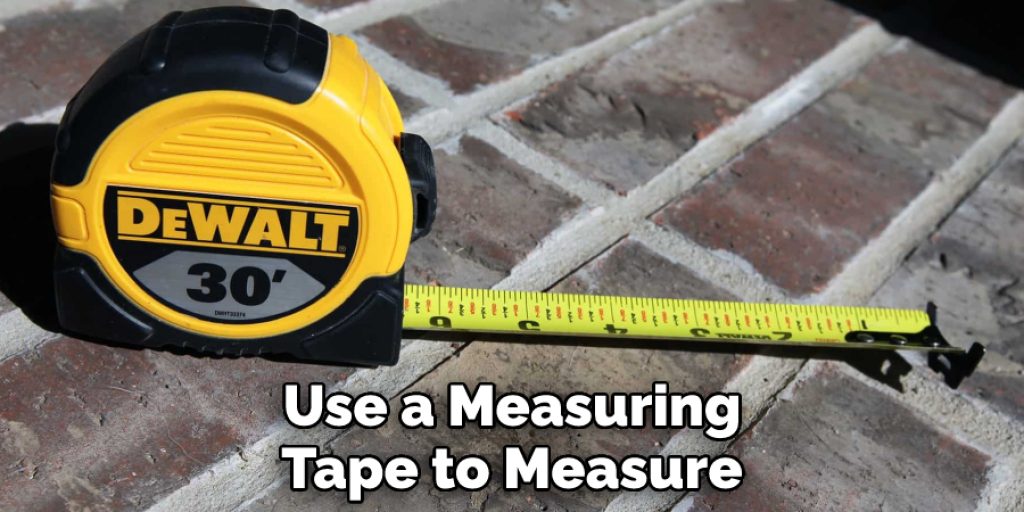
Step 2: Measure and Mark the Floor Pans
Use a measuring tape to measure where you plan on installing the floor pans. Once you have determined exactly where the pans need to be installed, mark them using a marker or chalk. This will help guide you when it comes time to install the floor pans.
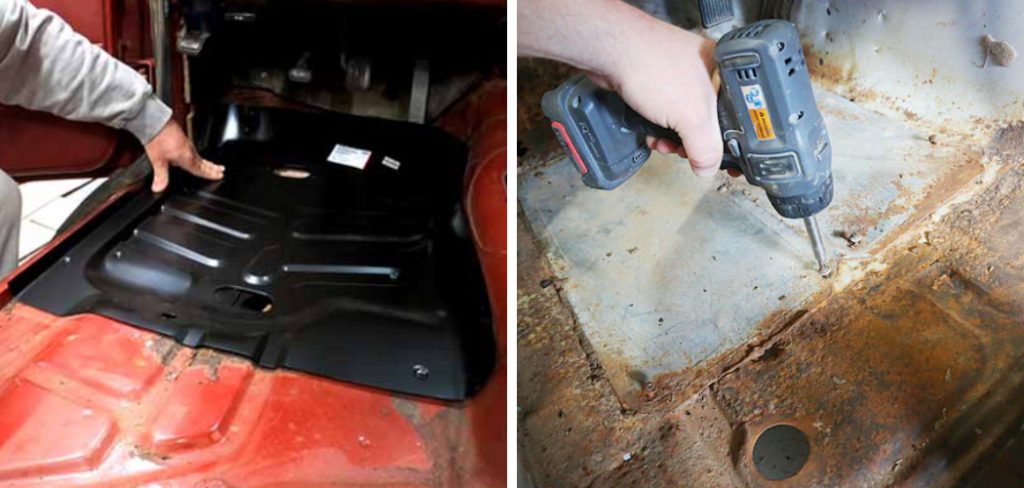
Step 3: Attach the Floor Pans
Using sheet metal screws, attach the floor pans to their designated spots. Make sure you use enough screws to ensure the pan is securely mounted. Be sure not to over-tighten them and strip out the holes. If necessary, use a punch or drill bit to make pilot holes.
Step 4: Seal the Floor Pans
Once the floor pans are securely fastened to their designated spots, seal them with a sealant or a caulk. This will help protect them from moisture and keep them in place for years to come.
With these steps, you can easily install floor pans without welding. Make sure you follow all the necessary steps to ensure a secure fit and that your floor pans will be ready for use.
Safety Tips for How to Install Floor Pans Without Welding
- Wear protective gear such as a face mask, safety glasses, and gloves when sanding the floor pans for installation.
- Remove old paint from the surface of the floor pans before installing them. This will help ensure that they stick properly to the existing subfloor.
- Clean any dirt or dust particles from the surface of the floor pans before installing them.
- Use a drill to create pilot holes in the existing subfloor, where you will screw in the floor pans. This will help ensure that the screws don’t slip as they go in.
- Place a piece of wood between the floor pan and the subfloor when screwing them together. This will prevent any damage to the floor pan and ensure that it is securely attached.
- Make sure you have the correct type of screws for installation purposes, as some may be too brittle or soft for optimal use.
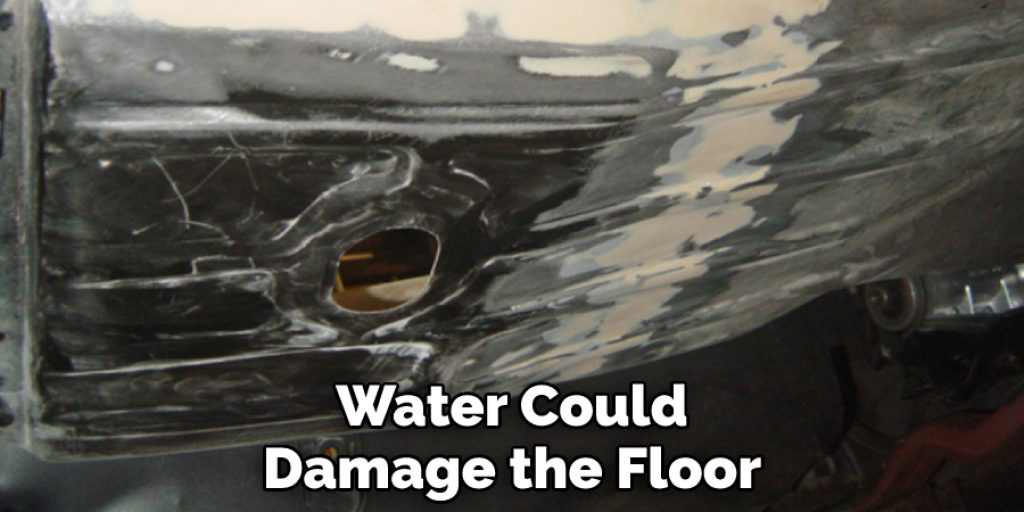
- Use a sealant on the edges between the subfloor and floor pans once they are installed. This will help to ensure that no moisture seeps in and causes damage to the floor.
- Keep an eye out for any cracks or gaps between the subfloor and floor pan once they have been installed, as these may need to be filled with a sealant before use. Water could damage the floor over time if these aren’t taken care of.
Following these safety tips when installing floor pans without welding will help ensure that the job is done correctly, safely, and to a high standard. Furthermore, taking appropriate measures during installation will also help extend the longevity of your new flooring.
How Do You Prevent Rust From Forming on Non-welded Floor Pans?
- Clean the area of dirt and debris with a metal brush before installation.
- Apply a layer of rust-inhibiting paint to both sides of the floor pan before installing it into place.
- Use silicone sealant to fill in any gaps or crevices between the floor pan and its surrounding area.
- Finish up by applying a liberal wax coating over the entire area to help protect it from moisture and rust.
- Have your car inspected regularly for any signs of rust or corrosion, and take appropriate measures to prevent further damage.
- Address any areas that show signs of rust as soon as possible to prevent the spread of corrosion.
- Keep your car in a dry, well-ventilated area, and avoid driving it on wet or salty roads.
- Consider replacing any worn or damaged floor pans with new ones to help ensure the longevity of your vehicle.
- Regularly lubricate any moving parts around the floor pans to help prevent rusting and corrosion.
- Top off with a protective coating of wax to help create a barrier against moisture and rust formation.

Follow these steps to protect your non-welded floor pans from rust and corrosion effectively, and extend the life of your vehicle.
How Long Does It Take to Install a New Floor Pan Without Welding?
Installing a new floor pan without welding will typically take 2-4 hours, depending on the job’s complexity. The time required to complete the job can be affected by numerous factors, such as the condition of existing components, access to the area where installation takes place, and whether any additional repairs are needed. It’s important to note that welding may sometimes be required, depending on the make and model of the car.
In order to install a floor pan without welding, you’ll need first to remove any existing components, such as seatbelts and carpeting. Afterward, the old pan must then be cut out using a hacksaw or sharp knife. The new pan must then be measured and cut to fit the vehicle, and the edges must be sealed with adhesive or sealant. Once the new floor pan is secure, all removed components should be reinstalled. Finally, checking for any potential leaks around the area is important before taking a test drive. Depending on how long it took to complete the installation, it may be necessary to drive around for a few hours before doing any additional repairs.
How Do You Maintain a Non-welded Floor Pan to Keep It in Good Condition for Years to Come?
- Regularly check the floor pan for any signs of rust or damage and address them immediately.
- Coat the surface of the floor pan with a quality rust-proofing product to protect it from further corrosion and wear.
- Clean the floor pan regularly, using a mild detergent and water solution to remove dirt, debris, and other contaminants.
- Ensure the pan is dry before applying a quality sealant to protect it from water damage and rusting.
- Use a brush or roller to apply the sealant, ensuring you thoroughly cover all edges and joints of the floor pan.
- Inspect your floor pan regularly for any signs of wear and tear, and replace any damaged parts as needed.
- When necessary, use high-quality car wax to protect the floor pan from scratches, dirt build-up, and other contaminants that could cause damage over time.
- If you need to make repairs or adjustments to your floor pan, be sure to consult with professionals who can ensure you do not cause further damage.
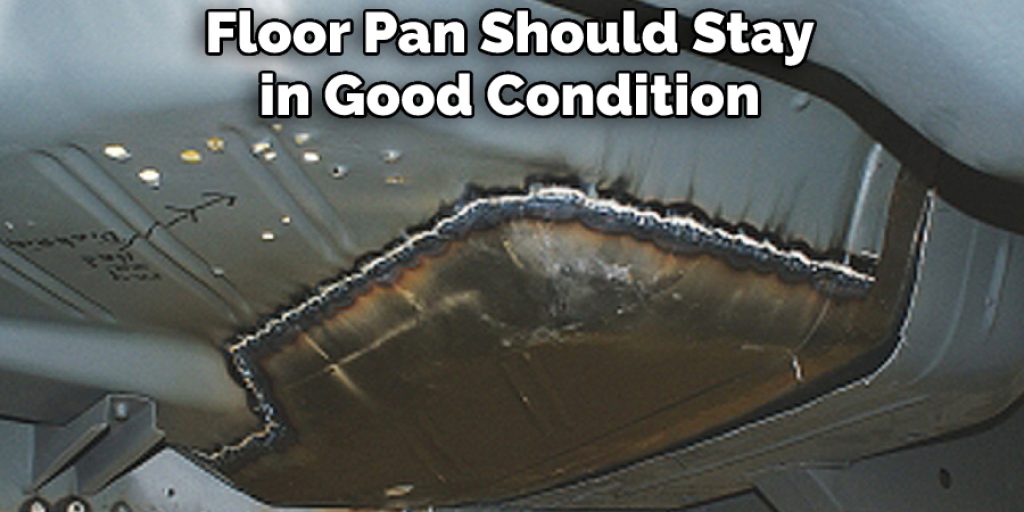
- With proper maintenance and care, your non-welded floor pan should stay in good condition for years to come.
Conclusion
One of the main disadvantages of installing floor pans without welding is that it does not provide as strong or secure of a connection for the panels. Welding offers a more permanent and reliable bond between the metal sheets, whereas non-welded connections can be less stable and are prone to loosen over time. Additionally, some surfaces may not be able to be fastened together without welding as well, making non-welded installation impossible in some cases.
Installing floor pans without welding is a great option for anyone who wants to restore the body of their vehicle but doesn’t have access to a welder. Although it may take some time and patience, with the right materials and tools, you can create a strong and reliable repair that will last. Be sure to use rust-proofing materials to ensure the longevity of your repair. With proper installation, you can ensure that your floor pans are secure and will last for years. I hope this article has been beneficial for learning how to install floor pans without welding. Make Sure the precautionary measures are followed chronologically.
Louis Wein
Louis has always been fascinated by cars. He loves the way they look, the sound of the engine, and how they make him feel when he's driving. He is always keen to learn more about different mechanics of cars and how the engine contributes to other aspects of the car. As an automotive technician with over 10 years of experience, he knew how they worked and loved taking them apart to see how they went back together. He was especially interested in the mechanics of combustion engines and loved finding ways to make them more efficient. He loves to work on cars and help people keep their vehicles running smoothly. As a senior editor, he enjoys contributing to Diy quickly because it allows him to share his knowledge and expertise with others.