How to Install Foam Board Insulation on Interior Walls
Foam board insulation is a great way to insulate your home, as it offers superior thermal performance and soundproofing. It can also help reduce energy bills by keeping the heat in during the winter and out during the summer months. With proper installation, foam board insulation can provide years of reliable service.
Foam board insulation on interior walls provides a number of advantages. It is durable and able to withstand long-term wear, making it ideal for maintaining comfortable temperatures in any climate. Additionally, foam board insulation can help reduce energy costs by providing greater thermal resistance than other insulating materials.
Furthermore, since foam board insulation is installed directly on the interior walls of a home, it is easy to access and maintain. In this blog post, You will learn in detail how to install foam board insulation on interior walls.
Step by Step Processes for How to Install Foam Board Insulation on Interior Walls
Step 1: Inspect the Walls
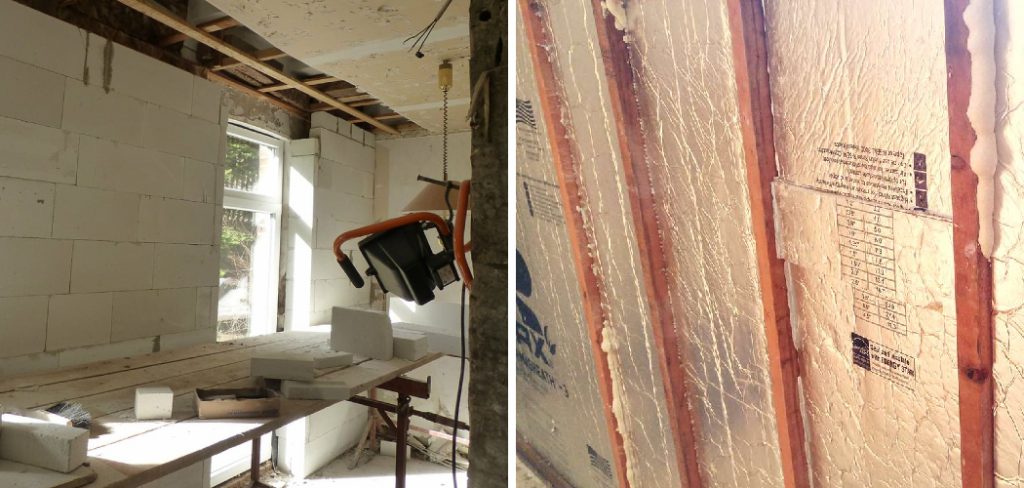
Before installing foam insulation, check for any moisture issues or damage to the walls. This will help ensure that insulation is applied properly and securely. Measure out each wall separately, adding an additional inch for overlap. Then, use a straightedge and utility knife to cut the insulation to size.
Step 2: Secure the Insulation
Use a low-expansion foam spray adhesive to attach the insulation to the wall. Start from one corner of the wall, and work your way up in overlapping strips that are slightly wider than the sheets of insulation. Make sure to read and follow all instructions on the can of adhesive carefully.
Step 3: Tape the Seams
Use high-quality tape to seal off any seams between the sheets of insulation to ensure airtightness. Use a utility knife or scissors to cut out sections for any outlets or fixtures on the wall if necessary. Be sure to cut around the boxes, not through them.
Step 4: Insert the Outlet Boxes
Place the outlet boxes into their designated areas and secure them with screws or nails as needed. If desired, install an access panel for future maintenance and repair work. Do this by cutting out a section of the insulation and securing it with a frame.
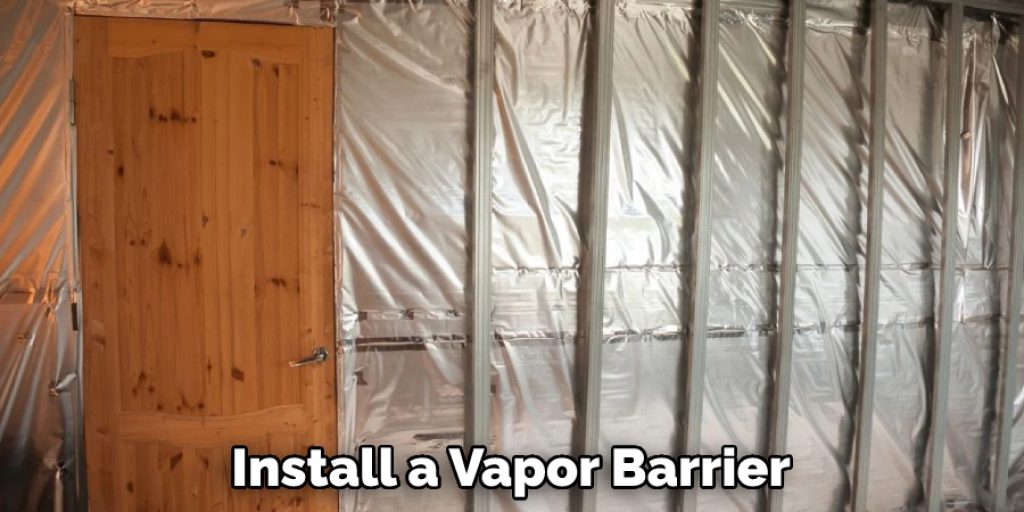
Step 5: Add a Vapor Barrier
To help keep moisture from penetrating the wall, install a vapor barrier on top of the foam board insulation. Do this by stapling or nailing sheets of 4-6 mil plastic sheeting to the wall before putting up drywall. Secure the drywall to the wall using screws, making sure that each screw is at least 1” away from the seams.
Step 6: Seal All Seams and Corners
Use a high-quality sealant for interior walls to seal any gaps between sheets of insulation or along seams. This will help ensure that your walls are airtight and insulated properly. Allow the sealant to dry completely before painting or installing trim.
Following these steps, you can install a foam insulation board on your interior walls. Doing so will help keep your home comfortable and energy-efficient all year long.
Safety Tips for How to Install Foam Board Insulation on Interior Walls
- Wear protective gear such as safety glasses, respirator, gloves, and long sleeves while working with foam board insulation.
- Cut the foam board in a well-ventilated area to prevent exposure to dust and particles created by cutting the material.
- Place the cut pieces of insulation on a flat surface before installation to ensure a tight fit.
- Use protective curtains or masks to prevent the inhalation of fumes from adhesives used in the installation.
- Avoid using open flame when working with foam board insulation, as it can cause toxic fumes to be released into the air.
- Make sure that all joints and seams are sealed properly to ensure a tight fit and prevent air from escaping the insulation.
- Make sure that all wiring is completely insulated and properly grounded before installation to avoid potential electrical hazards.
Following these safety tips when installing foam board insulation can help you complete your project quickly and safely.
How Do You Clean Up After Installation is Complete?
Once you have finished installing foam board insulation, it is important to clean up the area. This will help ensure that your interior walls remain properly insulated and free of dust or debris. Start by vacuuming the area with a handheld vacuum to remove any loose particles. Then use a dry cloth to wipe off any remaining residue from the walls or floor.

Use a damp cloth with mild detergent to remove any stubborn stains if needed. Ensure all surfaces are completely dry before moving on to the next step.
Once you have finished cleaning up, inspect the area for any gaps or cracks that may need additional insulation. If necessary, add more foam board insulation where needed. Finally, replace any trim or fixtures that were removed during the installation process to complete the wall insulation.
With proper installation and regular maintenance of foam board insulation, you can ensure your interior walls are well-insulated and remain free from dust or debris for years to come.
What Are Some Common Mistakes to Avoid When Installing Foam Board Insulation?
When installing foam board insulation on interior walls, it’s important to take all necessary precautions in order to achieve a proper installation. Here are some of the most common mistakes to avoid when installing foam board insulation:
- Not properly measuring the wall area before cutting and installing the panels. Poorly measured cuts can result in a misaligned installation.
- I was using too much adhesive along the edges. Too much adhesive can cause the panel to be uneven and improperly adhere to the wall surface.
- I am not using enough screws or fasteners to secure the panels on the walls. Insufficient fastening can result in an unstable installation that may fall off of the wall.
- They are not using a vapor barrier or other protective covering to prevent water damage. Without proper protection, moisture can seep into the insulation and cause mold and mildew to form.
- She was not leaving enough room for expansion between panels. The panel can buckle or warp over time if there isn’t enough space for movement.
Following proper measurement and installation guidelines can avoid these common mistakes when installing foam board insulation on interior walls. Doing so will ensure a secure, long-lasting insulation solution for any home or building.
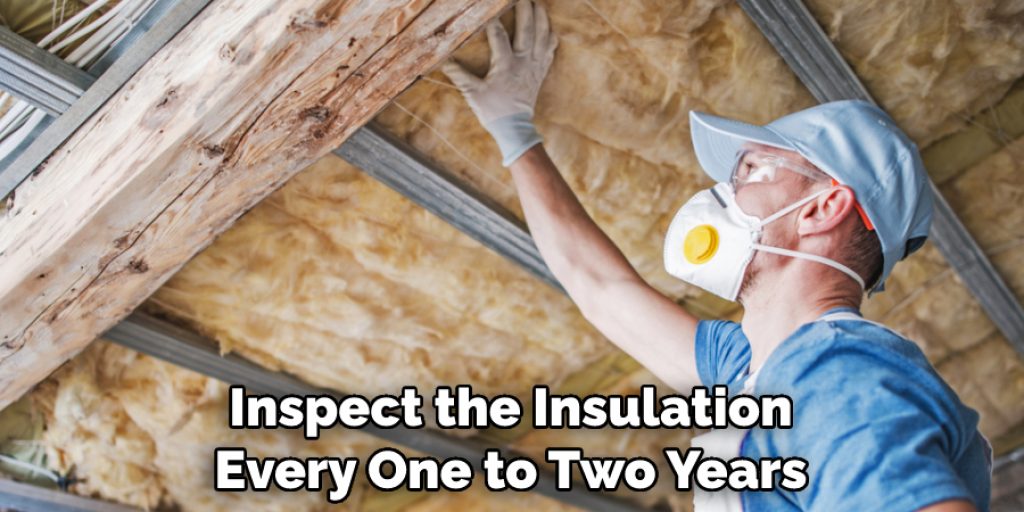
How Often Should You Check the Insulation to Make Sure It’s Working Properly?
Once the foam board insulation is installed on your interior walls, it’s important to check it from time to time to make sure that it is still working properly. You should inspect the insulation every one to two years and look for any signs of damage or deterioration. If you notice that your insulation has been compromised in any way, you should replace it immediately.
Inspecting the insulation can help you identify problems before they become serious, such as air leaks or mold growth. Additionally, checking the insulation regularly will ensure that it is providing optimal energy efficiency and helping to reduce your energy bills.
It’s also important to keep an eye on the temperature in the rooms where you have foam board insulation installed. If you notice that certain areas are colder than other parts of the house, it could be a sign that your insulation needs to be replaced or repaired.
What Type of Maintenance is Needed to Keep the Insulation in Top Condition?
Maintaining foam board insulation on interior walls is an easy task. Regular inspections should be done to ensure that the foam board insulation is not damaged and that all connections are secure. If moisture accumulates around the foam boards, this can create condensation in the wall cavities, which can lead to mold growth.
Make sure to check any areas of the wall that may be exposed to moisture. If mold is noticed, it should be removed and the area should be wiped down with a damp cloth to prevent any further growth.
Additionally, inspect the foam board insulation for signs of wear or damage, such as cracks or tears in the material. If damaged foam boards are found, they should be replaced as soon as possible. Finally, check to make sure all fasteners and hardware are still secure and intact. If any of the fasteners have come loose, they should be tightened or replaced. By following these steps, you can ensure that your foam board insulation stays in top condition for years to come.
Conclusion
One of the biggest disadvantages when it comes to installing foam board insulation on interior walls is that it can be difficult to install without proper knowledge. It’s important to ensure all edges are properly cut and sealed for the insulation to work correctly. Additionally, foam board installation requires more labor than other types of insulation, such as batt or blown insulation, which can be time-consuming and costly.
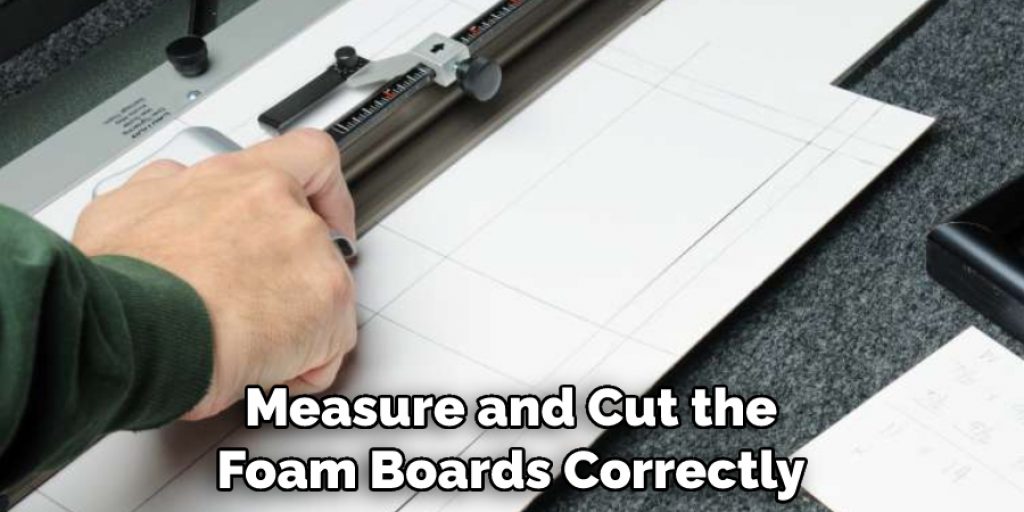
In conclusion, installing foam board insulation on interior walls is a relatively simple process that can be done in just a few steps. It’s important to take the time to measure and cut the foam boards correctly to ensure an effective installation and to use the proper type of adhesive or fasteners.
I hope this article has been beneficial in learning how to install foam board insulation on interior walls. Make Sure the precautionary measures are followed chronologically.