How to Install Marble Countertop
Installing a marble countertop can be an expensive and time-consuming project, but the look of your counters is worth it in the end. Marble has a classic beauty like no other and creates an inviting atmosphere in any kitchen or bathroom. If you’re considering replacing your existing countertops with marble, here are some of the steps that go into making sure your best investment lasts for years to come.
If you’re looking for an attractive, durable countertop that adds value and character to your home, look no further than a marble countertop. Marble is an ideal material for kitchen counters because it’s heat-resistant and stain-resistant, and adds a classic touch of luxury and elegance to any space.
But installing a marble countertop can be tricky if you don’t know what you’re doing—and whether done incorrectly or with the wrong materials or tools, it could result in costly mistakes. So if you want to get the job done right the first time around and enjoy your beautiful new stone top for years to come, read on as we outline how to install marble countertop.
6 Benefits of Installing Marble Countertop
1. Classic Beauty
One of the primary benefits of installing marble countertops is the classic beauty they bring to any kitchen or bathroom. The subtle swirls of grey and white add a touch of elegance that can’t be matched by other materials. Also, the timeless look of marble ensures that it won’t go out of style in a few years.
2. Durability
Marble countertops are incredibly durable and resistant to scratching and chipping. This makes them ideal for high-traffic kitchen areas or areas where food is regularly prepared. The durability of this material also means that it will last for many years without needing to be replaced.
3. Easy Maintenance
Marble countertops are easy to maintain and clean, making them a great option for busy households. A simple wipe-down with warm water and a mild soap is enough to keep the surface looking like new. Even when spills occur, they can usually be wiped up quickly and easily.
4. Heat Resistance
Marble is a heat-resistant material, which makes it ideal for areas where hot dishes are placed or heated food is prepared. This allows you to place hot items directly on the countertop without having to worry about damaging the surface.
5. Unique Look
Every slab of marble is unique and offers its own pattern of swirls and veins, which gives it a one-of-a-kind look that can’t be replicated. This makes marble countertops the perfect choice for homeowners who want to create a distinct, personalized look in their homes.

6. Variety of Colors
Marble is available in a variety of colors and shades, which includes classic whites, warm beiges, and cool blues. This allows homeowners to choose the perfect hue to complement their existing décor or create an entirely new look.
Installing marble countertops is not an easy task, so it is important to hire a qualified professional for the job. With proper installation and maintenance, marble countertops can add beauty and sophistication to any home.
How to Install Marble Countertop in 6 Easy Steps
Step 1: Gather All The Materials
The very first step is to gather all the materials you’ll need for installation. You will need a marble countertop, plywood, caulk, drill and bits, screws, sealer, and a level. So you have to make sure you have gathered all the materials you need.
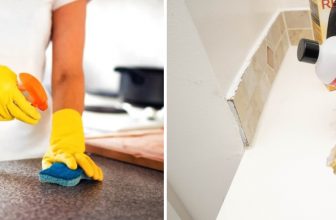
Step 2: Clean the Surface
Clean the surface area where you are about to install your new countertop with a damp cloth to remove any dirt and debris. This will help to ensure a firm bond between the countertop and the surface when you install it.
Step 3: Cut Marble Countertop
Measure the marble countertop so that it fits perfectly with your surface area. Then, using a circular saw, cut the countertop along those measurements. Be sure to wear safety glasses while doing this.
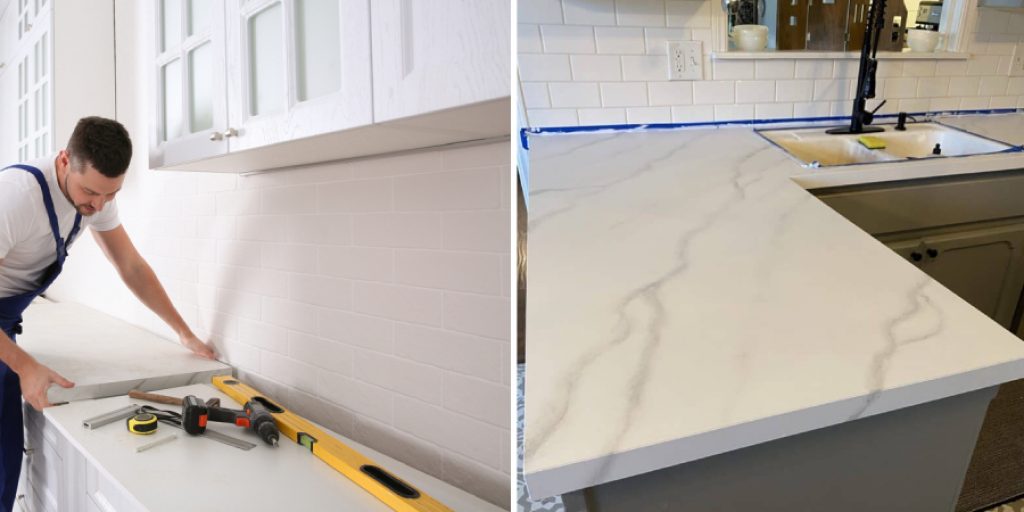
Step 4: Attach the Countertop to the Plywood
Using a drill and screws, attach your countertop to plywood for extra support. This will help ensure it’s. This will also help to avoid any possible complications that can arise with marble countertops.
Step 5: Apply Sealer and Caulk
Apply sealer to the seams of the countertop after you have installed it. This will help protect it from any potential water damage or staining. Then, use caulk to fill in any gaps between the marble and the surface.

Step 6: Level and Clean the Marble Countertop
Once you have installed your countertop, use a level to make sure it is perfectly flat. After that, clean the countertop with a damp cloth to remove any excess dust or debris. Also, make sure to use a marble cleaner that is specifically designed for countertops, as it will help protect the surface from any damage.
And that’s it! You should now have your beautiful new marble countertop installed and ready to use! Be sure to take proper care of your countertop by regularly cleaning and sealing it so you can enjoy its beauty for many years to come. Good luck with your new project!
Some Additional Tips to Install Marble Countertop
1. Do Not Use Abrasives
This is one of the most important tips when it comes to installing marble countertops. Abrasive materials will damage the surface of your marble and create scratches, which can make it look dull or discolored. Use a soft cloth and mild detergent only when cleaning your marble countertop.
2. Seal Before Installation
It is essential that you seal your marble countertop before you begin the installation process. Sealers will help protect your marble from staining, etching, and discoloration.
3. Repair Any Cracks or Fissures
Small cracks and fissures are common in marble countertops. Make sure to repair any visible cracks or fissures before starting the installation process. Also, check for loose pieces of marble that can be easily reattached.
4. Use Masonry Adhesive
To secure your marble countertop to the base structure, use a high-quality masonry adhesive. Make sure to follow the manufacturer’s instructions when applying the adhesive.This can cause the marble to move and shift, which can cause damage.
5. Use Levelers
Before installing your marble countertop, use levelers to ensure a flat surface. Levelers will help keep the countertop even, which is very important for proper installation.
6. Accommodate Overhang
Another important tip to remember when installing a marble countertop is to accommodate for overhang. This means that you must make sure there is enough room for the edge of the countertop to extend beyond the base structure.

7. Use An Isolation Membrane
An isolation membrane helps prevent any moisture from transferring between the marble and base structure, which can cause damage. Make sure to use an isolation membrane before installing your marble countertop.
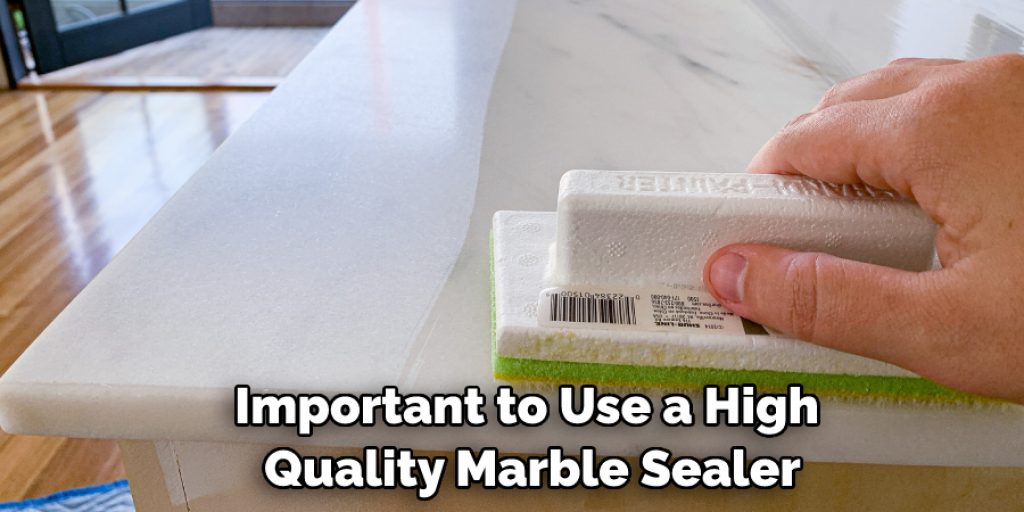
8. Use a Marble Sealer
Once the installation is complete, it is important to use a high-quality marble sealer to protect the surface from staining and discoloration. Make sure to apply multiple coats of sealant for maximum protection.
9. Gently Place Objects
When placing objects on your marble countertop, make sure to do so gently. This is to avoid any scratches or chips that could occur if you place too much pressure on the surface. Also, use a protective pad or mat when placing hot objects on the countertop.
10. Clean Regularly
To ensure that your marble countertop stays looking its best, make sure to clean it regularly with a mild cleaner and soft cloth. This will help keep your marble free from dirt, stains, and other contaminants.
11. Use Granite Slabs For Larger Countertops
If you are installing a large countertop, it is best to use granite slabs. This will prevent any warping or shifting that could occur from a single piece of marble. Granite slabs are also more durable than marble and are less likely to chip or crack.
With these tips, you can be sure that your marble countertop will be installed correctly and will last for many years to come. Make sure to follow all instructions carefully, use the right materials, and take your time when installing your marble countertop. This will ensure that you end up with a beautiful, long-lasting installation. Good luck!
Frequently Asked Question
What Precautions Should I Take When Installing Marble Countertop?
The most important precaution to take when installing a marble countertop is to wear safety goggles and gloves. Additionally, you should make sure that the area in which you’re working is well-ventilated and free of dust and debris.
You also need to be aware of any underlying structures such as wiring or pipes, that may be in the walls and make sure you are not damaging them when cutting the marble. Finally, you should use a quality sealant to protect your countertop from water damage and staining.
Do I Need To Use Protective Pad When Installing a Marble Countertop?
Yes, it is recommended that you use a protective pad when installing a marble countertop. This will help to reduce the amount of wear and tear on your countertop over time, as well as reduce the risk of slipping or dropping heavy objects onto the surface. Additionally, it is important to use pads that are designed for use with marble, as regular foam pads can cause staining or discoloration.
Are There Any Other Maintenance Tips I Should Follow After Installing the Marble Countertop?
After you have installed your marble countertop, it is important to clean it regularly with mild detergent and warm water. You should also avoid using abrasive or harsh chemicals on the surface as they can damage the finish and cause staining.
Also, it is important to reseal the countertop every few years to protect it from water damage and staining. Finally, you should also avoid placing hot items directly onto the marble countertop as this can cause discoloration or even cracking of the stone.
Can I Install Marble Countertop Myself?

Yes, it is possible for you to install a marble countertop yourself. However, it is important to have a good understanding of carpentry and take all necessary precautions when doing so. It may also be beneficial to hire an experienced professional if you are unsure about the process or lack the appropriate tools.
This will ensure that the installation is done correctly and safely. Additionally, it is important to purchase quality materials and tools when installing a marble countertop. This will help to ensure that your countertop lasts for many years to come.
Is Installing Marble Countertops Difficult?
Installing a marble countertop can be quite challenging if you are not familiar with the installation process or lack the necessary tools. Additionally, it is important to have a good understanding of carpentry and take all necessary precautions when doing so.
If you are unsure about the process or lack the appropriate tools, then it may be beneficial to hire an experienced professional for help. This will ensure that the installation is done correctly and safely. With the right knowledge and tools, however, installing a marble countertop can be an easy and rewarding DIY project. But make sure to take your time and follow all instructions carefully.

Conclusion
Now you know how to install marble countertop! Installing a marble countertop is a great way to spruce up your kitchen and make it look more luxurious. Not only will you have an elegant-looking surface but you will also be able to enjoy the numerous benefits that come with marble countertops such as being heat-resistant, highly durable, and easy to clean. Moreover, installing one yourself is convenient and cost-efficient.
Following these steps will ensure that you have a successful installation. Moreover, make sure that the area your countertop is going in is even and clear of any obstacles prior to beginning with the installation process. Always remember, when done right this can make all the difference in transforming your kitchen into a beautiful space. All that’s left now is for you to get to work on creating your perfect dream kitchen!