How to Install Push Pull Throttle Cables
Installing push-pull throttle cables in your motorcycle seems daunting, but with the right tools and instructions, it can be a relatively easy process. This article will walk you through how to install push pull throttle cables. We’ll also provide some helpful tips to make the installation go as smoothly as possible. So if you’re ready to get started, let’s dive in!
What Causes Push Pull Throttle Cables to Fail?
There are a few different factors that can cause push-pull throttle cables to fail. The most common cause is worn and tear. Over time, the cables can become frayed or damaged, which can cause them to malfunction. Another common cause of failure is moisture. If the cables get wet, they can rust and corrode, which can also cause them to fail. If you live in an area with high humidity, it’s especially important to keep an eye on your cables and ensure they’re in good condition.
Additionally, if the cables are not installed properly, they can become loose and slip out of place, which can also cause them to fail. The other major cause of push-pull throttle cable failure is incorrect installation. If the cables are not installed correctly, they can become damaged or misaligned, which can cause them to fail. Lastly, if the cables are not maintained properly, they can become clogged or damaged, which can also cause them to fail.
How Push Pull Throttle Cables Work
There are two types of throttle cables: push and pull. Push-pull throttle cables are the most common type, and they’re typically used on motorcycles. They work: when you twist the throttle, it pushes on the cable, pulling on the carburetor or fuel injector. This process allows the engine to get more air and fuel, which increases power. However, if the cables are damaged or worn, they can cause the engine to run less efficiently, leading to a loss of power.
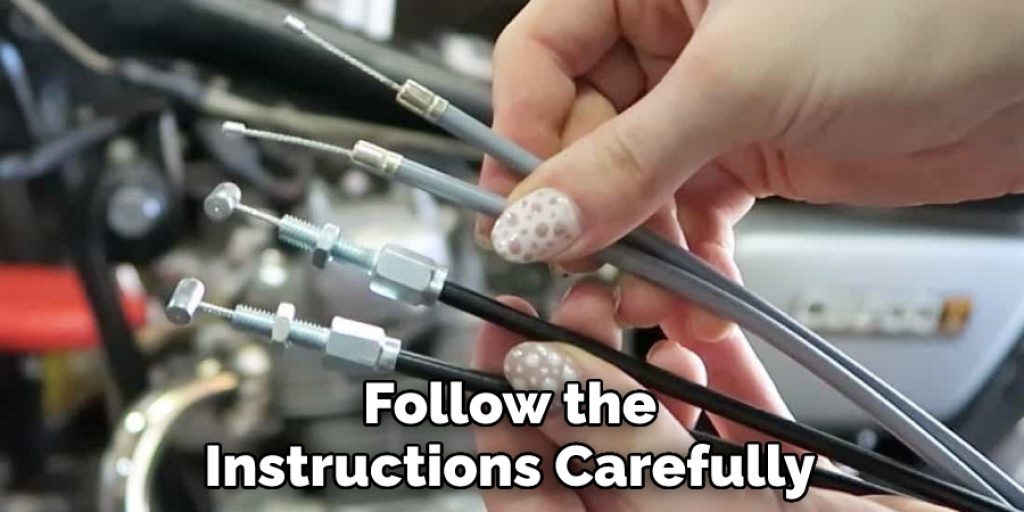
Another type of throttle cable is the pull-type. Pull-type throttle cables are less common, but they’re typically used on dirt bikes. They work similarly to push-pull throttle cables, but instead of pushing on the cable, they pull on it. This process also allows the engine to get more air and fuel, which increases power. However, pull-type throttle cables can be more difficult to install, so it’s important to follow the instructions carefully.
Step by Step How to Install Push Pull Throttle Cables
1. Gather the Tools and Materials
The first step is to gather the tools and materials you’ll need for the job. You’ll need a set of push-pull throttle cables, a set of metric wrenches, a set of standard wrenches, and a set of pliers. You’ll also need a screwdriver, a drill, and a set of drill bits.
If you don’t have all of the tools and materials, you can purchase them at your local hardware store. Gather all of your materials and tools before you begin so you don’t have to stop in the middle of the job.
2. Remove the Old Throttle Cables
Once you have all of the tools and materials, the next step is to remove the old throttle cables. To do this, first, disconnect the battery. This will prevent any electrical issues while you’re working. Next, locate the throttle cables. They’re typically located near the carburetor or fuel injector.
Once you’ve located the cables, use a wrench to loosen the retaining nut and pull the cable out. If the old throttle cables are stuck, you can use a pair of pliers to help loosen them. Avoid using too much force, as you don’t want to damage the new cables.
3. Inspect the New Cables
Once you’ve removed the old cables, it’s time to inspect the new ones. First, check the length of the cables. They should be the same length as the old ones. Next, check the ends of the cables for fraying or damage. If you see any damage, it’s best to replace the cables. Lastly, check the ferrule for cracks or damage. The ferrule is the metal sleeve that covers the end of the cable. If the ferrule is damaged, it can cause the cable to fail. Try to find a replacement if possible.
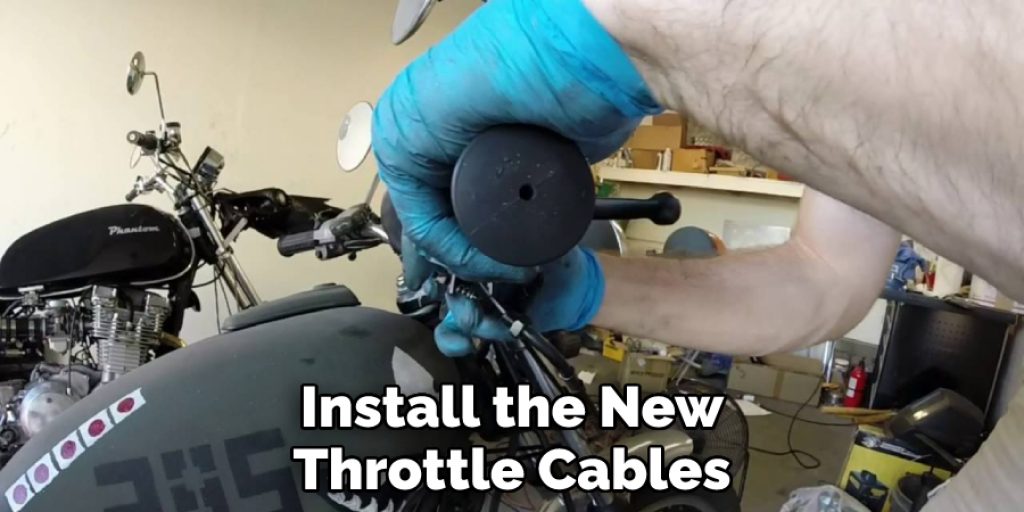
4. Install Push Pull Throttle Cables
Now it’s time to install the new throttle cables. To do this, first, route the cable through the engine compartment. Ensure the cable is routed away from moving parts or sharp edges. Next, connect one cable end to the carburetor or fuel injector. To do this, use a wrench to loosen the retaining nut and slide the cable end over the stud.
Then, use a wrench to tighten the retaining nut. Repeat this process for the other cable end. If the cables are too long, you can trim them to size with a pair of scissors.
5. Adjust the Throttle Position Sensor
Once the new cables are installed, the next step is to adjust the throttle position sensor. The throttle position sensor is a small device that tells the computer how far the throttle is open. To adjust it, first, locate the sensor. It’s typically located on the side of the carburetor or fuel injector.
Next, use a wrench to loosen the retaining nut and turn the sensor until it’s in the correct position. Then, use a wrench to tighten the retaining nut. If the sensor is out of adjustment, it can cause the engine to run poorly.
6. Adjust the Idle Speed Screw
The next step is to adjust the idle speed screw. The idle speed screw controls the engine’s idle speed. To adjust it, turn the screw clockwise until it lightly contacts the throttle stop. Then, turn the screw counterclockwise, 1/2 to 1 turn. This will allow the engine to idle at a higher speed. Next, start the engine and let it warm up for a few minutes. Then, check the idle speed.
If it is too high, turn the idle speed screw clockwise until it is at the desired speed. If it is too low, turn the idle speed screw counterclockwise until it is at the desired speed. Finally, check the throttle response. If it is sluggish, turn the idle speed screw clockwise until the throttle response is crisp.
7. Attach the Clamps
The next step is to attach the clamps. The clamps hold the throttle cables in place and prevent them from vibrating loose. To attach them, first, locate the mounting points. They’re typically located near the carburetor or fuel injector. Next, use a wrench to loosen the retaining nuts and slide the clamps over the studs. Then, use a wrench to tighten the retaining nuts. Please make sure the clamps are tight, so they don’t vibrate loose.
8. Reconnect the Battery
The next step is to reconnect the battery. This will allow the engine to start and run properly. To do this, first, locate the battery. It’s typically located under the hood. Next, use a wrench to loosen the negative terminal and remove it from the battery. Then, use a wrench to loosen the positive terminal and remove it from the battery. Finally, use a wrench to reconnect the terminals to the battery. Please make sure they’re tight, so they don’t vibrate loose.
9. Test the New Cables
Now it’s time to test the new cables. To do this, start the engine and let it idle for a few minutes. Then, check the throttle response. If it is sluggish, turn the idle speed screw clockwise until the throttle response is crisp. Finally, take the vehicle for a test drive. Make sure the engine is running smoothly, and the throttle response is crisp. If you have any problems, troubleshoot them and make the necessary adjustments.
You Can Check It Out To Hide Ethernet Cable
Tips and Warnings on How to Install Push Pull Throttle Cables
Tips
- Be sure to have the right tools for the job. You’ll need a set of wrenches, sockets, and a screwdriver.
- Make sure you have enough slack in the cables before you start the installation.
- Lubricating the throttle cables before installation is always a good idea. This will make sure they move smoothly and don’t bind.
- When routing the cables, be sure to avoid any sharp edges or corners. This can damage the cable and cause it to fail.
- Take your time and follow the instructions carefully to avoid any mistakes.
Warnings
- Make sure the engine is turned off, and the battery is disconnected before starting the installation.
- Be careful not to pinch or damage the throttle cables during installation.
- Ensure all connections are tight and secure before operating the vehicle.
- Always consult a professional if you’re unsure about any part of the installation process.
You Can Check It Out To Cut a Bike Lock Cable

Conclusion
So there you have it! Now you know how to install push pull throttle cables. Just follow the steps outlined in this article, and you’ll be up and running in no time. With a little patience and attention to detail, you can do this job yourself and save a lot of money in the process. We hope you found this article helpful and informative. Thanks for reading!
You Can Check It Out To Remove Displayport Cable