How to Install Roof Molding
Roof moldings are actually one kind of decorative components for the cars. But it has greater benefits rather than serving only as a decorative item. Most of the car owners faced an annoying problem when they are stuck in the rain as rain pours through the gaps between the side panels and the roof. But if you have this user-friendly item, you won’t have to worry about that. You can easily cover those gaps in a stylish way. That’s why it’s loved by many people. But now, the question is how to install roof molding?
The moldings on a car fit into clips on the top of the chassis. To install them, you have to push them into the clips so they fit snugly. It’s a bit tricky, but if you follow the steps, you can do it without any problems.
How to Install Roof Molding

Step 1 – Clean
Roof molding won’t stick properly one the dirty surfaces. That’s why you have to first clean the roof surface properly before diving into the main parts. It is strongly recommended. The best approach is to remove the dirt, road grime, wax, dust, and every other stubborn spot. Even if there is any adhesive residue, you also have to clean that properly. So, complete this process first.
Step 2 – Measure
Once you have cleaned the surface, you have to now ensure the accurate measurement. Check the roof molding’s length and inspect it properly. Simply hold them alongside the roof; you will then figure out the accurate measurement. There is no rule that states that you need to remove the old molding.
You can use the existing molding, but it will be the best if you get the new one. It would help if you replaced the whole thing and never try to repair or replace one part of itFirst, checke sure that the new roof molding has better quality than the older one. The new one will have a better chance of matching your car’s paint.

Step 3 – Trim
You can either do this process before or during the installation. But for the best finish, measure it appropriately and then cut it with a razor blade.
Step 4 – Apply
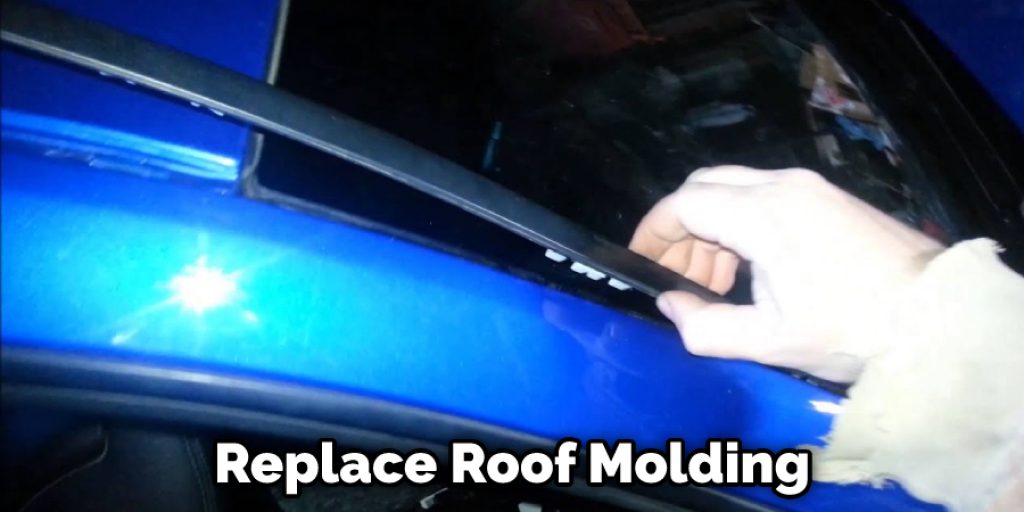
Start the main process by peeling off the backing and sticking the peel onto your desired area. In this case, you have to press and hold it for a little time, so put your fingers into work. Don’t forget to make the surface smooth as you go from one end to another.
Step 5 – Repeat
Repeat the same process on the opposite side.
Step 6 – Smile
You are all done. If you have followed the above steps, you have now installed the roof moldings perfectly. So, smile for the newer look of your car. Hopefully, you have understood the process. But as always, don’t forget to share your experience through the comment section.


