
How to Properly Sew Amigurumi Parts Together
Introduction
Amigurumi is a Japanese sewing toy that has created an excellent audience worldwide, but some special techniques are used to learn this sewing technique. For this reason today, we will be explaining to you some necessary steps by following which you can quickly learn and get adapted to this process.
Procedure
There are many available techniques for sewing the Amigurumi parts together, and people use them all over the world. Some methods might not be suitable for beginners. For this reason, we will exhibit the two basic techniques that can be useful in this regard. The beginners can easily be benefitted by making good use of these procedures.
The Whip Stitch Method
This method is used to join two separate parts on an Amigurumi. If you want to join two different regions of the Amigurumi that are not similar in terms of color, this technique is perfect. Amigurumis have different parts, so attaching different parts of the toy will require this technique. To do this, you first have to take the central part of the toy. Then, you have to attach the spare part to the central part of the toy.
Next, you have to keep a portion of the yarn free of the central part. When you are sewing a doll, then the body will be the central part, and all the legs and hands will be attached to the body. So take a handsome length of free yarn from the body part, and then you have to sew the separate piece with it. Take the spare threads, pass the needle from the adjoining section, and then make a stitch with the main body. In this manner, the two parts will be attached.
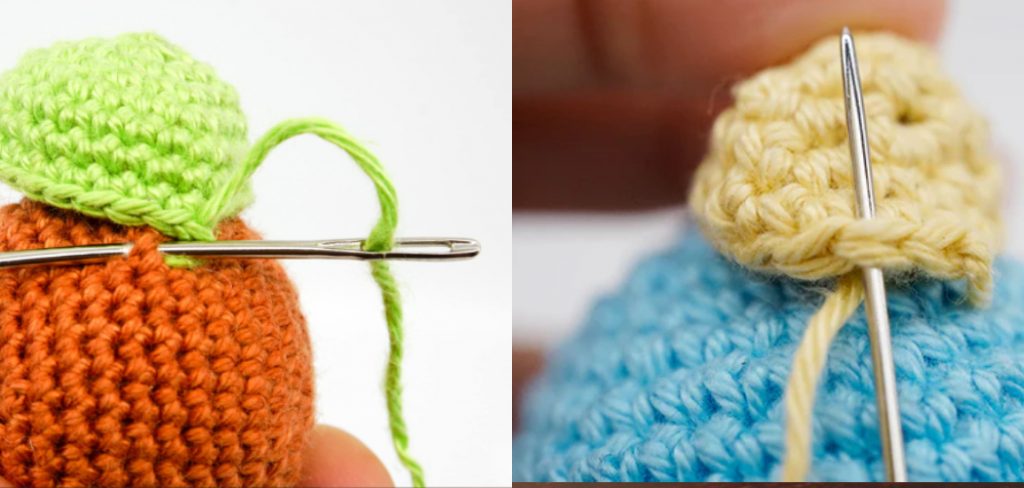
The Seamless Method
In this method, generally, appliques are attached to the toy. When you want to attach any flower petal to the body of the Amigurumi, you can use this technique. This technique will allow you to make proper use of the yarn, and after the knitting is finished, you will not observe any outgrowth or extension. For this, first, you have to place the applique on the body. Then you have to take separate yarn, which is similar to the color of the applique.
Start by sewing both pieces together using a different stitching technique for the applique. Make sure the applique is firmly attached to the body, then thread the needle through the shape of the toy and out the other side. Tie a separate knot with the applique, then thread it back through the main body. Repeat this process until the entire toy is sewn together. Finally, thread the needle through the main body one last time and cut it off with a pair of scissors.
Conclusion
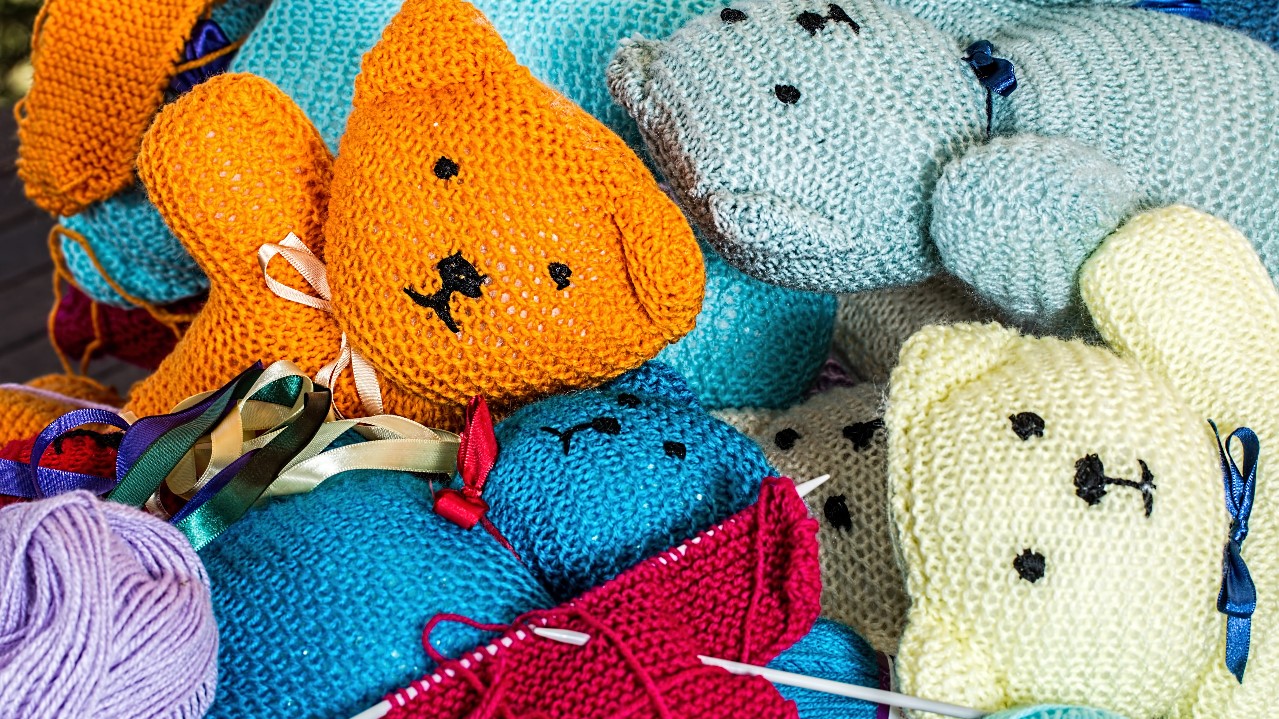
Lastly, we hope the techniques that we have mentioned here have been much help to sew the different Amigurumi parts together. As a beginner, this will be much effective, and the DIY skills will be improved for the learner. Happy crafting! Have a beautiful day!!
Check it out to learn to make crochet eyes for stuffed animals.


