
How to Install Rounded Drywall Corners
Introduction
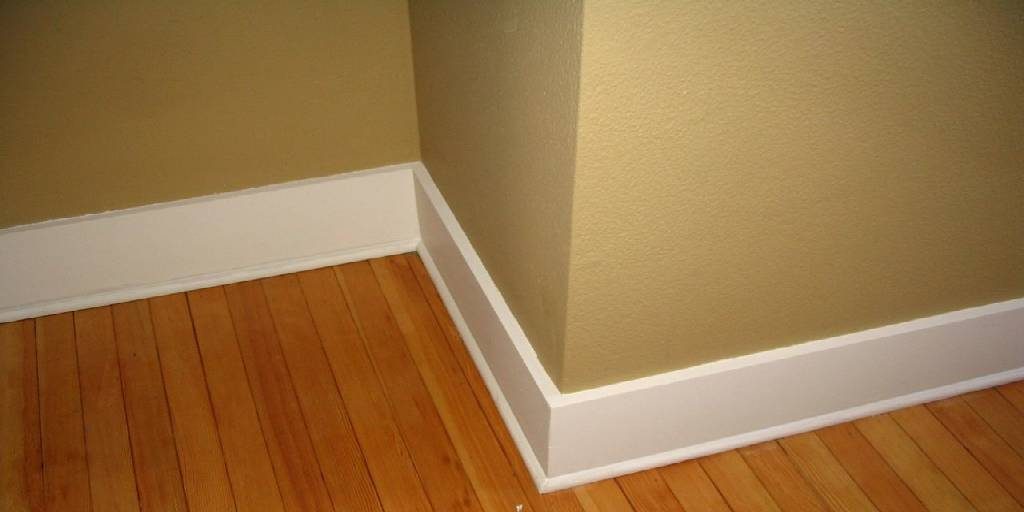
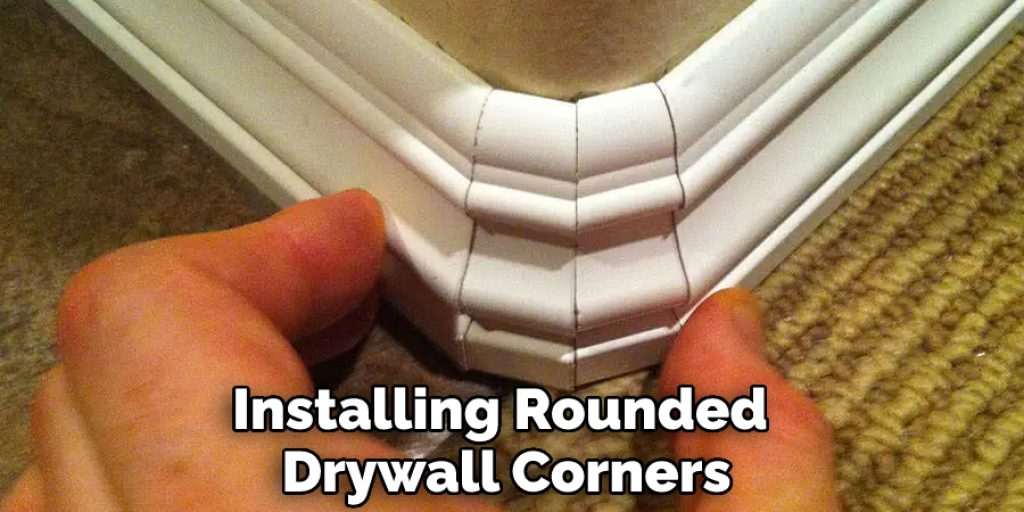
Rounded drywall corners, also known as DRC (drywall finishing), is a method to install the corner edges of the drywall in such a manner that it has rounded edges. It’s a type of finish that eliminates sharp edges and rough surfaces – or at least minimizes them. The result is smooth, neat, and well-finished corners; however, sometimes, the installation procedure can cause problems for new users. For this reason, today, I will discuss a process on how to install rounded drywall corners. So let us get into the discussion.
Types of Rounded Drywall Corners
Depending upon the application, you can choose from different corners to give an attractive and professional look. These corners are:
The most common corners are the U-shaped drywall corners. These have been used for a long time because of their ease of use. Additionally, they are also cost-effective. But there are instances where you would want rounded corners if you need to visually reduce the corner radius without changing the type of material used for finishing your project or even in some situations when you want walls with a smoother look and feel.
Step-wise Guide on How to Install Rounded Drywall Corners
Installing rounded drywall corners will not be difficult for you. The ease of use that they offer and the professional look make them popular among contractors. In fact, even you need to install rounded drywall corners for your home or office project, the following steps will make it extremely easy for you:
- Begin with the preliminary work of cutting out the excess drywall. Draw a template on a piece of plywood or cardboard and then trace it to get an accurate size. You can also use a utility knife from a distance and make appropriate cuts using the tip end. This will ensure that all your corners are perfect, making it easier for you to install rounded drywall corners.
- Now, take two pieces of drywall (equal in width) and arrange them so that they overlap by ½ inch where the corner will be located. Use construction-grade tape to bind them together tightly.
- After which, attach another layer by placing it over the first one so that its ends match perfectly with those of the next piece, and then finally attach the last one and tape them tightly together again.
- With this process, you will have completed the rough work of installing rounded drywall corners. Now, it is time to make it symmetrical. Adjust each layer so that they match well with each other at the ends. You must maintain uniform thickness for all layers, ensuring good results later.
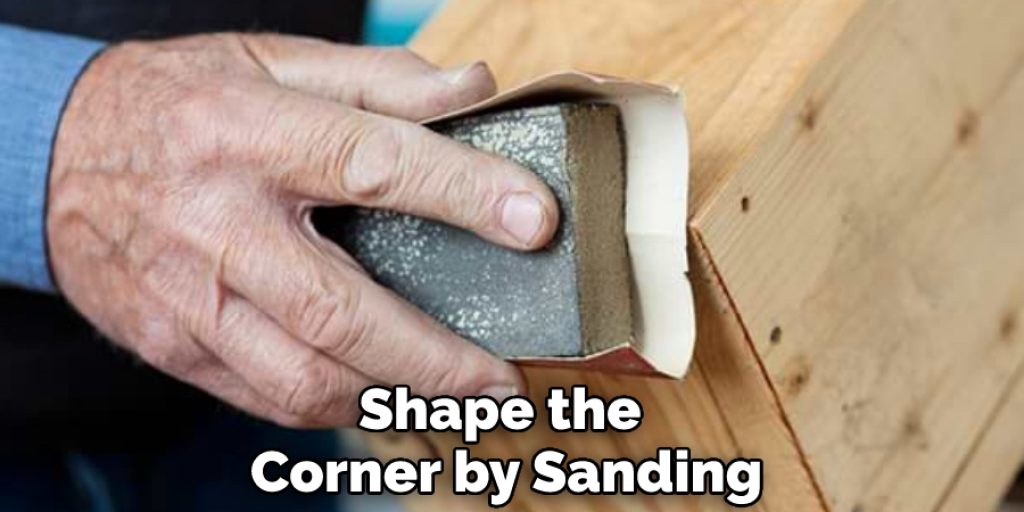
- Use a ¼-inch trowel-like tool/metal spatula and shape the corner again by sanding off the excess paper from around the entire perimeter. This process should also be repeated for all four sides of the corner.
- After everything is perfect, apply two coats of joint compound on top of each surface using either a 6 or 8-inch taping knife or a putty knife. Make sure the compound is the right consistency, and if you feel the need to add more water, do it in small quantities to avoid making it too thin.
- Let the first coat dry out completely before sanding it off using medium-grit sandpaper.
- Apply another layer of joint compound over each surface and then let sit again for approximately 15 minutes
- Finally, smooth everything with a wet sponge or cloth per your requirement so that you can get rid of all imperfections, obtaining professional results for installing rounded drywall corners.
- After doing this job perfectly, you will notice that there won’t be any uneven spots remaining on the corners that might spoil their look. It can easily be kept clean and smooth by wiping it with a damp cloth or sponge.
- After everything has been smoothened out, put on the finishing coat by applying a layer of paint over each surface using a 3-inch brush or roller. Then, make sure to let it dry completely before evaluating your work for installing rounded drywall corners.
Precautions while Learning How to Install Rounded Drywall Corners
- You must make sure you cut the drywall using a score and snap method to be easily covered with compound and avoid cracking.
- If there is any cracking problem, you must use screws or nails to secure the corners rather than screwing in from the backside, which is otherwise very common if not careful enough.
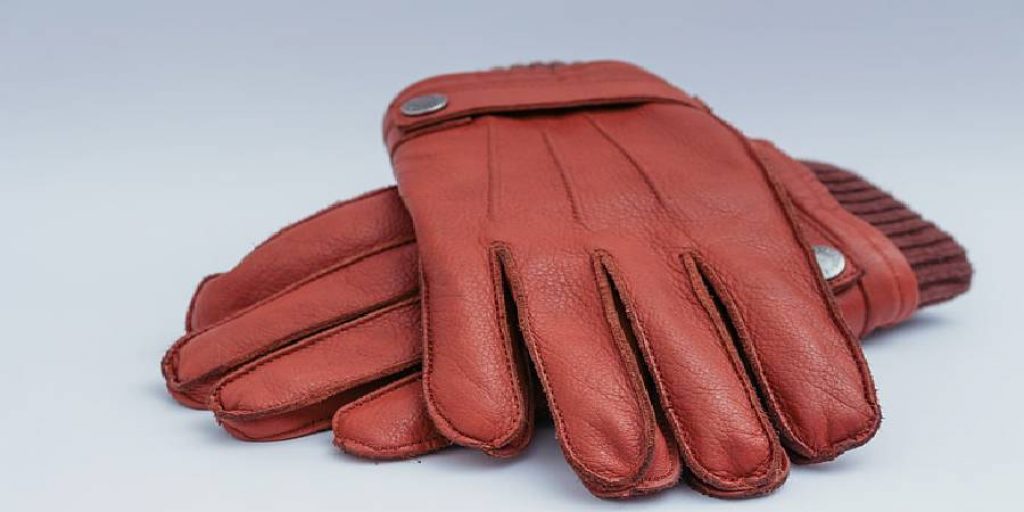
- You must wear gloves while doing this because your hands should be protected from nails that might fall over during the process of cutting drywall. Incomplete finishing work can also harm your health, like breathing in asbestos fiber from older materials may cause lung cancer, etc.
- Watch for wearing eye protection as the dust particle can damage eyes, which are extremely at risk of drywall work.
- You must wear a face mask to avoid breathing in the dust, which causes serious problems such as asthma.
- It’s always best to hire professionals for jobs like this, because it’s difficult even for pros. If you try to do it yourself, you’ll likely end up with unfinished work. So let’s try to hire experts instead of doing it ourselves, unless we have experience fixing rounded corners at home.
- A rounded corner is significant when it comes to finishing your room, but be careful that it should not be protruding too much from the wall, or else you may need more compound to cover the gaps resulting in problems, as we talked about above, that how a lot of compounds can cause uneven finish and crack.
Advantages of Having Rounded Drywall Corners
You can get many advantages from using these rounded drywall corners. Some of the advantages include:
- Installation is easy; just a matter of cutting some more drywall and applying it to your existing corner with double-sided tape;
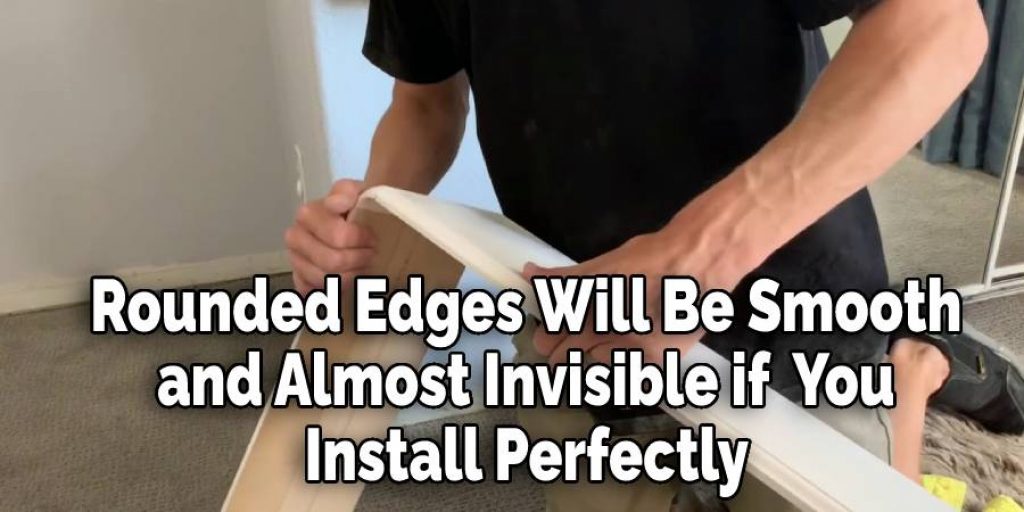
- If the installation is done correctly, the rounded edges will be smooth and almost invisible;
- It eliminates sharp edges, which can cause injuries or cuts and scratches if you are touching the corner frequently; Rounded corners give an elegant look into your room; they Can also hide minor imperfections on walls.
- The rounded edge looks smoother than standard 90 degrees ones, so it can make things appear neater in your home even though they do not have to be perfectly squared up; The overall result is more pleasing to the eyes.
- The rounded corners will never be a problem, and the overall appearance of your room will not be affected even if you are working with non-perfectly cut drywall corners.
Conclusion
So this is how you can do the rounded corners in your home, and you must have learned some steps to achieve the purpose of installing rounded drywall corners. If you follow all these steps, then there will be no problem while installing rounded drywall corners, so give it a try after reading through this article; and we hope that you will definitely succeed in doing this job perfectly if you really want a quality job without any flaws associated with it.
I hope you have obtained all the necessary information about installing rounded drywall corners from this article. Ensure proper precautions while performing the process. Thank you and have a nice day!


