How to Iron Perler Beads Without Parchment Paper
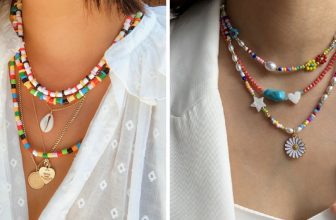
Ironing Perler beads is a popular crafting technique that allows creators to transform their bead designs into durable, finished art pieces. While parchment paper is commonly used in this process to protect both the beads and the iron, there are alternative methods that can achieve similar results without it.
This guide on how to iron perler beads without parchment paper will explore various techniques and tips for successfully ironing Perler beads without the need for parchment paper, ensuring your creative projects remain hassle-free and enjoyable.
Why Avoid Parchment Paper?
Before we dive into alternative methods, it’s important to understand why some people prefer not to use parchment paper when ironing Perler beads. For starters, some find that the texture of parchment paper can leave a slight imprint on the finished design, which may affect the overall appearance of the piece.
Additionally, using parchment paper can sometimes create uneven heat distribution, resulting in some areas of the design being over-ironed while others are under-ironed. This can be especially frustrating for more intricate or detailed designs.
Lastly, using parchment paper also means having to constantly replace it after each ironing session. This can become time-consuming and costly in the long run, making it less appealing for some creators.
Necessary Supplies
Perler Beads:
Of course, the main supply needed for this ironing method is Perler beads. Make sure to have a variety of colors and pegboards on hand to create your desired design.
Iron:
A hot iron is essential for melting the beads into place. It’s important to use an iron that does not have steam holes or vents on the bottom as this can cause unwanted marks on your finished piece.
Parchment Paper Substitute:
Instead of using parchment paper, you will need to have a substitute material to place between the iron and beads. This can include wax paper, silicone baking sheets, or even a clean dish towel.
Heat-resistant Surface:
To protect your work surface from heat damage, it’s important to have a heat-resistant surface such as an ironing board or a thick towel.

8 Step-by-step Guidelines on How to Iron Perler Beads Without Parchment Paper
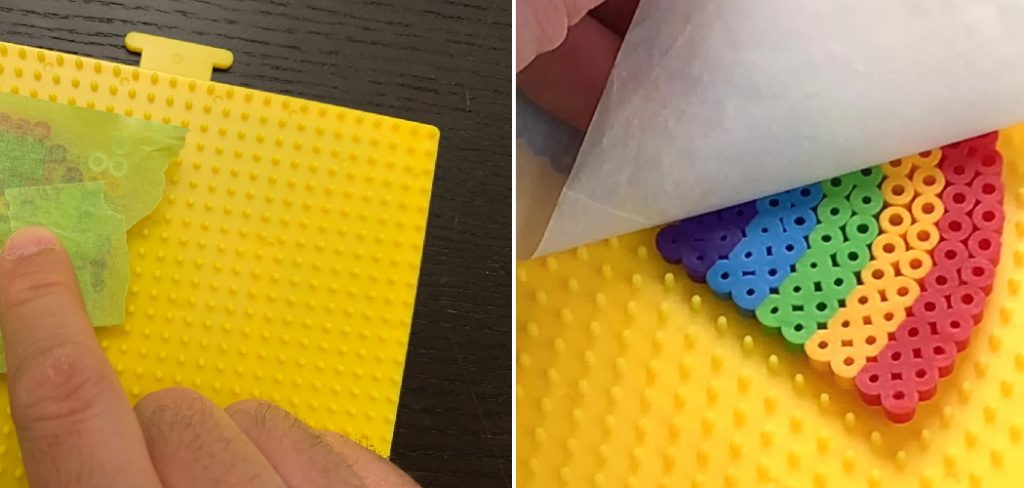
Step 1: Arrange Your Beads
Begin by placing your Perler beads on the pegboard according to your desired design. Take your time to ensure that the beads are neatly organized and positioned closely together, as this will ultimately affect how they fuse together when heated. If you have a specific pattern or template, you can follow that for accuracy.
Make sure to double-check the arrangement before moving on to the next step, as any adjustments can be more difficult after ironing. Once you’re satisfied with your design, you’re ready to proceed to the next step.
Step 2: Prepare Your Substitute Material
Before you begin the ironing process, it’s essential to prepare your substitute material to ensure a smooth and successful melting of the Perler beads. If you are using wax paper, cut a sheet large enough to completely cover your design on the pegboard. For silicone baking sheets, you can place them directly over the beads as they are already shaped to resist heat.
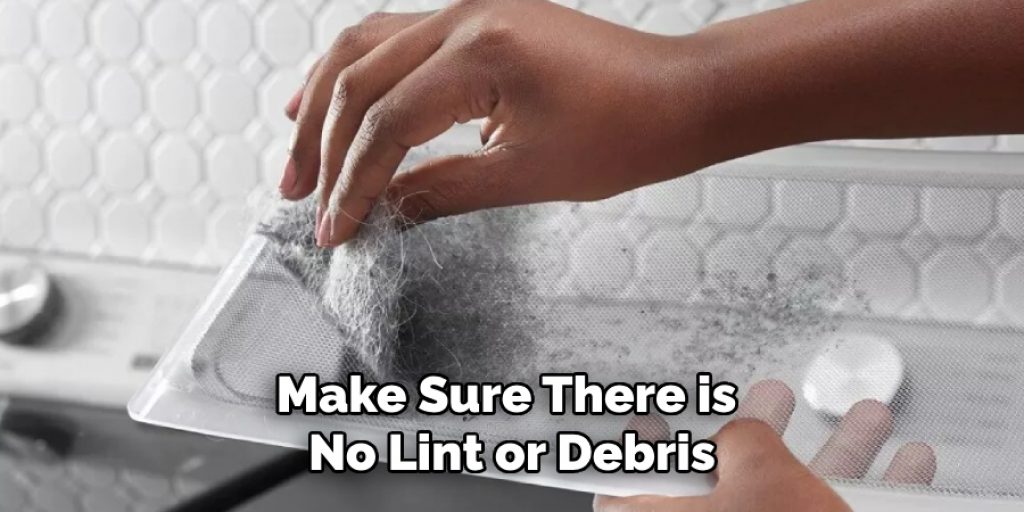
If opting for a clean dish towel, make sure it’s free of any lint or debris that could transfer onto your project. Once your substitute material is ready, gently place it over the arranged Perler beads, taking care to cover all areas without shifting the beads out of place. This will provide the necessary barrier between the iron and the beads while allowing heat to circulate evenly.
Step 3: Preheat Your Iron
Before you start ironing, preheat your iron to a medium setting without steam. If using an iron with multiple heat settings, it’s recommended to begin at the lowest setting and gradually increase as needed, depending on the thickness of your substitute material. It’s also important to avoid placing the iron directly on top of the beads, as this can cause them to melt quickly and lose their shape.
You can test the heat of your iron by gently pressing it onto a small area of the substitute material, ensuring that it does not create unwanted marks or burn through.
Step 4: Begin Ironing
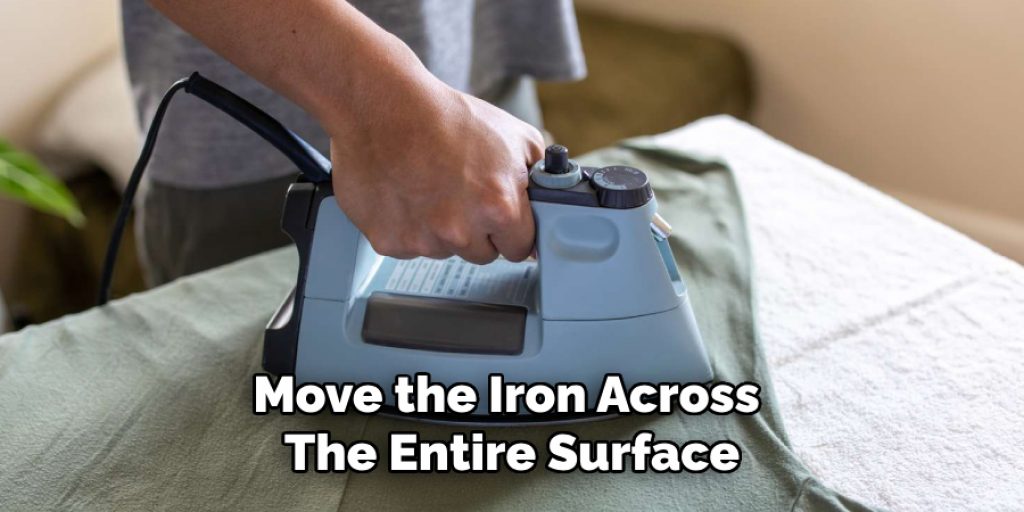
Once your iron is preheated, you can begin ironing over the substitute material in a circular motion for approximately 10-15 seconds. Avoid leaving the iron in one spot for too long as this can cause uneven melting and potentially damage your design.
Continue to move the iron across the entire surface of the substitute material until you can see that all beads have melted and fused together. If some areas still appear un-melted, you may need to apply additional heat until they are fully fused.
Step 5: Cool Down
After you have ironed the entire design, it’s important to let it cool down completely before removing the substitute material and flipping over the pegboard. This will prevent any potential damage or distortion to the design.
It’s recommended to wait at least 20-30 minutes for the beads to cool down completely before proceeding with the next step.
Step 6: Remove Substitute Material
Once your project has cooled down, carefully remove the substitute material from on top of it. You should see that all of the beads have fused together and formed a solid piece without any imprints or marks from the substitute material.
If you notice any areas that are not fully fused, you can place the substitute material back on top and apply additional heat until they are melted together.
Step 7: Flip Over and Remove from Pegboard
Next, gently flip over your pegboard to reveal the back of your design. Carefully remove it from the pegboard by pushing it out through one of the holes. If some beads appear to be sticking to the board, gently pry them off with your fingers or a pair of tweezers.
It’s important to handle the design carefully at this stage as it will still be hot and malleable.
Step 8: Cool Down Again
Once your piece is off the pegboard, place it on a flat surface and allow it to cool down completely before handling or displaying. This can take anywhere from 30 minutes to an hour depending on the thickness of your design.
Following these steps will ensure a successful ironing session without the use of parchment paper. However, it’s always recommended to practice caution when using heat and handling melted Perler beads.

Tips for Successful Ironing
- Always use heat-resistant surfaces and protective materials.
- Don’t leave the iron in one spot for too long to avoid uneven melting.
- Let the piece cool down completely before handling or displaying.
- Experiment with different heat settings and times for thicker designs.
- Have fun and be creative with your Perler bead projects!
- It’s always a good idea to practice a small piece of test design before starting on a larger project.
- Consider using an ironing paper or pressing cloth for added protection and ease of use.
- If some beads are not fully fused together, you can place the substitute material back on top and apply additional heat until they melt together.
- Take your time and enjoy the process, as ironing Perler beads can be a fun and therapeutic activity.
- For added precision, you can use tweezers to move and adjust individual beads before melting them together.
- If you accidentally knock over or disturb your arranged beads, don’t worry! You can easily rearrange them back into place before ironing.
- It’s always a good idea to have extra Perler beads on hand for any mistakes or missing pieces in your design.
- Don’t hesitate to get creative with substitute materials – you can also try using aluminum foil, parchment paper, or even a Teflon sheet. Just make sure to test the material beforehand to ensure it’s safe to use with heat and won’t damage your design.
- Most importantly, have fun and let your imagination run wild with Perler’s bead creations!
Frequently Asked Questions
Q1: Can I Use an Old Towel as a Substitute Material?
A1: Yes, you can use a clean and heat-resistant towel to iron Perle beads onto. Just make sure that there is no lint or debris that could transfer onto your project.
Q2: Can I Use a Hair Straightener Instead of an Iron?
A2: It’s not recommended to use a hair straightener as it may not distribute heat evenly and can potentially burn the Perler beads.
Q3: Do I Need to Flip Over My Design Before Peeling off the Pegboard?
A3: No, you only need to flip over the design if you want to remove it from the pegboard. If you plan on leaving it in place, simply let it cool down completely before handling it. It will eventually pop off on its own as it cools.
Q4: How Do I Store My Finished Perler Bead Design?
A4: You can store your finished design in a cool and dry place, away from direct sunlight or heat sources. You can also frame it or use it to decorate various items such as keychains or magnets.
Conclusion
While using parchment paper may be the traditional method for ironing Perler beads, there are alternative ways to achieve similar results without it. By following these 8 simple steps on how to iron perler beads without parchment paper, you can create beautiful and durable Perler bead creations without the need for parchment paper.
Experiment with different substitute materials and have fun creating unique designs! Remember to always use caution when handling hot materials and never leave a hot iron unattended. Happy beading!
Elizabeth Davis
Elizabeth is a creative writer and digital editor based in the United States. She has a passion for the arts and crafts, which she developed from a young age. Elizabeth has always loved experimenting with new mediums and sharing her work with others. When she started blogging, she knew that DIYquickly would be the perfect platform to share her tutorials and tips. She's been writing for the blog from the beginning, and her readers love her helpful advice and easy-to-follow instructions. When she's not writing or editing, Elizabeth enjoys spending time with her family and friends.