
How to Make a Temporary Tattoo With Wax Paper
Introduction:
Temporary tattoos are a fun way for anyone to express themselves. This article shows you how to make a temporary tattoo with wax paper. It’s easy, and the supplies are readily available! The tattoos can be applied with mouth or hand warmers to make them last longer and stay on the skin better, but they will eventually fall off in a few days.
Why Make a Temporary Tattoo?
To create something fun for all ages! When designing your artwork, think about what colors will look good together and design something easy to cut around if you want multiple icons, as shown in this Instructable. You could even use shapes already available like stars, hearts, leaves, and circles in various sizes.
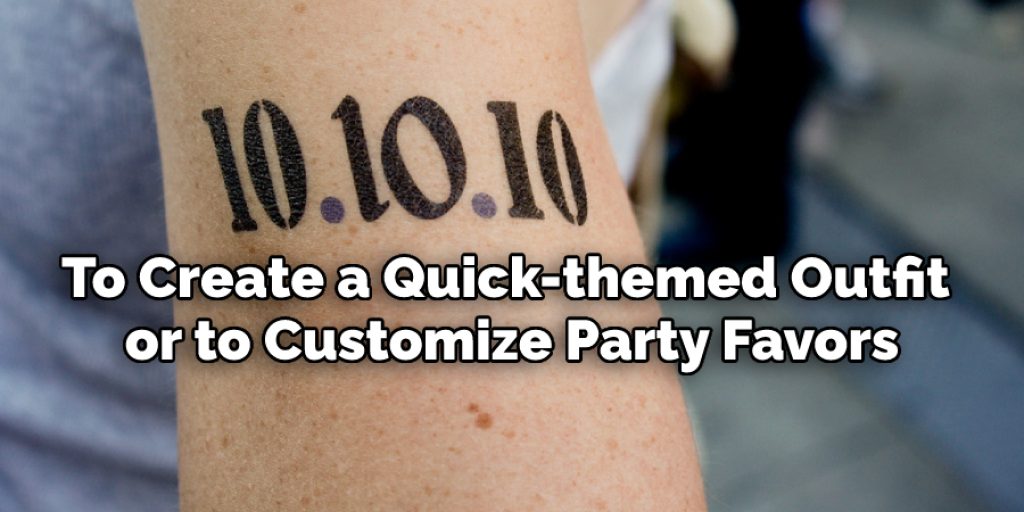
To create a quick-themed outfit or to customize party favors. If you have a Halloween costume idea, adding temporary tattoos is easy to give your costume that extra special touch.
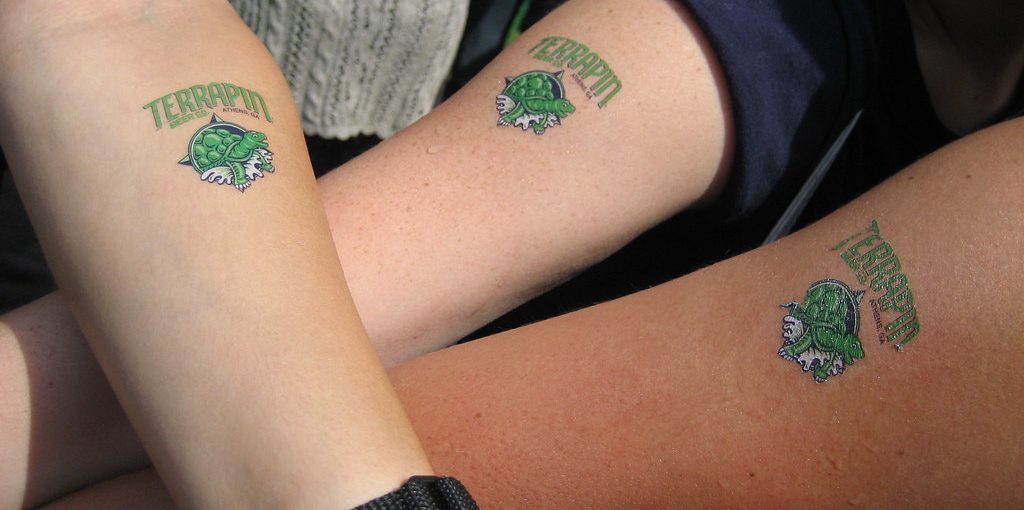
Design matching tattoos for your family members or party guests! Wouldn’t it be fun to have matching tattoos with your best friends but can’t afford the price tag of going to a professional tattoo parlor? You can make them yourself!
Stepwise Guide on How to Make a Temporary Tattoo With Wax Paper:
Step 1:
Take a piece of wax paper and cut it into the size you want your temporary tattoo. You can also draw on this wax paper with colors if you like. To make drawing easy, drip some water onto the wax paper first so that the pencil does not stick to it.
You can use any color of crayon or colored pencils for drawing on the wax paper. You can even paint the drawing using acrylic colors but remember to wipe off any extra paint with a wet cloth after painting. Use light coats of color; otherwise, too many paints might ruin the design in future days when it’s worn out and wrinkly.
Step 2:
When your picture is done, let it dry completely before proceeding further.
Step 3:
When your temporary tattoo is absolutely dry, start cutting out the parts of the picture you want to be a part of your tattoo. Do this by lightly pressing down on it with a pair of scissors so that some of the wax paper gets cut out slowly. You will now have a negative image of your drawing on the wax paper.
All you need to do here is leave out those parts that should not be included in your temporary tattoo and then pastedown only those required to remain there in the future when it’s worn off! Alternatively, just using a black crayon or colored pencils for negative drawing is also an option. But remember not to use watercolors here!
Step 4:

Now take another piece of wax paper and cut it into a circle. Next, roll the first piece of wax paper with your completed tattoo around this circle carefully, adjusting its size well each time you roll so that it fits perfectly.
Step 5:
When the wrapping is done, tie the rolled sheet to secure the temporary tattoo securely into shape. You can also use transparent tape to secure it further if needed.
Step 6:
To make a temporary tattoo, you will need a piece of wax paper and some strips of wax paper that are about two to three inches long. Tie one end of the strips onto the wax paper tattoo by crisscrossing them at different angles. Leave the other end of the strips hanging down freely. You can make all kinds of decorations like flowers and stars using these hanging strips as you tie them.
Step 7:
When you are done tying all the hanging strips, take a pair of scissors and cut off the remaining parts of these strips from your temporary tattoo.
Step 8:
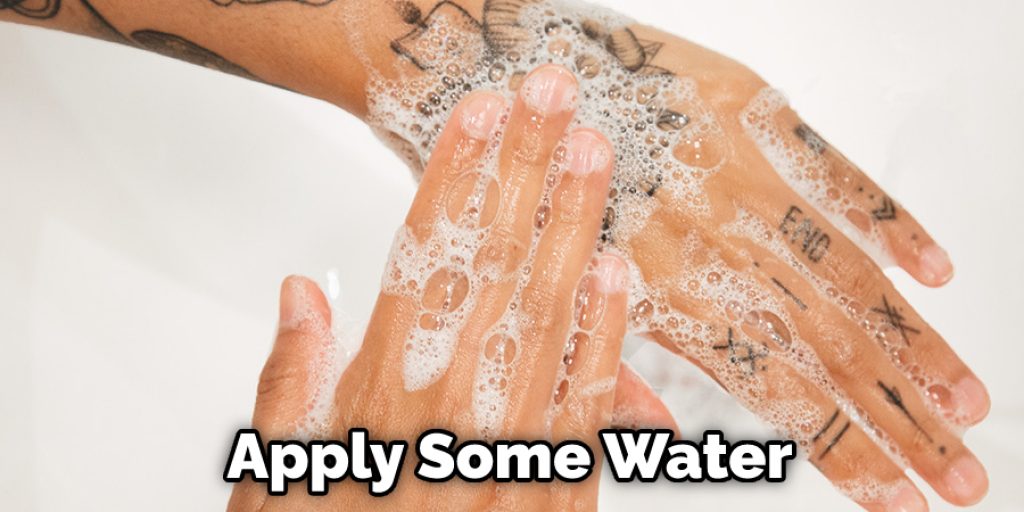
Finally, apply some water to the backside of this temporary tattoo and press it firmly against your skin. Remove any excess water by pressing down on the edges with tissue paper or a dry cloth before drying off completely.
When ready, remove the paper backing carefully without damaging your new tattoo, and see what beautiful artwork you have created! However, remember that your painting will not last forever as professional artists produce permanent tattoos; it will only last for about six days when worn properly since it is only made of wax paper.
Precautions:
- You must be careful not to let the wax, which is hot when melted, touch your skin or any part of your body.
- You must also put a cloth over the spot where you intend to place the wax paper on your skin.
- If you accidentally burn yourself with the melted wax, pour cold water on it until it stops hurting.
- Never use a candle–it doesn’t have enough heat to melt off the layer of wax paper that covers your skin and can cause burns if you use it in an attempt to do so. Remember Safety first!
- Before applying temporary tattoos made by using colored pencils, remove all sharp points from them so that no one gets hurt while trying to take them off after they’ve been applied. Sharp points can also cause discomfort under the skin since they don’t go all the way through.
Frequently Asked Questions
Can You Make a Temporary Tattoo With Regular Paper?
Yes, you can make a temporary tattoo with regular paper. All you need is some ink and a piece of paper.
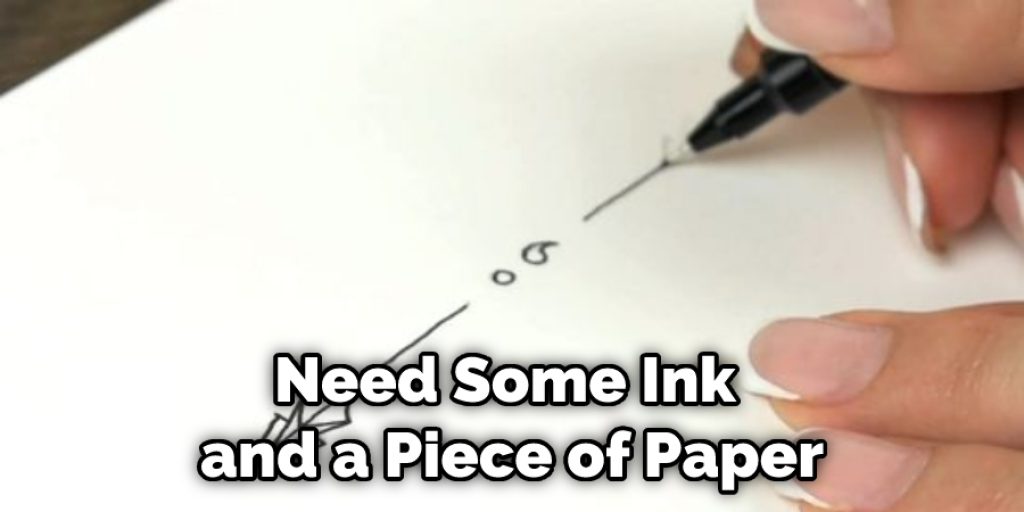
To make the tattoo, start by drawing a simple design on paper. Then, dip the paper into the ink and place it on your skin where you want the tattoo to be. Once it’s dry, remove it with gentle pressure.
What Can I Use for Tattoo Transfer Paper?
Many types of transfer paper can be used for tattooing. The most popular type is the temporary tattoo transfer paper. This type of paper is designed to be removed with soap and water.
Other types of transfer papers include the disposable transfer paper, designed to be used once and then thrown away, and the permanent tattoo transfer paper, designed to be used multiple times and then discarded.
What Is Tattoo Stencil Paper Made of?
Tattoo stencil paper is made of a special type of paper that is designed specifically for tattooing. This type of paper is very absorbent and allows ink to be transferred easily from the tattoo machine to the tattooed area.
This type of paper also allows for easy removal of tattoos, which is important if you want to keep your tattoos looking their best.
Can You Freehand on Thermal Paper?
Yes, you can freehand on thermal paper. However, it is important to remember that the ink will not last as long as if it was printed using a printing press.
Conclusion:
So, now you know how to make a temporary tattoo with wax paper. You can also use the same method to create other kinds of decorations that kids will love at parties or as part of your costume at school functions. This is definitely one activity that they would love to do!


