
How to Knit a Leaf
Knitting a leaf is a delightful project that combines creativity with skill, allowing crafters to produce charming decorative pieces or useful items. Whether you’re an experienced knitter or a beginner looking to expand your techniques, creating a leaf design can add a touch of nature to your fabric creations.
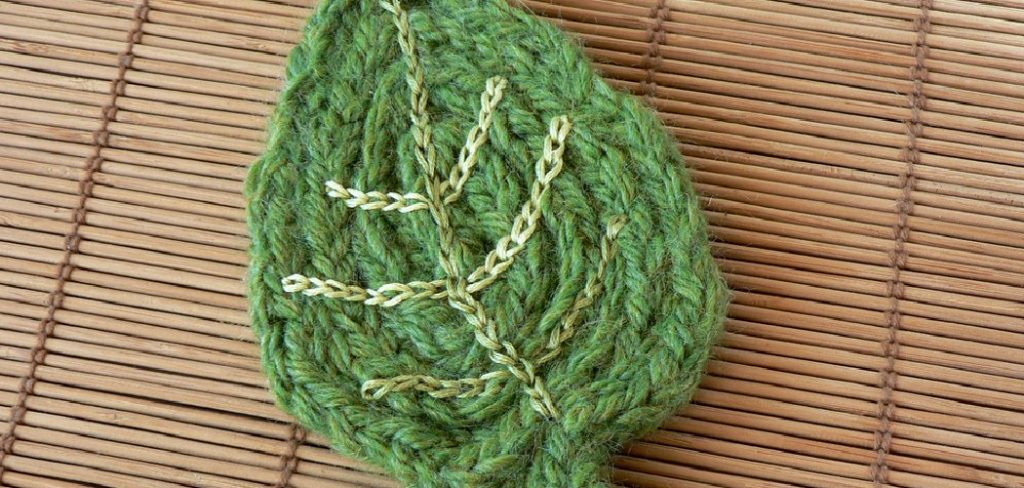
In this guide on how to knit a leaf, we’ll explore the materials and steps needed to knit a beautiful leaf, perfect for embellishing scarves, hats, or home decor. Let’s dive into the world of knitting and bring some foliage to life!
Why Knit a Leaf?
Knitting is an art form that has been around for centuries, with origins dating back to ancient Egypt. It’s a versatile craft that can be used to create a wide range of items, from clothing and accessories to household items and decorations.
One of the reasons why knitting is so beloved is its ability to imitate nature. Leaves, in particular, are a popular motif in knitting designs, as their organic and intricate shapes lend themselves well to the craft. By learning how to knit a leaf, you can add an extra touch of beauty and uniqueness to your projects.
Materials Needed
Before we dive into the steps for knitting a leaf, let’s go over the materials you’ll need for this project:
Yarn:
Choose a yarn in any color or weight that appeals to you. You can even mix different colors or textures for added effect.
Knitting Needles:
Use a pair of needles that are appropriate for the yarn you’ve chosen. Generally, thicker yarns require larger needles and thinner yarns require smaller needles.
Scissors:
For cutting the yarn at the end of your project.
Tapestry Needle:
Used for weaving in loose ends and finishing touches.
Stitch Markers:
Optional but helpful for keeping track of your stitches.
8 Step-by-step Guidelines on How to Knit a Leaf
Step 1: Cast On
To begin knitting your leaf, you will first need to cast on stitches. Start by making a slipknot with your yarn and place it on one of your knitting needles. From this slipknot, cast on a total of 12 stitches to create the base of your leaf.
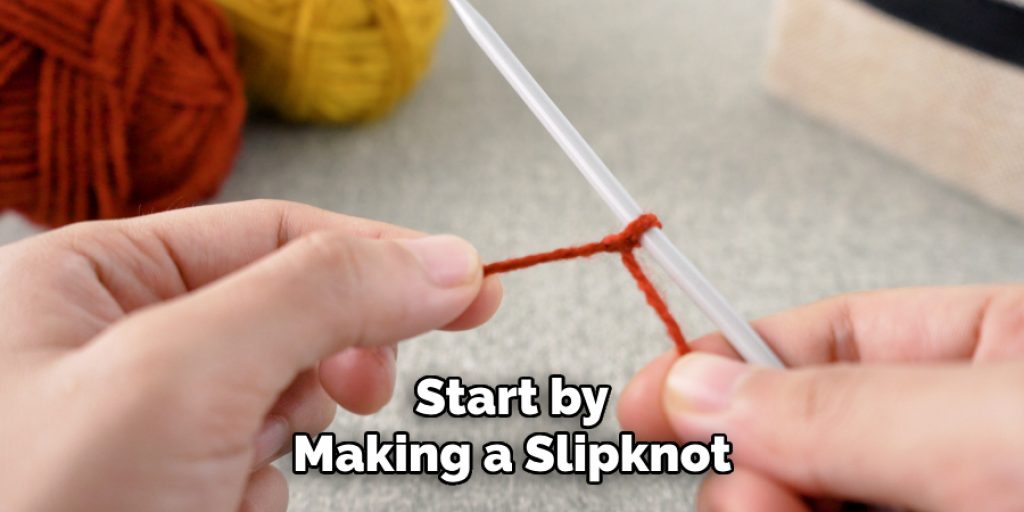
Make sure that your stitches are evenly spaced on the needle, allowing for a comfortable start to your knitting project. Once you have cast on the required number of stitches, you are ready to begin shaping your leaf!
Step 2: Knit the First Row
Once you have cast on your 12 stitches, it’s time to knit your first row. Hold the needle with the cast-on stitches in your left hand and take the empty needle in your right hand. Insert the right needle into the first stitch on the left needle from front to back. Wrap the working yarn around the right needle, then pull it through the stitch, creating a new stitch on the right needle.
Slide the original stitch off the left needle. Continue this process until you’ve knitted all 12 stitches across the row. After completing the first row, you should have a good foundation from which to shape your leaf further.
Step 3: Increase Stitches
To shape the leaf, you need to increase stitches on one side of your work. Start by knitting the two stitches that are closest to the tip of your needle. Then, make a stitch in the space between these two stitches by lifting up the horizontal thread that connects them and placing it onto your left needle.
Knit this lifted stitch through its back loop, creating an extra stitch on your right needle. One stitch has now been increased! Continue working in this way until all 12 stitches have been knitted across once again.
Step 4: Knit Purlwise
For this step, instead of inserting your right needle into the front of the stitch on your left needle, you will insert it into the back. This is called knitting purlwise and creates a twisted stitch that will add texture to your leaf design.
You should knit 3 stitches purlwise, then knit the remaining stitches in the normal way.
Step 5: Slip Stitches
In this step, you will begin to create the leaf’s distinct shape by slipping stitches to form a point. Start by slipping the first stitch purlwise, which means you won’t be knitting or purling it; simply move it from the left needle to the right needle without working into it. Follow this by knitting the next stitch and then slipping another stitch purlwise.
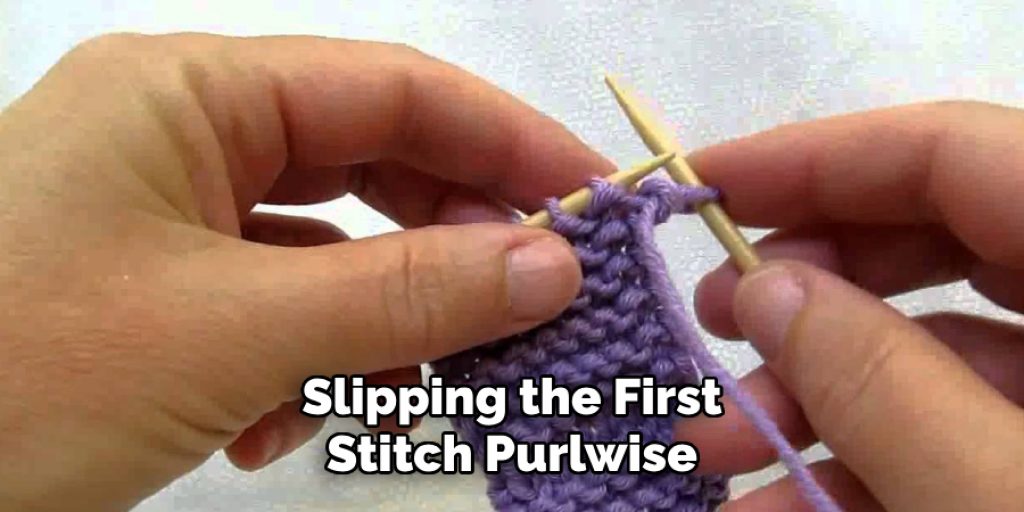
Repeat this process until you reach the last two stitches on your needle. Finally, knit the last two stitches to secure the row. This technique will give your leaf a nice tapered point, essential for achieving that natural leaf-like appearance.
Step 6: Decrease Stitches
Just as you increased stitches in step three, you will now decrease them to create the leaf’s tip. To do this, knit the first two stitches together through their back loops and then purl the next stitch. Continue working in this manner until there are only three stitches remaining on your needle.
At this point, knit the last two stitches together and transfer the remaining stitch back onto your left needle. You should now have six stitches altogether.
Step 7: Knit Two Rows
Now that you have shaped your leaf with the previous steps, it’s time to create some depth and texture by knitting two additional rows. Simply continue to knit every stitch across each of these two rows without any increases or decreases. This will allow the leaf to gain some body and help set the stage for the final touches.
Make sure to maintain a consistent tension as you work, as this will contribute to a smooth and aesthetically pleasing result. After you finish these two rows, you will be one step closer to completing your beautiful knitted leaf!
Step 8: Bind Off
To finish your knitted leaf, you will need to bind off the stitches. Start by knitting two stitches and binding them off in the usual manner. Follow this by working one decrease stitch – knit two together through their back loops.

Repeat this process until all of the stitches have been bound off except for one. Once there is only one stitch remaining on your needle, cut the yarn with a few inches left and use a tapestry needle to pull the yarn through the last loop. This will secure your work and create a neat edge.
How Much Time Will It Take?
The time required to complete your knitted leaf project can vary based on your knitting experience and the intricacy of your design. On average, beginners might spend around 1.5 to 2 hours to complete the leaf, allowing extra time for understanding the techniques and following the steps carefully.
More experienced knitters may find that they can finish in approximately 30 to 45 minutes, especially if they are familiar with the stitches and methods involved. Regardless of your skill level, take your time to enjoy the process and create a beautiful piece!
Frequently Asked Questions
Q: Can I Use a Different Yarn Weight for This Project?
A: Yes, you can choose any yarn weight that you prefer. Just remember to adjust your needle size accordingly to achieve the desired tension. It’s recommended to use thicker yarn for a larger leaf and thinner yarn for a smaller leaf.
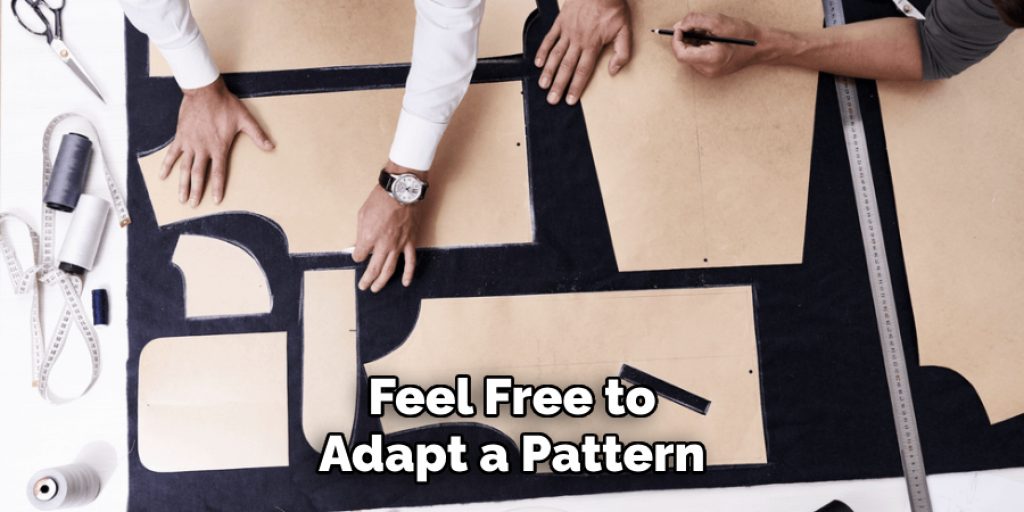
Q: Can I Make Changes to the Pattern?
A: Absolutely! This guide is just one approach to knitting a leaf, but feel free to get creative and make changes as you see fit. You can experiment with different stitches, colors, and needle sizes to create unique variations of this project.
Q: What Level of Knitting Skill is Required for This Project?
A: This project is suitable for knitters of all skill levels, although it may be beneficial to have some basic knowledge of knitting techniques such as casting on and binding off. With practice and patience, anyone can successfully knit a beautiful leaf.
Q: Can I Use This Pattern to Knit Other Shapes?
A: While this guide specifically focuses on knitting a leaf, the techniques and stitches used can certainly be applied to other shapes and designs. Feel free to adapt this pattern to create different knitted items such as flowers, stars, or even animals. The possibilities are endless!
Conclusion
Knitting a leaf can be a delightful and rewarding project, allowing you to combine creativity with the therapeutic art of knitting. By following the steps on how to knit a leaf outlined above, you not only gain a deeper understanding of various knitting techniques but also create a beautiful piece that can be used in various crafts or as a decorative element.
As you become more comfortable with the process, consider experimenting with different materials, colors, and stitches to create a unique assortment of leaves. Embrace the joy of knitting and let your imagination flourish as you craft your own charming designs!
Elizabeth Davis
Elizabeth is a creative writer and digital editor based in the United States. She has a passion for the arts and crafts, which she developed from a young age. Elizabeth has always loved experimenting with new mediums and sharing her work with others. When she started blogging, she knew that DIYquickly would be the perfect platform to share her tutorials and tips. She's been writing for the blog from the beginning, and her readers love her helpful advice and easy-to-follow instructions. When she's not writing or editing, Elizabeth enjoys spending time with her family and friends.


