How to Knit a Mitered Square
Do you want to learn how to knit a mitered square? With the right tools, some patience and these instructions, you can create this simple pattern that is both beautiful and functional.
Whether you are a beginner or an experienced knitter looking for a new challenge, knitting mitered squares will definitely help sharpen your skills and give you something wonderful to keep or gift. Keep reading on for an easy-to-follow guide on knitting the perfect mitered square!
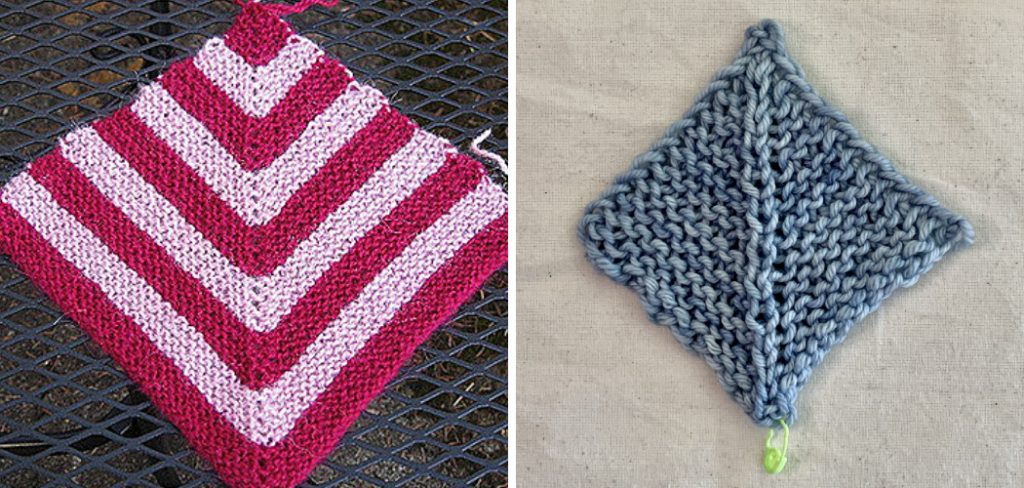
Knitting has been a popular hobby for centuries, with many people finding it an enjoyable form of self-expression and relaxation. One of the more complex knitting projects that can be undertaken is creating a mitered square – but don’t worry because we have your guide to walking through this project step by step!
With patience, practice, and following our instructions carefully, you will soon be able to create beautiful custom knitted mitered squares in no time!
Benefits of a Mitered Square
1. Create Interesting Visual Interest in Any Knitting Project
One of the biggest benefits of a mitered square is the visual interest it adds to any knitting project. Whether you’re making a blanket, scarf, or even a pillowcase, adding a few mitered squares can really make your projects stand out! Creating mitered squares also offers an opportunity for creative expression as there are endless design possibilities with regard to color and pattern combinations.
2. Quick & Easy to Make
Mitered squares are an easy, beginner-friendly project that can be worked up in no time at all! Typically, one mitered square requires only a few rows of basic stitches so even those without knitting experience should be able to make several in just a few hours.
3. Portable & Perfect For On-the-Go Knitting
Mitered squares are the perfect project for knitting on the go – they’re relatively small and require just a handful of basic stitches, making them an ideal project to work on while traveling or during short breaks in the day. Plus, mitered squares can be combined into larger projects at a later date, meaning they’re perfect for knitting on the go without having to commit to a full project.
4. Economical Option
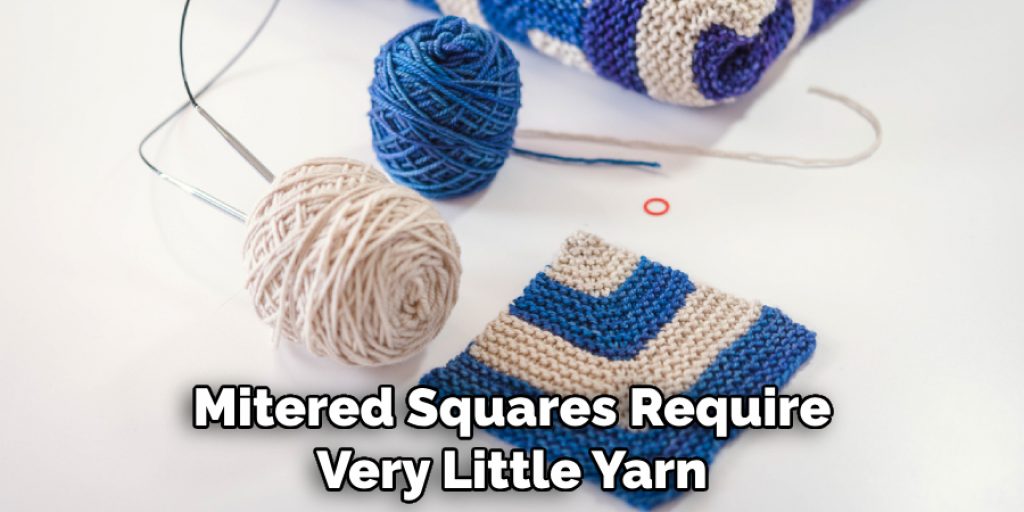
Mitered squares require very little yarn and are usually worked up in just a few hours – making them an ideal economical option for those who want to get the most out of their yarn. If you have a few spare skeins lying around, mitered squares are an easy way to use them up without committing too much time or money.
5. Versatile & Easy To Adapt
Mitered squares can easily be adapted for a variety of knitting projects – from blankets and pillows to hats and scarves. Additionally, they can be combined in a variety of ways to create unique designs and patterns that are sure to stand out! With just a few simple changes in color or pattern, mitered squares can easily be transformed into something entirely new.
Overall, mitered squares offer an easy, economical way to add visual interest to any knitting project. With just a few basic stitches, you can create something that is truly unique and sure to impress! So if you’re looking for a fun new way to spice up your knitting projects, why not try out the mitered square? You won’t regret it!
How to Knit a Mitered Square in 5 Easy Steps
Step 1: Gather All The Tools
The very first step is to prepare all the tools you need. This includes a pair of knitting needles, yarn, and a stitch marker or clipboard. Also, you have to make sure that you have some scissors and tapestry needles for weaving in the ends.
Step 2: Cast On The Stitches
Once you’ve gathered all the tools, it’s time to cast on the stitches. Start by casting on a number of stitches equal to the desired width of your mitered square. Make sure that you leave a tail of at least 6 inches for weaving in the ends. Once you have cast on all the stitches, slide them onto your needle and secure with a stitch marker or clipboard.
Step 3: Knit The Garter Stitch
Now that the stitches are on your needles, it’s time to start knitting. Begin by knitting the garter stitch. This involves alternating knit and purl stitches in each row until you reach your desired number of rows.
Step 4: Create The Mitered Square
Once you have reached the desired number of rows, it’s time to create the mitered square. To do this, increase one stitch at the beginning of each row, until you have reached the desired width of your mitered square.
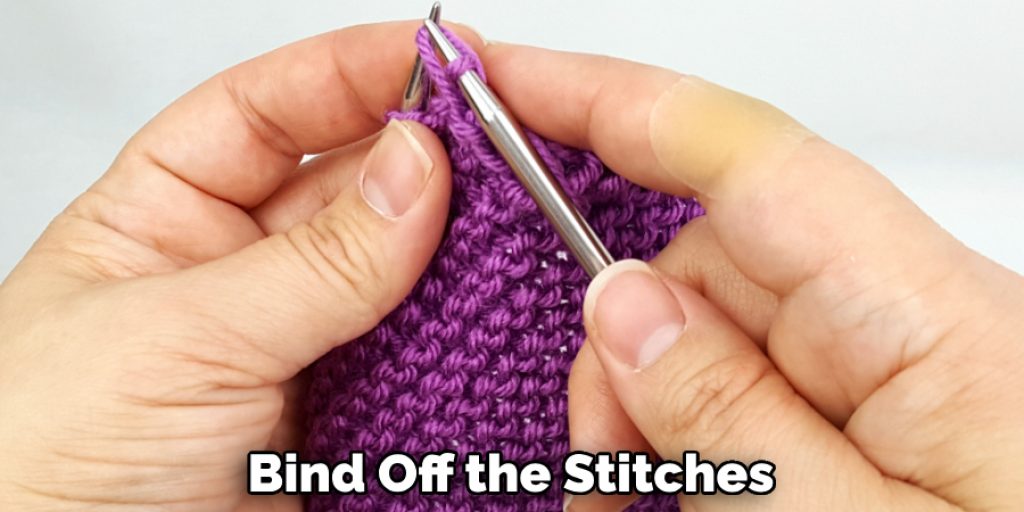
Step 5: Bind Off The Stitches
Once you have finished knitting the mitered square, it’s time to bind off the stitches. To do this, slip one knit stitch over another until all the stitches are gone. Once you have finished binding off, weave in the ends and your mitered square is complete! Congratulations!
By following these 5 easy steps, you can easily knit a mitered square. Have fun and enjoy your creation! Happy knitting!
Some Tips to Knit a Mitered Square
1. Do Not Be Intimidated by the Pattern
Knitting a mitered square may seem complicated, but it’s really just a simple combination of knit and purl stitches. Once you get the hang of it, you can whip up several squares in no time! Also, make sure to read through the pattern several times and understand the instructions before you begin.
2. Use a Single Color
Mitered squares look best when knit in a single color, as it will give the square definition and visual interest. With that said, feel free to experiment with different yarns and colors if desired! Also, make sure to choose a yarn weight that corresponds to the size of the needles you’re using.
3. Pay Attention to Your Gauge
When knitting mitered squares it is very important to pay attention to your gauge. If your gauge is off, it can throw off the entire shape and size of the square. Make sure that you’re checking your gauge regularly while knitting.
4. Work from the Center Out
When it comes to mitered squares, it is always best to work from the center out. This will give you a square shape with sharp corners and an even distribution of stitches. If possible, try to measure as you knit in order to ensure that your square is the correct size.
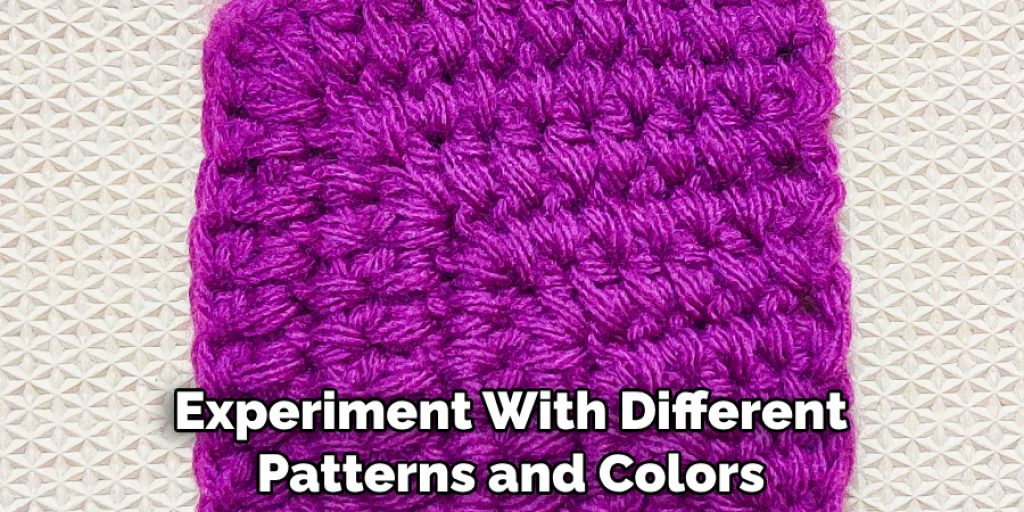
5. Experiment with Different Patterns and Colors
Finally, don’t be afraid to experiment with different patterns and colors when knitting a mitered square! Try using different types of yarns or adding stripes for visual interest. The possibilities are endless – have fun!
Following these tips will help you to knit a mitered square that looks beautiful and is the correct size. With practice, you will soon become an expert at knitting mitered squares! Happy knitting!
Frequently Asked Questions
What Precautions Should I Take While Knitting a Mitered Square?
When knitting a mitered square, it is important to be mindful of the tension you are using. Using too much tension can make your stitches look tight and crooked while using too little can result in sloppy-looking stitches.
Additionally, you should take care when changing colors or switching yarns, as this can lead to unevenly knitted squares. Finally, it is important to pay attention to the pattern and take your time when knitting the square – mistakes can be hard to fix in mitered squares.
What Is a Mitered Square Used For?
Mitered squares are often used for projects like blankets, scarves, and afghans. They can also be used as part of a more complex pattern, such as a sweater or shawl. Mitered squares are great for adding visual interest to a project due to their angular shape. Additionally, mitered squares are popular because they are relatively easy to knit compared to other knitting patterns.
What Is the Best Way to Join Mitered Squares?
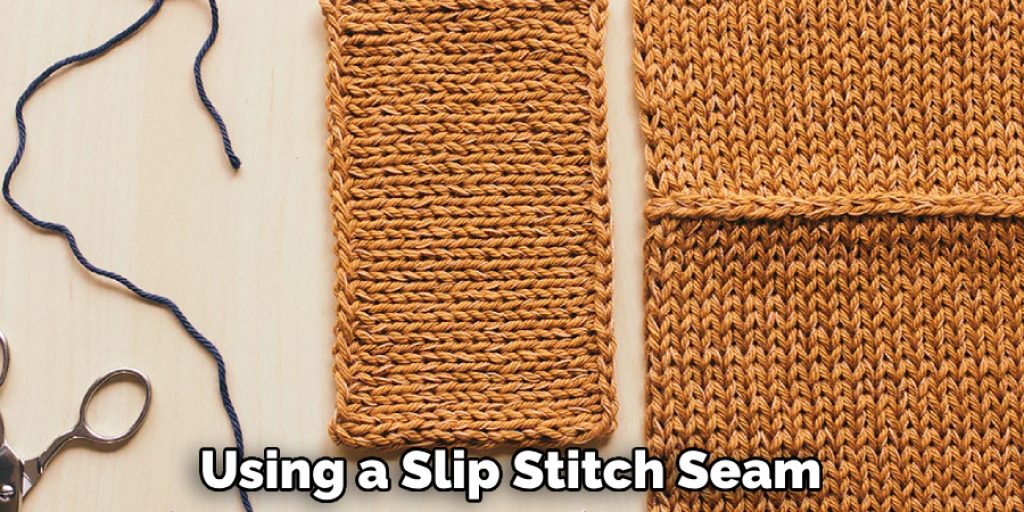
The best way to join mitered squares together is by using a slip stitch seam. This method involves inserting your needle into the edge of the square you are joining, then pulling a loop of yarn through and slipping it over the end of your needle. This creates a neat and secure seam that will keep your squares together. You can also join mitered squares with an invisible slip stitch, which is slightly more complicated but has the same result.
Conclusion
Knitting mitered squares is a great way to dive deeper into the art of knitting. Not only are they beautiful and challenging, but they also provide an excellent foundation for mastering more complex knitting techniques. Plus, it’s fun and rewarding to see your project grow as you continue to knit.
Now you know how to knit a mitered square! With patience and practice, you can master this technique in no time! And when you’re done, don’t forget to take a moment to appreciate all the hard work that has gone into creating such a unique piece of textile artwork. Just remember — where there’s a miter, there’s a way!

