How to Knit a Tree Skirt
Knitting a tree skirt is a delightful way to add a personal touch to your holiday decor. This project not only allows you to showcase your creativity but also creates a warm and inviting atmosphere during the festive season. Whether you are a seasoned knitter or a beginner eager to learn, crafting a tree skirt can be an enjoyable and fulfilling experience.
In this guide on how to knit a tree skirt, we will walk you through the process step-by-step, providing tips and techniques to help you create a beautiful tree skirt that will become a cherished part of your holiday traditions.
What is a Tree Skirt?
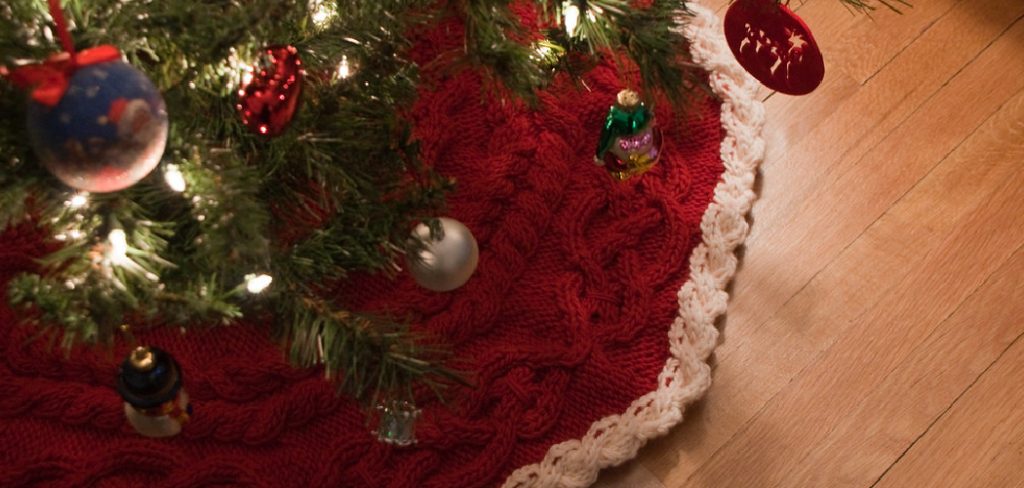
A tree skirt is a circular piece of fabric or knitted material that is placed around the base of a Christmas tree. Its purpose is to cover the unsightly tree stand and provide a decorative element to your holiday decorations.
It also serves as a functional piece to catch any needles that may fall off the tree and protect your floor from scratches. Tree skirts can be purchased in stores, but knitting one yourself allows you to customize it according to your preferred style, size, and color scheme.
Materials You Will Need
Before you begin knitting, it is important to gather all the necessary materials. This will ensure a smooth and efficient process.
Yarn:
Choose a soft, chunky yarn in colors that match your holiday decor. Acrylic or wool blend yarns are ideal as they are easy to work with and provide a cozy texture. The amount of yarn needed will depend on the size of your tree skirt, but approximately 500-800 yards should be enough for a standard-sized tree.
Knitting Needles:
Use circular needles in the appropriate size for your chosen yarn. For thicker yarns, use larger needle sizes (9mm or above) to create a looser knit. This will also make the project quicker to complete.
Scissors:
A good pair of scissors is essential for any knitting project. Make sure they are sharp and suitable for cutting through thick yarn.
Stitch Markers:
Stitch markers help you keep track of your stitches and ensure that you are following the pattern correctly. They can be bought at any craft store or easily made with a piece of contrasting yarn.
Tape Measure:
A tape measure is necessary for measuring the circumference of your tree skirt as well as to gauge the length and width of each section.
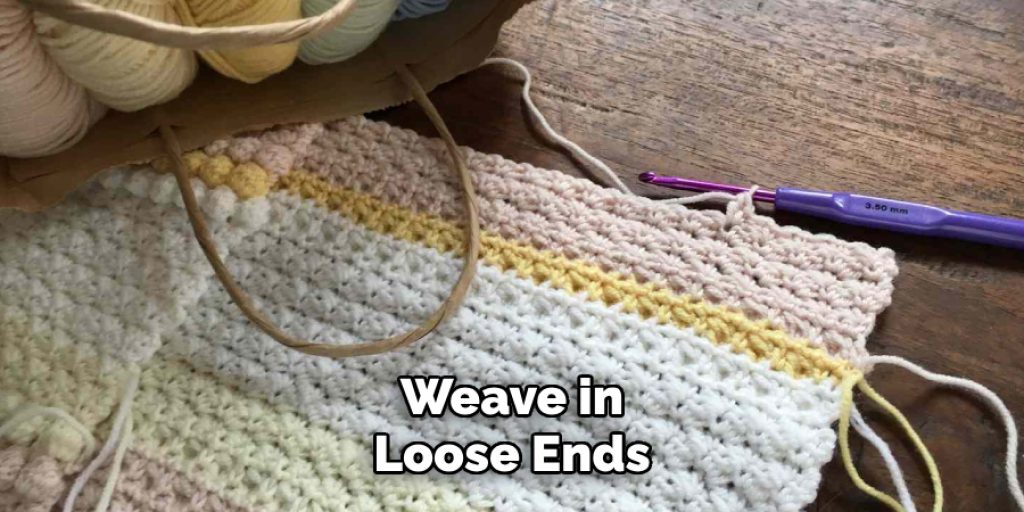
Darning Needle:
You will need a darning needle to weave in loose ends and sew up any seams. Choose one with a large eye to make threading easier.
8 Step-by-step Guidelines on How to Knit a Tree Skirt
Step 1: Choose Your Pattern
Selecting the right pattern is crucial to achieving the desired look for your tree skirt. There are numerous designs available, ranging from simple garter stitch to intricate lace patterns. Consider your skill level and the time you want to invest in this project. For beginners, a basic circular pattern with simple knit and purl stitches is recommended, while more experienced knitters may enjoy experimenting with more complex designs that incorporate color changes or decorative stitches.
Look for inspiration in knitting books, online resources, or craft stores to find a pattern that resonates with your style and complements your holiday decor. Once you’ve chosen your pattern, take note of the specific yarn requirements and stitch counts to ensure a successful knitting experience.
Step 2: Cast On
Once you have selected your pattern, the next step is to cast on your stitches. For a circular tree skirt, you will generally begin by casting on a set number of stitches based on your pattern. To start, make a slipknot and place it onto your circular needle. From there, continue to cast on the required stitches, ensuring they are loose enough to allow for easy knitting in the following rounds. A common method is the long-tail cast-on, which creates a clean and stretchy edge.
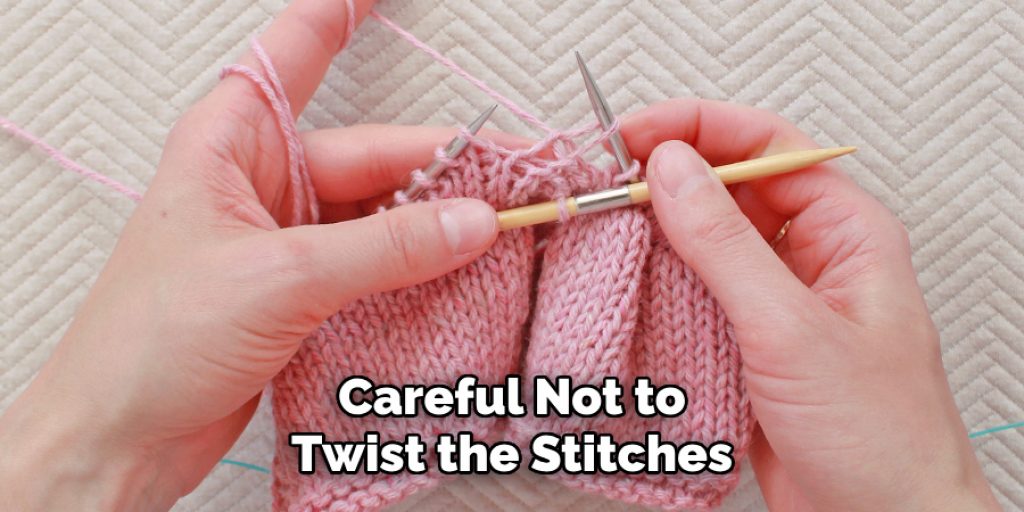
After casting on, take a moment to check your stitch count, as accuracy is essential for maintaining the intended shape of your tree skirt. Once you have the correct number of stitches, connect the ends of your work, being careful not to twist the stitches, and prepare to begin the first round of your chosen pattern.
Step 3: Knit in the Round
Now that you have cast on your stitches and joined your work in the round, it’s time to start knitting! Follow the pattern you selected by working the first round, which usually consists of a combination of knit and purl stitches. Keep your tension consistent to ensure an even and attractive finish. As you knit, be mindful of the stitch markers; they can help you keep track of your pattern repetitions or any increases that may need to occur as you progress.
For a solid fabric, continue to knit in the round, following your pattern instructions. If your design incorporates color changes or decorative stitches, pay close attention to the guidance provided. Remember to periodically check the overall shape to ensure it aligns with your intended size. As you knit, take pleasure in the rhythmic motion and watch your tree skirt take form, creating a warm and inviting accessory for your holiday celebrations. Enjoy the process and don’t rush—this is a time to express your creativity!
Step 4: Create the Centre Hole
After knitting several rounds, you will need to create a hole in the center of your tree skirt for the tree stand to pass through. To do this, knit a few stitches with contrasting yarn or scrap yarn, then slip them back onto the left-hand needle. Knit these stitches once more with your main yarn before continuing with your pattern. This technique creates a loop that can be easily cut out later when finishing your project.
As you continue knitting, make sure to keep track of which rows include these extra stitches so that you can remove them correctly at the end.
Step 5: Divide into Sections
Once you have reached your desired diameter for the tree skirt, it’s time to divide your work into sections. Using stitch markers or a contrasting yarn, mark off equal sections around your knitting. Depending on the design of your tree skirt, these sections may be plain knit stitches, lace patterns or color changes.
As you progress through each section, take care to maintain consistent tension and follow the pattern instructions accurately.
Step 6: Bind Off
When you have completed all the necessary rounds for your chosen pattern and section divisions, it’s time to bind off. This process creates a neat edge that secures your stitches in place and finishes the project beautifully.
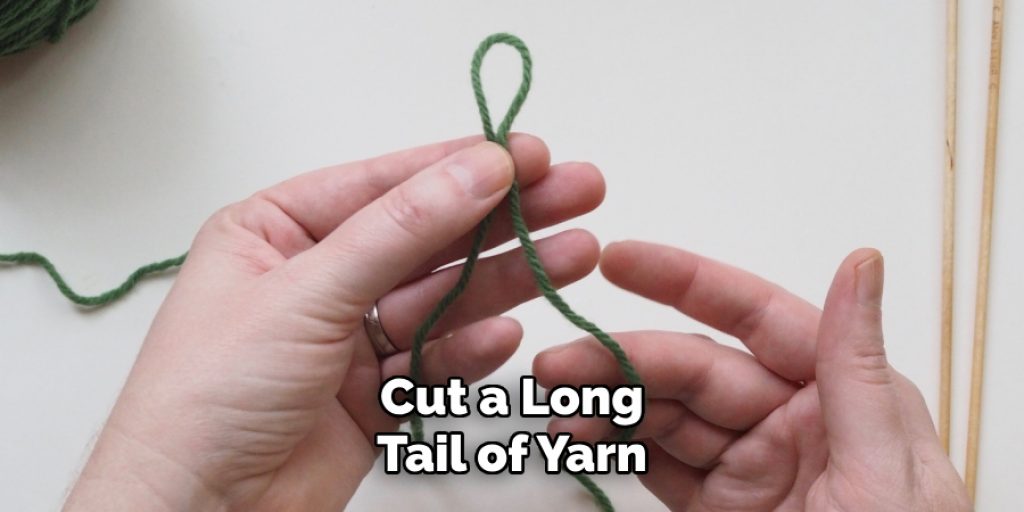
To bind off in circular knitting, knit two stitches as normal and then pass the first stitch over the second one, dropping it off the right-hand needle. This process is then repeated until you have one stitch remaining on your right-hand needle. Cut a long tail of yarn and pull it through the last loop to secure your work.
Step 7: Finishing Touches
With your knitting complete, it’s time to remove any temporary stitch markers or scrap yarn and tidy up any loose ends. Thread a darning needle with a length of yarn that matches your project and weave in all loose ends on the wrong side of your tree skirt.
If desired, block your finished piece by soaking it in lukewarm water for several minutes before laying it flat to air dry. This will help even out any tension inconsistencies and give your tree skirt a polished look.
Step 8: Dress Up Your Tree Skirt
Now that your tree skirt is complete, it’s time to showcase it around your tree! Place the center hole over the base of your tree stand and adjust the fabric as needed to create a beautiful drape around the base of your tree. Add some decorative accents, such as ribbons, bows, or ornaments, to make it truly unique and festive.
Following these simple steps on how to knit a tree skirt, you can create a personalized and special addition to your holiday decorations that you will cherish for years to come. So gather your supplies, select a pattern, and get ready to knit up some holiday cheer with a beautiful circular tree skirt. Happy knitting!
Frequently Asked Questions
Q: What if I Make a Mistake While Knitting My Tree Skirt?
A: Don’t worry, mistakes happen! Depending on the type of error, you can either carefully unravel your work to that point and fix it or incorporate it into the design and continue. Remember to always check your pattern instructions for guidance.
Q: How Can I Personalize My Tree Skirt Design?
A: There are many ways to add personal touches to your tree skirt, such as incorporating different colors, stitches or patterns. You can also use embroidery or applique techniques to add names, dates or other festive designs. Get creative and make it unique to you!
Q: Can I Use Circular Needles for All Steps of Knitting a Tree Skirt?
A: Yes, circular needles can be used for casting on, knitting in the round, and binding off when creating a tree skirt. They provide a continuous loop that allows for ease of movement and even tension throughout the project. So go ahead and embrace those circular needles!

Conclusion
Knitting a tree skirt is not just a craft; it’s a delightful journey that culminates in a cherished holiday accessory. By following each step on how to knit a tree skirt with care, from casting on to adding finishing touches, you not only create something beautiful but also engage in a creative process that can bring joy and relaxation. Whether you opt for a classic design or inject your own personal flair, remember that the time spent crafting can be as rewarding as the final product.
As you decorate your tree and unveil your handmade skirt, take a moment to appreciate the love and effort that went into every stitch. Happy knitting, and may your holidays be warm and festive!
Elizabeth Davis
Elizabeth is a creative writer and digital editor based in the United States. She has a passion for the arts and crafts, which she developed from a young age. Elizabeth has always loved experimenting with new mediums and sharing her work with others. When she started blogging, she knew that DIYquickly would be the perfect platform to share her tutorials and tips. She's been writing for the blog from the beginning, and her readers love her helpful advice and easy-to-follow instructions. When she's not writing or editing, Elizabeth enjoys spending time with her family and friends.