How to Protect Floors During Construction
If you’re embarking on a renovation or construction project, there is likely one thing that has occurred to you – how do I protect my existing floors? Any kind of building work seems to come with an array of dust and debris, so it stands to reason that careful measures need to be taken in order to keep your floor coverings safe.
Whether it’s wood, laminate, vinyl or concrete – and whatever other materials might be lurking beneath the surface – floors are often left at a major risk during construction work. In this blog post on how to protect floors during construction, we’ll provide some experienced guidance on what methods can be used to protect them from potential damage!
Needed Materials
Given that there are a few different types of flooring, there is no one-size-fits-all solution when it comes to protecting them during construction work. However, here’s a list of common materials and techniques that can be used to safeguard different types of flooring.
- Hardboard
- Ram Board
- Drop Cloths
- Carpet Shield Film
- Masonite Sheets
- Corrugated Cardboard
- Carpet Offcuts
- Kraft Paper
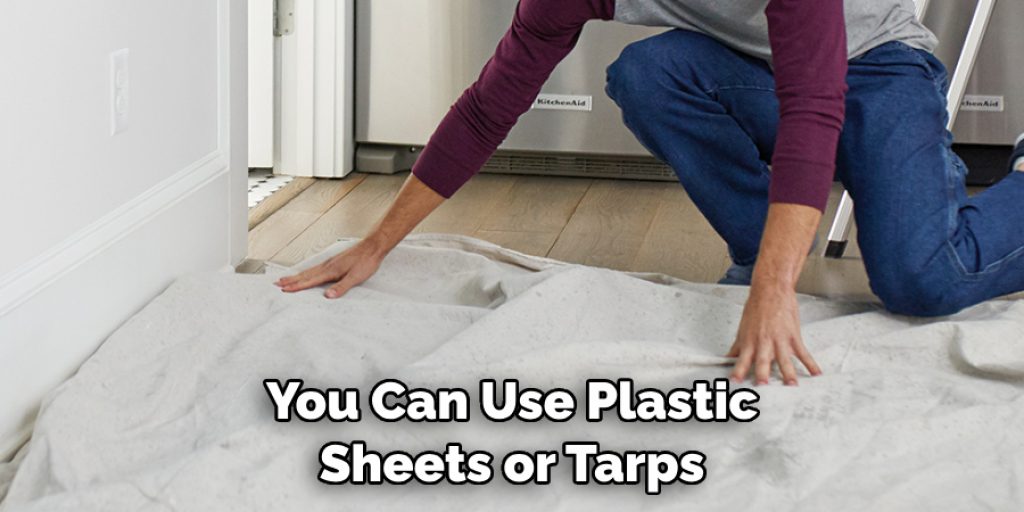
- Plastic Sheets or Tarps
11 Step-by-step Guidelines on How to Protect Floors During Construction
Step 1: Evaluate the Condition of Your Floors
Before you start any construction work, it’s important to assess the condition of your floors. Are there any existing cracks or damages that need to be addressed? By identifying these issues beforehand, you can take appropriate measures to protect them during construction. It’s also a good idea to take photos of your floors before the work begins, so you have evidence in case any damage does occur.
Step 2: Remove All Furniture and Objects From the Area
Before construction starts, make sure to remove all furniture, rugs, and other objects from the area. This will not only protect them from potential damage but will also give workers more space to move around and work efficiently. It’s also a good idea to cover and secure any objects that cannot be removed, such as built-in cabinets or appliances. You can use plastic sheets or tarps for this purpose.
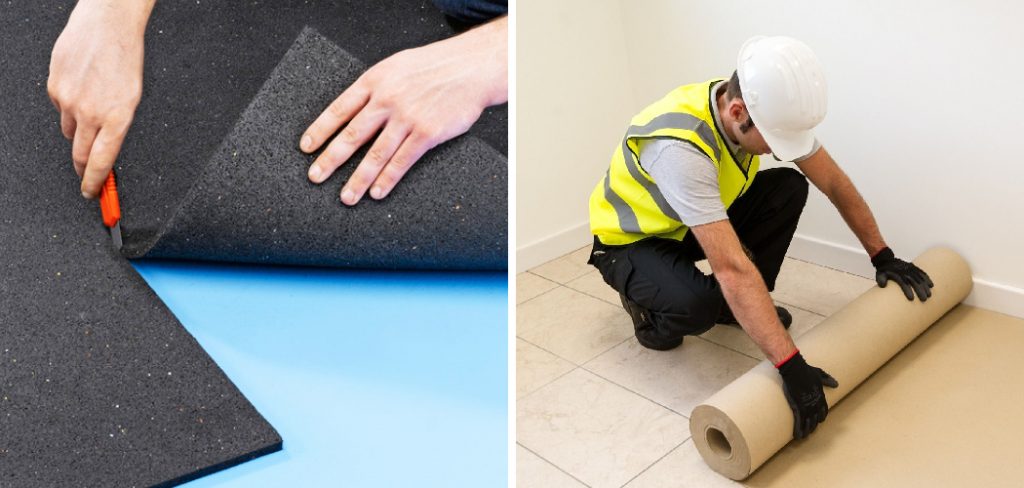
Step 3: Cover Floors with Protective Materials
One of the simplest and most effective ways to protect your floors during construction is by covering them with protective materials. These can include plastic sheets, drop cloths, or even old carpets. Make sure to cover the entire area where construction will take place. Otherwise, debris and dust can still seep through and cause damage. It’s also important to secure the protective materials in place using tape or other fasteners.
Step 4: Seal Off the Area
If possible, it’s best to seal off the area where construction is taking place. This will prevent dust and debris from spreading throughout your home and damaging other areas. Use plastic sheeting or tarps to create a barrier between the construction zone and the rest of your house. It’s also a good idea to use draft blockers to seal off any gaps or openings that could allow dust and debris to pass through.
Step 5: Lay Down Temporary Coverings
For more heavy-duty protection, consider laying down temporary floor coverings such as plywood or masonite sheets. These can be easily removed once construction is complete without causing damage to your floors.
It’s important to make sure these coverings are securely in place and not at risk of sliding or shifting during construction. You can also use Ram Board, a heavy-duty temporary floor protection product that is specifically designed for construction sites.
Step 6: Protect Floors from Heavy Machinery
If heavy machinery will be used during construction, make sure to protect your floors from their weight and movements. Use plywood or rubber mats as a barrier between the machines and your floors. You can also use wheel or leg protectors to prevent scratches and dents. This is especially important for hardwood or tile floors. It’s also a good idea to check the machines regularly for any leaks or spills that could damage your floors.
Step 7: Communicate with Workers
Make sure to communicate clearly with workers about the importance of protecting your floors. Provide them with any necessary materials and make sure they understand the measures that need to be taken to keep your floors safe. Otherwise, they may not be as careful and accidents can happen. It’s also a good idea to schedule regular clean-ups during construction to prevent debris from accumulating and causing damage.
Step 8: Clean Up Regularly
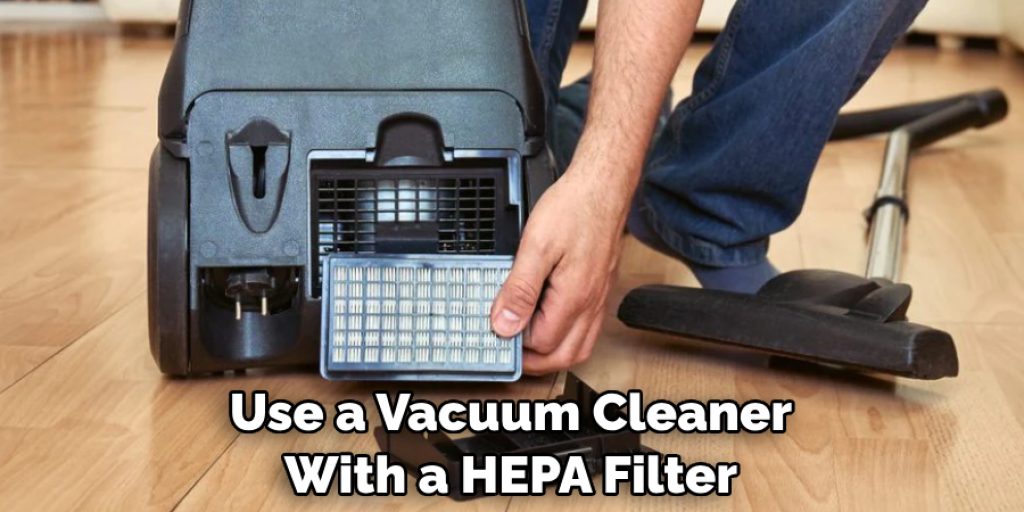
During construction, it’s inevitable that dust and debris will accumulate. Make sure to clean up regularly to prevent these particles from scratching or damaging your floors. Otherwise, they can become embedded in your floors and cause long-term damage. Use a vacuum cleaner with a HEPA filter to effectively remove dust and other particles without releasing them back into the air.
Step 9: Use Protective Floor Mats
If workers need to enter other areas of your home during construction, make sure they use protective floor mats. These can be placed at the entry points and will help prevent dirt and debris from being tracked onto other floors. But make sure to change the mats regularly, as they can quickly become saturated with dust and debris.
Step 10: Monitor the Construction Process
Keep an eye on the construction process and make sure workers are following proper precautions to protect your floors. If you notice any potential issues, address them immediately. It’s also a good idea to schedule regular inspections of your floors during the construction process and after it is complete. But remember to communicate with workers and schedule these inspections at a convenient time for everyone.
Step 11: Inspect Your Floors After Construction is Complete
Once construction is finished, inspect your floors for any damage. If there are any issues, take photos and document them. If necessary, discuss any repairs or compensation with the construction company. Always make sure to thoroughly clean your floors after construction, using appropriate cleaning products for the type of flooring you have.
Following these step-by-step guidelines on how to protect floors during construction will help ensure that your floors remain in great condition even after the work is complete. By taking proactive measures and communicating with workers, you can minimize the risk of damage and save yourself from potential headaches and expenses down the line. Happy renovating!
Do You Need to Use Professionals?
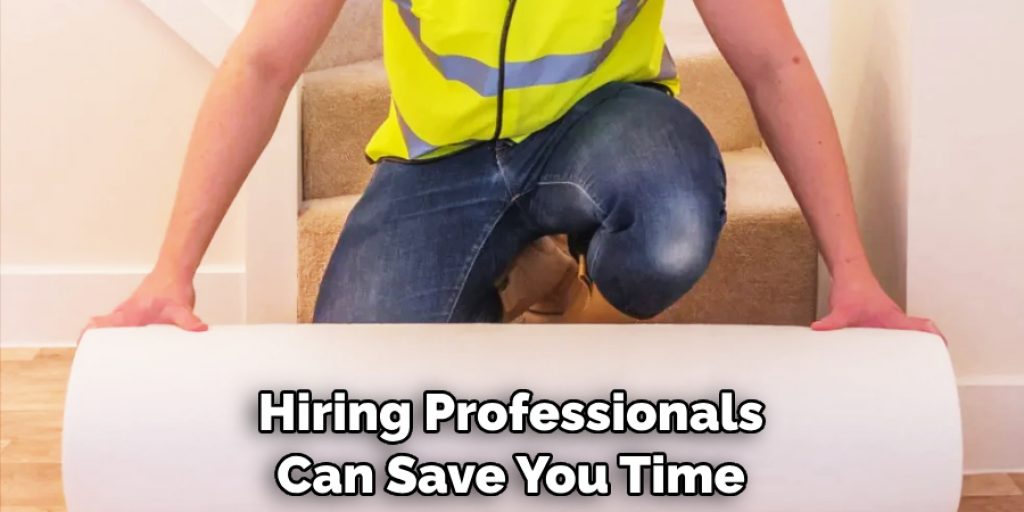
While it is possible to protect your floors during construction on your own, it may be beneficial to hire professionals. Professional contractors have experience and knowledge in protecting floors during construction and can provide the best solutions for your specific flooring type. They also have access to high-quality materials that may not be readily available to the general public.
Hiring professionals can save you time, effort, and the potential stress of dealing with any damage that may occur. It’s important to weigh the costs and benefits before deciding whether or not to hire professionals for your construction project.
Regardless of who you choose, it’s essential to prioritize protecting your floors in order to maintain their beauty and integrity. By following these tips and considering professional help, you can ensure that your floors remain in top condition during and after construction.
So don’t forget to take the necessary precautions and protect your floors, as they are an important part of your home that deserves proper care and attention. Remember, a little extra effort now can save you from costly repairs in the future. Happy renovating!
How Much Will It Cost?
The cost of protecting your floors during construction will vary depending on the materials and methods you choose, as well as the size and complexity of your project. Using plastic sheeting and draft blockers may be a more budget-friendly option, while temporary floor coverings or professional services may come at a higher cost. Be sure to factor in these expenses when planning for your construction project.
Additional Tips for Protecting Floors During Construction:
- Use Caution Tape to Mark Off Areas Where Floors Need to Be Protected.
- Place Protective Mats Under Ladders and Scaffolding.
- Make Sure Workers Wear Clean, Non-marking Shoes at All Times.
- Consider Using a Temporary Floor Finish to Protect Your Floors From Scratches and Damage.
- If You Have Hardwood Floors, Consider Using a Floor Cover With a Rubber Backing to Prevent Moisture From Seeping in.
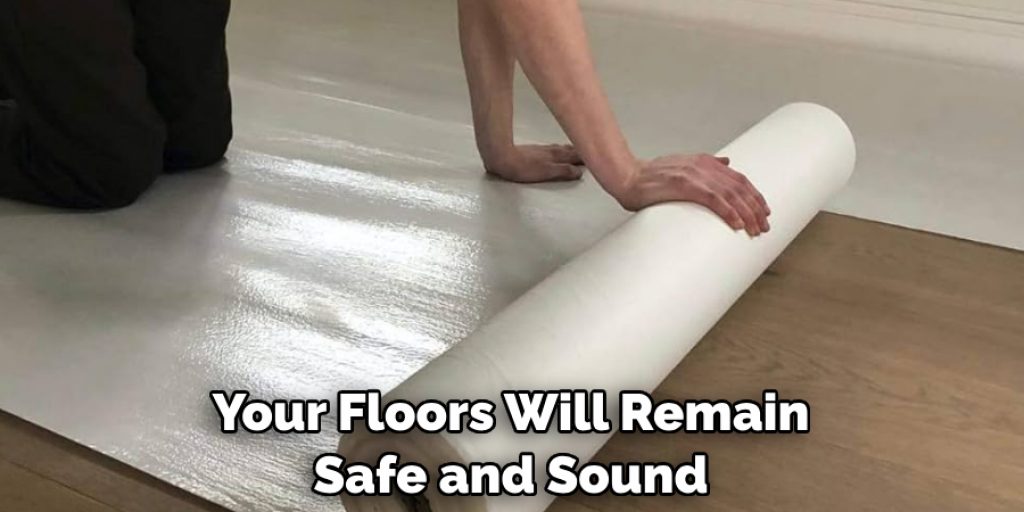
By following these guidelines and taking appropriate precautions, you can protect your floors during construction and ensure they remain in excellent condition once your project is completed. Don’t let the fear of damaging your floors stop you from bringing your renovation or construction dreams to life – with the right protection, your floors will remain safe and sound throughout the process.
Conclusion
Protecting the floors during construction is key to avoiding expensive damage. There are many ways to protect your floors while allowing yourself the freedom to do necessary construction and DIY projects. Using drop cloths and underlays can help create a barrier from debris, dirt, and dust. Additionally, it’s important to remember to remove large furniture or heavy items that could cause damage during construction.
Taking preventive steps is essential in preserving the structural integrity of your home and protecting surfaces such as hardwood, tile, laminate, and vinyl flooring for long-term use. With careful attention and taking the right precautions, you can ensure that your floors will remain intact for years to come. Nobody wants an unexpected surprise when they wake up one morning to find a damaged floor!
That’s why it pays off in the big picture to consider these Tips on how to protect floors during construction Protecting Floors During Construction – to save yourself time, money and energy in the long run!
Angela Ervin
Angela is the executive editor of DIY quickly. She began her career as an interior designer before applying her strategic and creative passion to lifestyle and home. She has close to 15 years of experience in creative writing and online content strategy for housekeeping, home decorations as well as other niche efforts. She loves her job and has the privilege of working with an extraordinary team. She lives with her husband, two sons, and daughter in Petersburg. When she's not busy working she spent time with her family.