
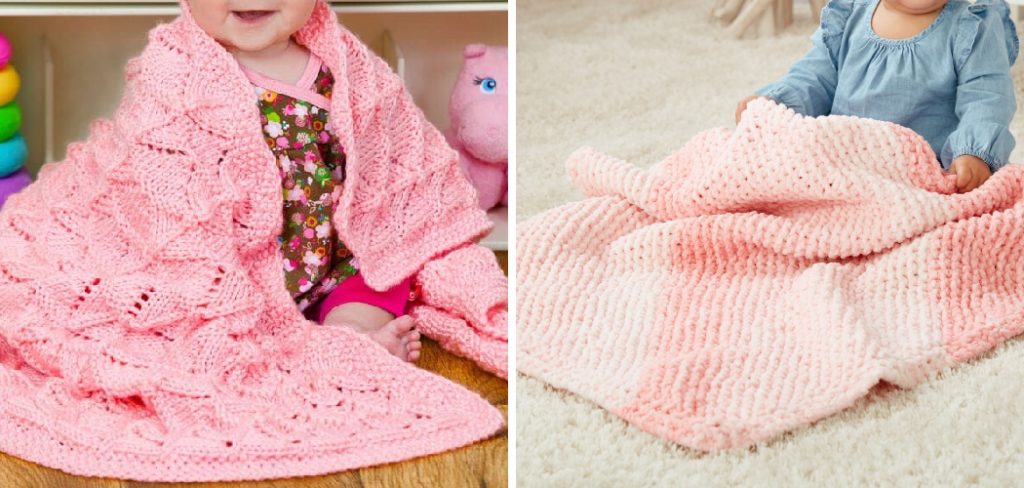
How to Knit Corner to Corner
The corner-to-corner (C2C) knitting technique is a versatile and creative method that allows knitters to construct projects diagonally—starting from one corner and working toward the opposite edge. This innovative approach is perfect for making a variety of items, including cozy blankets, practical dishcloths, and stylish scarves. One of the main advantages of C2C knitting is its adaptability; as you learn how to knit corner to corner, you can easily adjust the pattern for different sizes and designs.
The basic process involves creating triangles and increasing and decreasing stitches as you progress, which helps in building a fabric that is not only visually appealing but also functional. Embracing this technique can open up many opportunities for knitters to explore their creativity and produce unique handmade pieces.
Materials and Tools Needed
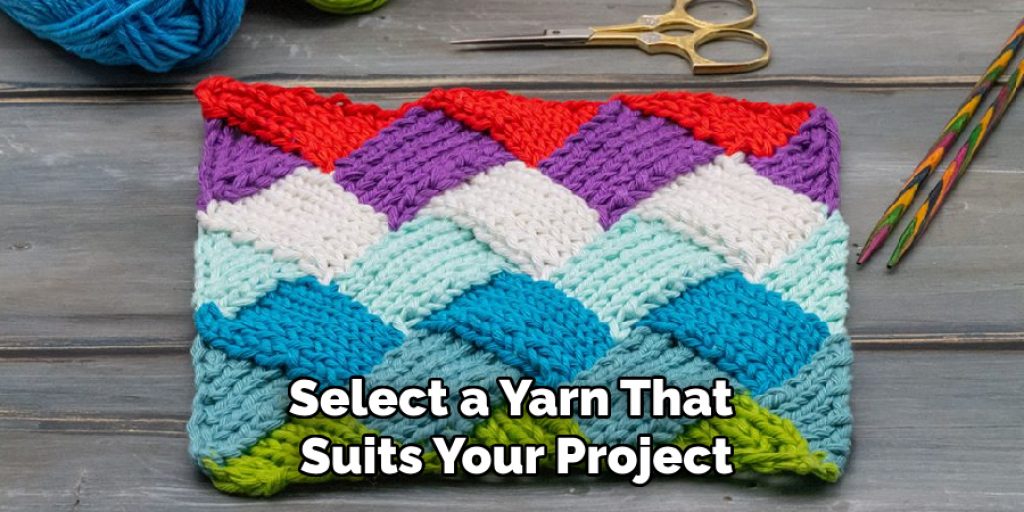
You’ll need a few essential materials and tools to successfully embark on your corner-to-corner knitting journey. Firstly, select a yarn that suits your project; consider the weight, texture, and color—popular choices include worsted weight for its ease of handling. Alongside the yarn, you’ll require a pair of knitting needles, typically size 8 (5mm) for worsted weight yarn, but always check the yarn label for recommendations. Stitch markers are invaluable for keeping track of increases and decreases as you progress.
For those looking to enhance their knitting experience, optional tools can include a row counter to help you maintain your stitch count and a tapestry needle, which is useful for weaving in the ends once your project is complete. Having the right materials and tools on hand will streamline the knitting process and contribute to the overall quality of your finished piece.
Understanding the Corner to Corner Technique
The corner-to-corner (C2C) knitting technique is built on the principle of creating diagonal rows of triangles, allowing for a unique construction method. To begin, you cast on a few stitches at one corner, then progressively increase your stitch count at the start of each subsequent row to form the first triangle. This expansion continues until you reach the desired size for your project. Once the peak is reached, you transition to decreasing stitches at the beginning of each row, which allows you to form the opposite triangle and complete the fabric.
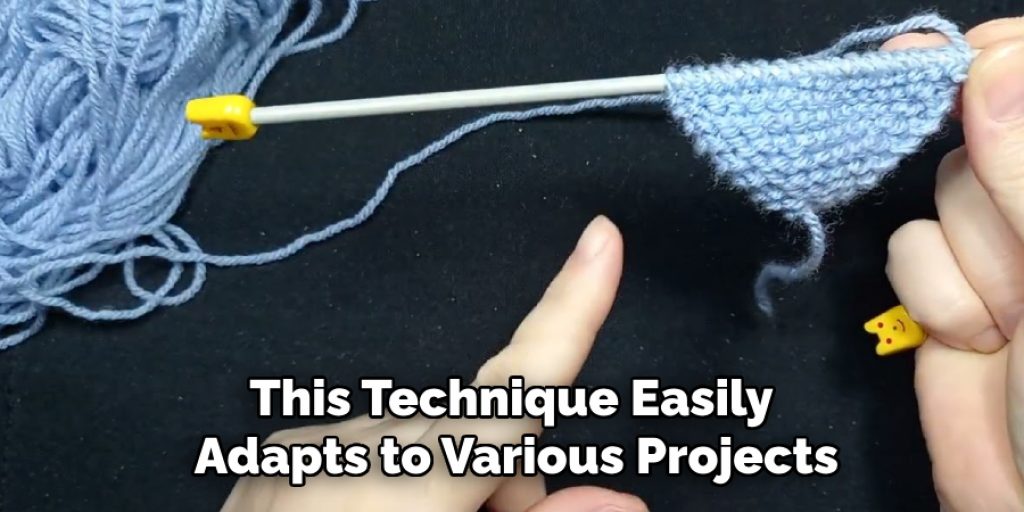
One of the standout benefits of C2C knitting is its versatility; this technique easily adapts to various projects, whether you’re crafting a large blanket or a smaller dishcloth. Additionally, the ease of adjusting sizes is a definite advantage; you can simply add or remove triangles to create the desired dimensions. Understanding the basic structure and associated terminology, such as ‘increases’, ‘decreases’, and ‘triangles’, is essential for mastering this method. As you become more familiar with these elements, you’ll gain the confidence needed to explore complex patterns and embrace your creativity in C2C projects.
Casting On and Starting the First Triangle
To begin your corner-to-corner (C2C) knitting journey, start by casting on a few stitches. A common starting point is to cast on 6 stitches to create a solid foundation. Use a slip knot and your preferred casting-on method to secure these stitches onto your knitting needle. Once you’ve cast on, it’s time to increase stitches to form the first triangle. For each subsequent row, you will add one additional stitch at the beginning. This means your second row will have 7 stitches, the third row will have 8, and so on, continuing until you reach your desired width for the triangle.
As you increase, it’s crucial to maintain a consistent tension to ensure neat edges. Here are a few tips to keep your edges even: Always remember to tighten your yarn after each increase, as loose stitches can lead to gaps. Additionally, be mindful of the way you wrap your yarn around the needles; maintaining a rhythm can foster uniformity in your stitches. Lastly, consider using a stitch marker at the end of your increase row to help track your progress. Following these techniques will enhance your project’s aesthetics and boost your overall confidence as you master the art of C2C knitting. Enjoy the process as you watch your first triangle take shape!
How to Knit Corner to Corner: Increasing Stitches to Build the Fabric
Working the Increase Rows
As you advance in your corner-to-corner (C2C) knitting, mastering the increased rows is essential to successfully build your fabric. Each time you complete a row, you’ll increase the stitch count by one at the beginning of the next row. For example, if your previous row ended with 6 stitches, your next row should have 7 stitches. Continue this pattern, adding stitches until you achieve the desired width for your project. Maintaining a regular stitch count is crucial; therefore, it’s helpful to keep a note of your counts. Using a row counter can be a game-changer, making this process much easier and error-free.
Consider utilizing stitch markers to ensure you are keeping track of your stitches correctly. Placing a marker every ten stitches can help you visually assess your progress and verify that your count remains consistent. Additionally, remember to maintain even tension throughout the increased rows. Tight or loose stitches can create irregularities in your fabric; aim for a comfortable rhythm as you knit.
Forming the Corner
Understanding when to stop increasing and transition to decreasing is vital in forming the corner of your triangle. Generally, this step occurs when your triangle has reached your desired width or length—typically around the size of a small dishcloth or the edge of a blanket. To check measurements, gently stretch the fabric flat and compare it against a ruler or measuring tape, ensuring it aligns with your planned dimensions.
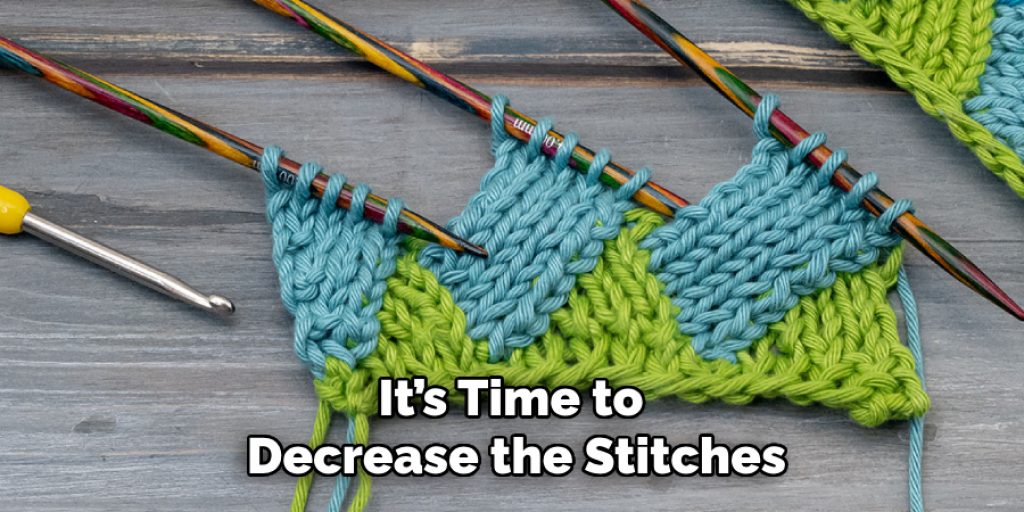
Once you are satisfied with your triangle’s size, it’s time to decrease the stitches. This will involve removing one stitch from the beginning of each row instead of adding one. By keeping an eye on your measurements and being aware of your pattern, you can create a beautifully proportioned project that meets your initial vision. Enjoy watching your triangle transform as you progress through this creative journey!
How to Knit Corner to Corner: Decreasing Stitches to Complete the Fabric
Working the Decrease Rows
Once your triangle has reached the desired size, it’s time to begin the decrease rows. To effectively decrease, simply remove one stitch from the beginning of each row instead of adding one. For instance, if your last row had 10 stitches, the next row should only have 9. Continue this process, meticulously tracking your stitch count to maintain consistency. Using a row counter or a note to keep track of your progress can be beneficial, ensuring that you don’t accidentally miss a decrease. Hold your yarn at a slightly tighter tension while working your decreases to prevent gaps or holes from forming during this transition. This will help maintain the integrity of your fabric and keep your edges looking polished.
Finishing the Final Triangle
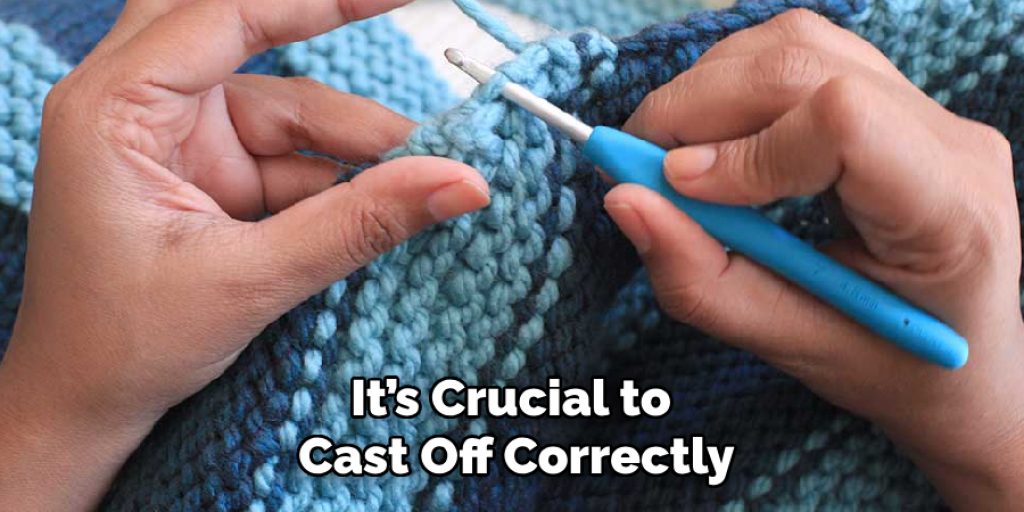
As you near the end of your triangle, you will be left with just a few stitches to complete. Once you’re down to the last few stitches—typically two or three—carefully knit these stitches together to finish the edge. When you’ve completed the final row, it’s crucial to cast off correctly. Use your preferred casting-off method to secure the stitches, ensuring each stitch is nicely locked in place. Finally, cut a long tail of yarn and pull it through the last stitch to secure it. To achieve neat edges, consider weaving in the ends with a tapestry needle, ensuring that any loose threads are concealed within your work. This attention to detail not only enhances the finished look of your project but also signifies the accomplishment of mastering the corner-to-corner technique. Enjoy the satisfaction of holding your completed triangle, ready for whatever project awaits you next!
Adding Edges and Borders
Once you’ve completed your triangle, adding an edge or border can elevate your project, giving it a polished look. There are various options for edging, including garter stitch, ribbing, and crochet borders. Each method offers a distinct texture and finish. Garter stitch creates a simple, textured edge, while ribbing can add elasticity and definition. Crochet borders can introduce intricate patterns and additional color to your project for a more decorative touch.
Detailed Instructions for a Simple Garter Stitch Border
To create a garter stitch border, simply pick up stitches along the edge of your triangle using a knitting needle. Work in garter stitch by knitting every row, continuing until the border reaches your desired width (typically 2-3 rows). Once finished, cast off loosely to ensure that the border remains flexible.
Tips for Attaching the Border Evenly
Ensuring an even attachment of your border is key to achieving a professional finish. Begin by placing stitch markers at regular intervals along the edges, which can guide your picking-up process. Keep your tension consistent while picking up stitches, and periodically check that the border matches the main fabric. If using a crochet border, consider using slip stitches for a neat join, allowing easy alignment with your triangle. With careful attention, your triangle will transform beautifully with its new border!
Blocking and Finishing Touches
Blocking is essential for achieving a polished finish on your knitted triangle. It helps even out any uneven stitches, enhances the shape, and can significantly elevate the overall appearance of your project. There are several methods for blocking, with wet blocking and steam blocking being the most common. Soak your finished piece in lukewarm water for wet blocking, then gently squeeze out the excess without wringing. Lay it flat to dry, shaping it to your desired dimensions. Steam blocking involves using an iron to steam the fabric lightly, allowing precise shaping without soaking.

Once blocking is complete, it’s time for those all-important final touches. Weave in any loose ends using a tapestry needle to ensure a clean look. If you’d like to add a personal flair, consider embellishments such as buttons, beads, or embroidery to give your project a unique character. These finishing touches can make your triangle truly stand out!
Tips and Tricks for Successful C2C Knitting
C2C knitting can be a rewarding yet intricate technique, and avoiding common mistakes is essential for a successful project. One frequent error is miscounting stitches, leading to uneven sizes or holes. To prevent this, always double-check your stitch count at the end of each row. Additionally, consider adjusting your pattern if you’re aiming for different sizes or shapes; this might involve factoring in yarn weight or gauge when calculating the number of stitches to cast on. Using stitch markers is highly effective for identifying the beginning and end of rows, while row counters help easily maintain your tracking. These tools can significantly streamline the process and reduce the risk of errors. Embracing these tips will enhance your enjoyment and confidence in how to knit corner to corner, ensuring you achieve stunning results.
Conclusion
In summary, mastering the C2C knitting process involves a blend of technique, patience, and creativity. From handling stitch counts to executing beautiful borders, each step contributes to a completed project that reflects your unique style. Don’t hesitate to experiment with various patterns and yarns—each project is an opportunity to express your creativity. Remember, how to knit corner to corner offers endless possibilities; embrace your ideas fearlessly for a fulfilling crafting experience. With practice, your skills will grow, leading to even more complex and delightful creations on your knitting journey!
Elizabeth Davis
Elizabeth is a creative writer and digital editor based in the United States. She has a passion for the arts and crafts, which she developed from a young age. Elizabeth has always loved experimenting with new mediums and sharing her work with others. When she started blogging, she knew that DIYquickly would be the perfect platform to share her tutorials and tips. She's been writing for the blog from the beginning, and her readers love her helpful advice and easy-to-follow instructions. When she's not writing or editing, Elizabeth enjoys spending time with her family and friends.


