How to Knit I Cord Edge
Are you looking for a way to add visual interest or texture to your knitting project? An i-cord edging is an often overlooked but powerful tool that can be used to easily embellish any number of items. From finishing off the edges of blankets and shawls, providing framing detail around panels, creating straps for bags – there are countless creative ways excess yarn can be transformed into eye catching designs. Read on to find out just how to knit I cord edge!
I-cord edging is the perfect option. It adds an elegant, classic look to any piece of knitting with minimal time and effort. Knitting the I-cord edge is actually quite straightforward when broken down into its basic steps. We’ll explain what it is, how to create I-cord edging as well as some tips for keeping your edges straight and professional looking in this blog post – so keep reading!
Why May You Want to Knit I Cord Edge?
1. To Provide Stability and Structure
One of the reasons you may want to knit I cord edge is to provide stability and structure around the edges of a project. This is especially important for projects that are intended to be worn, such as hats or mittens, where an extra layer of reinforcement can make all the difference in how long the garment holds together.
2. To Create a Unique Design Element
In addition to providing structure and stability, knitting I cord edge can also create a unique design element that adds visual interest and texture. A narrow I cord can be used as a decorative trim around the edges of projects such as sweaters, blankets, or scarves.
3. To Help Avoid Curling Edges
If you are working with yarns that tend to curl at the edges, knitting an I cord edge can be a great way to help contain and prevent this curling from occurring. The structure of an I cord edge will keep your project’s edges even and straight without having to use additional techniques such as blocking or seaming.
How to Knit I Cord Edge in 5 Easy Steps
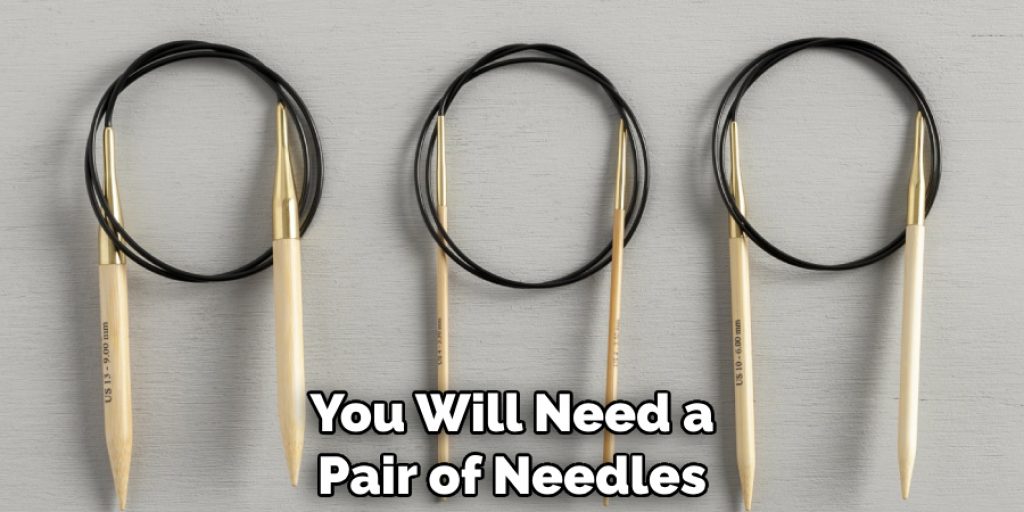
Step 1: Gather All The Materials
The very first step is to gather all the necessary materials for knitting I cord edge. You will need a pair of needles, yarn in your desired color and size, a tapestry needle, and scissors. This will vary depending on the size and type of project you’re working on, but most projects will require similar supplies.
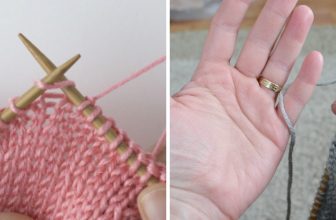
Step 2: Cast On
Take your needles and cast on a few stitches using the long tail cast-on method — this should be enough to create the desired length for your I cord edge. Make sure that all of your stitches are the same size and shape.
Step 3: Knit I Cord Edge Row
Once you have cast on, it’s time to start knitting! On the first row, knit two stitches together (k2tog). This will give you a decrease in your stitch count and form the basis of the I cord edge. Also, make sure that you are knitting in the “knit” direction.
Step 4: Repeat Rows
Once you have finished your first row, continue to repeat the pattern of k2tog until you reach your desired length. Make sure that all of your stitches remain even throughout each row and keep an eye on the stitch count — it should decrease by one stitch each row.
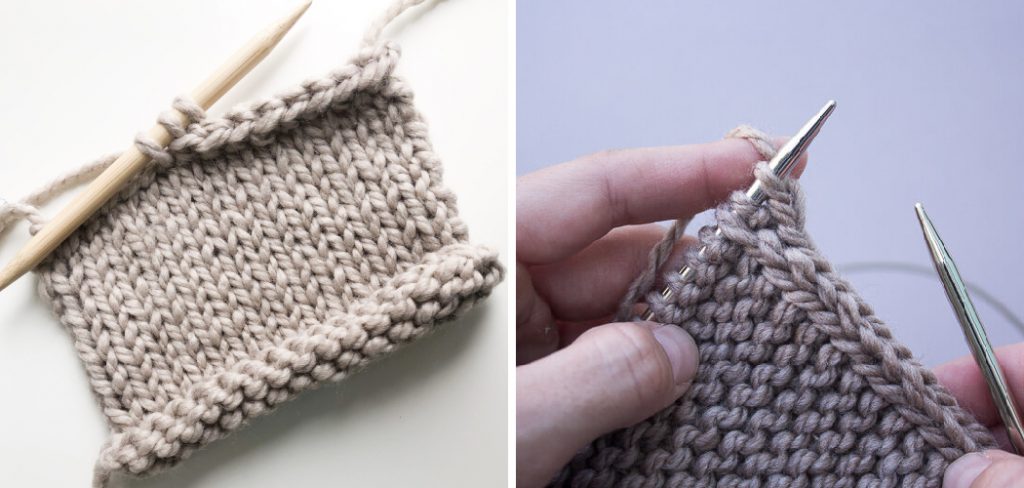
Step 5: Bind Off
Once you have reached your desired length, it is time to bind off. To do this, knit two stitches together and then cut the yarn with the tapestry needle and pull it through the loop on the final stitch. You now have a completed I cord edge!
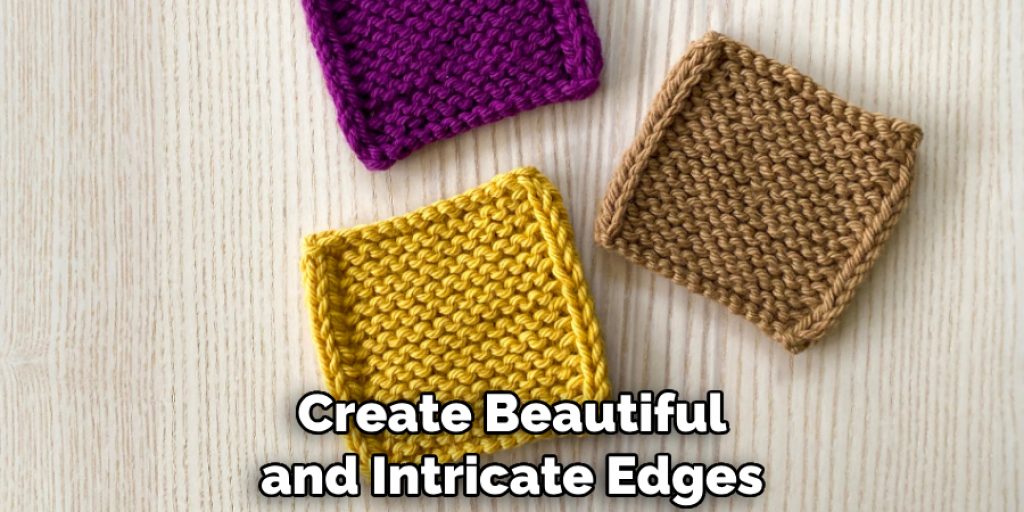
And there you have it — you’ve just learned how to knit I cord edge in five easy steps. This is a great way to add a unique and decorative touch to any knitting project.
With practice, you can create beautiful and intricate edges for your projects with ease. Happy knitting!
Some Tips to Knit I Cord Edge
1. Do Not Pull Too Tightly
The most important tip when knitting I Cord edge is to not pull too tightly. If you do, the cord will be too tight and difficult to work with. Also, you may end up with a distorted edge that doesn’t look the way it should. So, be mindful of not pulling too tightly when knitting your I Cord edging.
2. Use The Right Needles
Choosing the right needles is also very important when it comes to knitting I Cord Edge. Generally speaking, smaller needles are generally better for knitting I Cord edges. This allows you to create a tighter, more precise edge that looks great. However, if you find the edges are too tight and difficult to work with, try using larger needles instead.
3. Make Sure The Work Is Even
When working on I Cord Edge, it’s important to make sure that the work is even. This means that the stitches should be properly aligned, and that there are no missed stitches or extra yarn loops. If you find any mistakes, it’s best to undo them and start again so that your edges look neat and professional.
4. Don’t Forget To Weave In Ends
Once you’ve finished knitting I Cord Edge, don’t forget to weave in the ends. This will help ensure that the edges look neat and finished and also helps to secure your work. Take your time when weaving in the ends so that everything looks perfect!
5. Practice Makes Perfect
Finally, remember that practice makes perfect! The more you knit I Cord Edge, the better you will become at it. Don’t be afraid to make mistakes and learn from them, as this is the best way to improve your knitting skills and create the perfect I Cord Edge. With practice, you’ll soon be able to knit beautiful and professional-looking edges in no time!
Frequently Asked Questions
What Precautions Should I Take When Knitting an I Cord Edge?
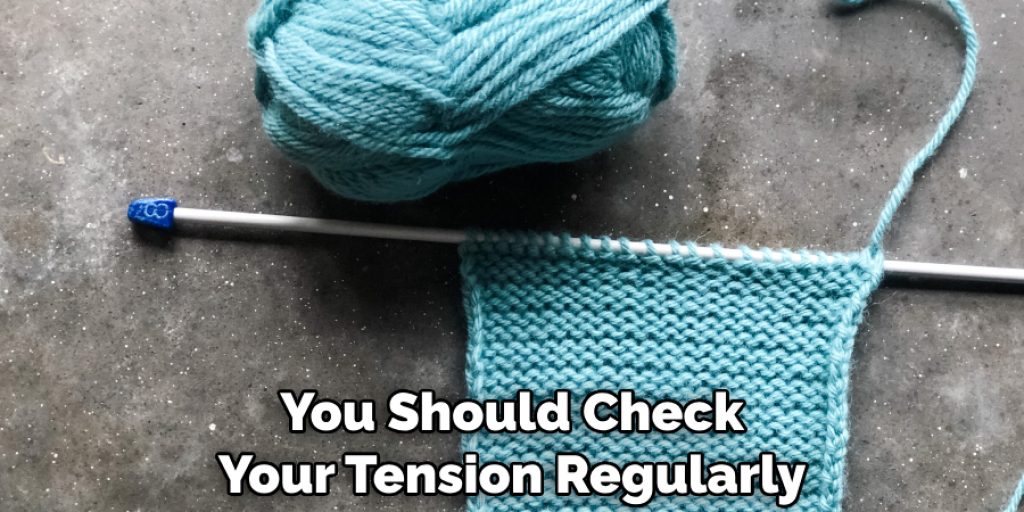
When knitting an I cord edge, it is important to make sure that your stitches are tight and even. This will ensure that the edge of your fabric looks neat and even when finished. Additionally, you should check your tension regularly as this affects the look of the fabric. Finally, be sure to pay attention to the pattern instructions for any particular techniques that are needed.
What Materials Do I Need To Knit an I Cord Edge?
To knit an I cord edge, you will need a set of knitting needles suitable for the yarn weight you are using, as well as enough yarn to complete the project. If necessary, stitch markers can also be used to help keep track of your stitches.
What is the Best Way To Join an I Cord Edge?
The best way to join an I cord edge is by using a three-needle bind off. This technique works by joining two edges together with a single needle and then binding them off stitch by stitch. It is a quick and easy way to create a neat edge. Alternatively, if you prefer, you can also use a sewing needle and thread to sew the edges together.
What Is the Best Way To Begin an I Cord Edge?
The best way to begin an I cord edge is by cast on loosely using either the long-tail or cable cast-on method. This ensures that the edge won’t be too tight and will allow you to easily pick up stitches when ready. Once the stitches are cast on, work in I cord pattern until desired length is reached.
What Are Some Common Mistakes When Knitting an I Cord Edge?
Common mistakes when knitting an I cord edge include using too tight of a gauge, not matching the same tension between stitches, and not joining off the edges correctly. It is important to be mindful of these mistakes in order to ensure that your project looks neat and even when finished.
Is an I Cord Edge Difficult To Knit?
No, knitting an I cord edge is not difficult. Once you understand the basic techniques, it is a straightforward process that does not require much skill. After a few practice runs, you should be able to knit an I cord edge with ease.

Conclusion
Crafting decorative I-cord edges is a great way to give any project an extra special touch. Not only is it easy to do, you can make I-cords from virtually any yarn type or color. You’ll be sure to impress those around you with the edgings and details that this nifty technique can create.
Don’t hesitate to get creative with your I-cord trim – mixing up sizes, materials, and stitch patterns will make for one of a kind projects that are truly unique and exciting. So, start crafting some new pieces with some custom I-cord trim today!
Now you know how to knit I cord edge! After all, there’s nothing better than putting together a piece of artwork that is personalized by you. With just a few simple tools and techniques, it’s easier than ever to add that extra element that takes your craft work from bland to bold!
Nancy Behan
Nancy is an embroidery artist, fashion blogger and a full time editor at DIY quickly. Nancy edits the fashion section on DIY quickly, focusing on the embroidery and cross stitch articles, alongside with fabric and other costume design elements. She graduated from the University of Michigan with a Bachelor of Arts in Art History. She loves to work on her own projects, read books and watch romantic movies in her spare time.