How to Knit Santa Hat
Knitting a Santa hat is a delightful and rewarding project that adds a festive touch to your holiday wardrobe. Whether you’re a beginner or an experienced knitter, this guide on how to knit santa hat will walk you through the steps needed to create a charming red and white hat perfect for Christmas celebrations.
With just a few basic supplies and some time set aside for crafting, you’ll be able to make a fun accessory that not only keeps you warm but also brings a cheerful spirit to any holiday gathering. Let’s get started on this merry knitting adventure!
What is a Santa Hat?
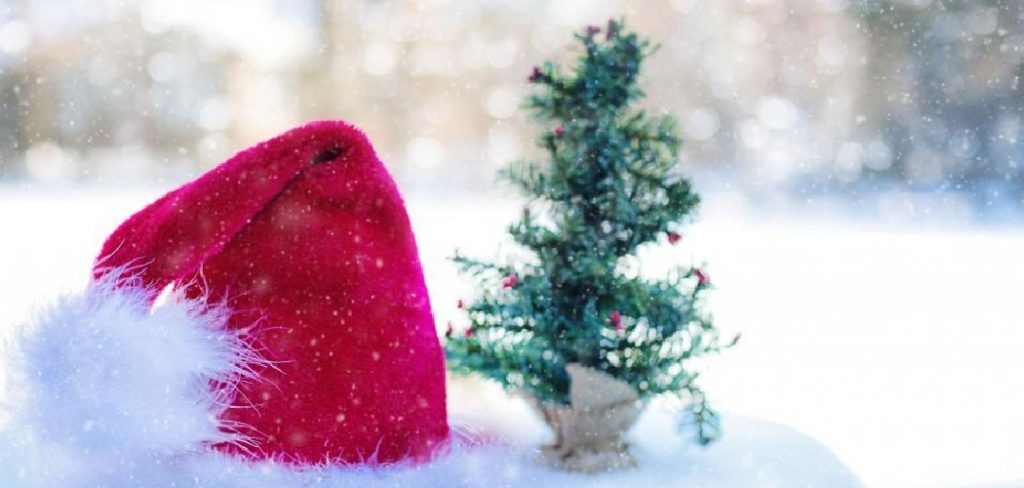
A Santa hat is a festive cap traditionally worn during the Christmas season, instantly recognizable by its bright red fabric and fluffy white trim. This conical hat typically features a white pom-pom at the tip, adding to its whimsical design. Often associated with Santa Claus, the hat embodies the spirit of giving and merriment during the holidays.
In addition to being a popular accessory for holiday parties and gatherings, the Santa hat serves as a symbol of joy, making it a cherished item for children and adults alike throughout the festive season.
Why Knit a Santa Hat?
Knitting your own Santa hat allows you to personalize it with unique details and tailor it to your head size. It’s also a wonderful way to practice your knitting skills and create a one-of-a-kind item that can be worn year after year.
Moreover, handmade gifts hold special meaning and are a thoughtful way to show your loved ones how much you care. Giving someone a hand-knitted Santa hat is not only practical but also a heartfelt gesture that will surely be appreciated.
Supplies Needed
To knit your very own Santa hat, here are the supplies you’ll need:
Red Yarn:
Preferably medium or bulky weight, as these yarns will help create a chunky and cozy hat. You can also opt for a different color if you want to add your own twist to the classic Santa hat design.
White Yarn:
for the fluffy trim and pom-pom at the top of the hat. Just like with the red yarn, choose a medium or bulky weight for a fuller and more striking effect.
Knitting Needles:
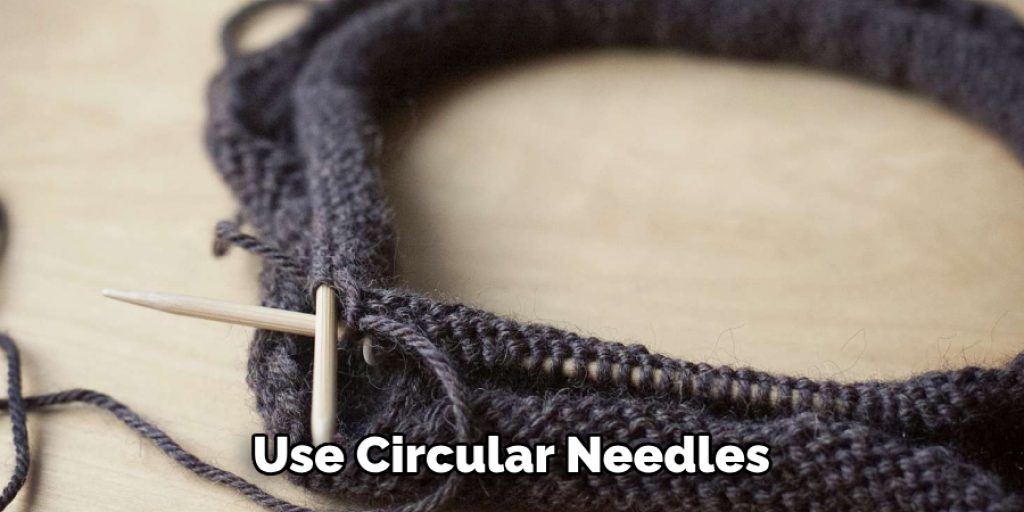
size 8 or 9 straight needles will work well with medium weight yarn, while size 10 or 11 needles are recommended for bulky weight yarn. You can also use circular needles if you prefer.
Scissors:
This is for cutting the yarn and trimming any excess fabric.
Tapestry Needle:
To weave in loose ends and sew on the pom-pom.
Pom-Pom Maker (optional):
While you can always make a pom-pom using cardboard or your hands, a pom-pom maker makes the process quicker and easier.
7 Step-by-step Instructions on How to Knit Santa Hat
Step 1: Cast On
To begin your Santa hat, start by casting on the required number of stitches onto your knitting needle. For a standard adult-sized Santa hat, you’ll typically want to cast on around 72 to 80 stitches, depending on your desired fit and the thickness of your yarn. If you’re making a smaller size for a child, consider casting on about 60 to 65 stitches.
Make a slipknot to start, and then use the long-tail cast-on method or your preferred casting technique to add stitches to the needle. Once you’ve completed this step, you’re ready to move on to the next!
Step 2: Knit in the Round
Next, you’ll want to join your stitches together to create a seamless round. If you’re using circular needles, this step has already been taken care of for you; simply start knitting in the direction indicated by your pattern.
If you’re using straight needles, hold them parallel to each other and knit across the first row, then turn and purl back on the second row. Repeat this process until all stitches are joined.
Step 3: Start Shaping Your Hat
Once you have completed knitting in the round for a few rows, it’s time to start shaping the crown of your Santa hat. For this step, you will work in a basic knit stitch, which will create the structure of the hat. Continue knitting in the round until your piece measures approximately 6 to 8 inches from the cast-on edge or to the desired length for your hat. After reaching this point, it’s essential to start decreasing the stitches to form the conical shape at the top.
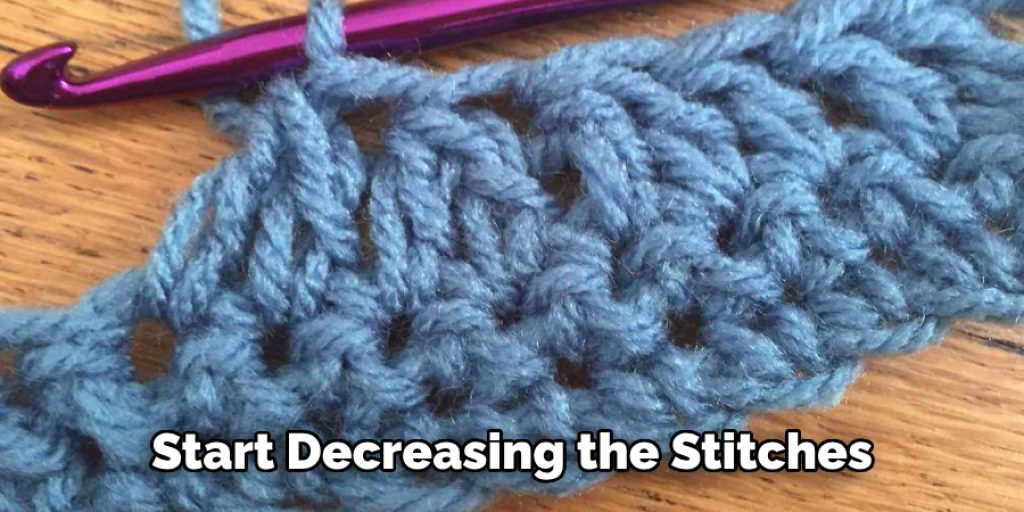
To do this, you can evenly space your decreases by knitting two stitches together (k2tog) at certain intervals. A good pattern to follow is to decrease every 10th stitch, which will gradually reduce the number of stitches as you go. Keep monitoring the size and shape as you progress; the goal is to achieve a snug fit that tapers elegantly toward the top.
Step 4: Add a White Trim
Once you’ve completed the shaping of your Santa hat, it’s time to add the iconic fluffy white trim. Using white yarn, knit in garter stitch (knit every row) for about 2 inches. This will create a foldable cuff that adds texture and contrast to your hat. You can also adjust the length of this section based on how wide you want the white trim to be.
It’s worth noting that garter stitch has a natural tendency to curl, so be sure to knit a few extra rows if you want the white trim to stay flat or add some ribbing for added stability.
Step 5: Knit the Pom-pom
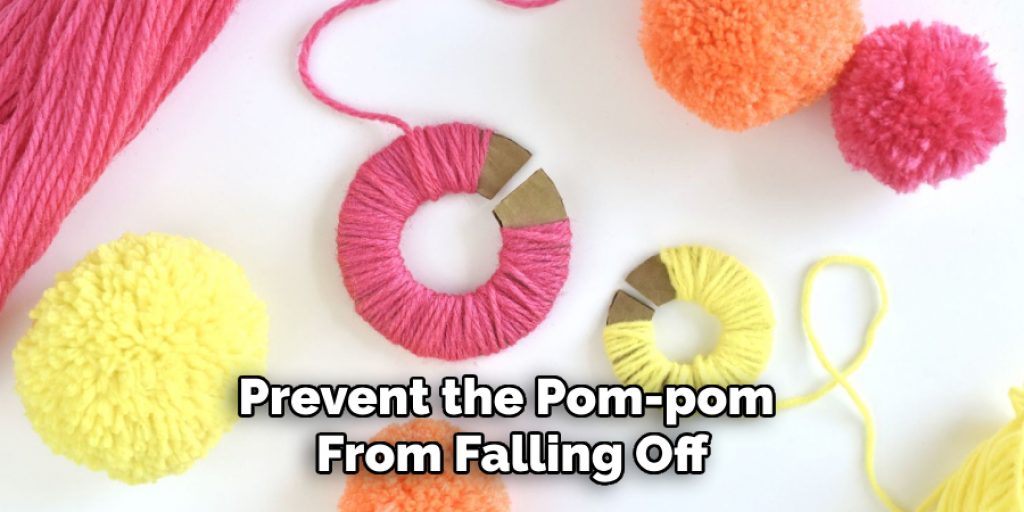
Next, it’s time to make the signature pom-pom for your Santa hat. If you’re using a pom-pom maker, follow the instructions provided with your tool. Otherwise, cut two cardboard circles with a diameter of about three inches and place them together.
Then wrap your white yarn around the circles until you achieve the desired fullness. Cut along one edge of the wrapped yarn and tie another piece of string around the center tightly. Fluff and trim the pom-pom to shape it as you like.
Step 6: Sew on the Pom-Pom
With your pom-pom complete, it’s time to attach it to the top of your Santa hat. Begin by positioning the pom-pom at the peak of the hat, ensuring it sits securely and looks balanced. Using a tapestry needle and the yarn ends left from your pom-pom, carefully sew the base of the pom-pom onto the top of the hat.
Make sure to weave the needle in and out, securing it tightly to prevent the pom-pom from falling off. Once it’s firmly attached, tie off the yarn and weave in any loose ends to ensure a neat finish. Your charming Santa hat is now complete, ready to bring festive cheer to you or your loved ones!
Step 7: Finishing Touches
Finally, weave in any loose ends with your tapestry needle and give your Santa hat a final steam or block if needed. Put it on and admire your handiwork! You can also add customizations such as a jingle bell or embroidered designs for an added personal touch. The possibilities are endless, so have fun with it and make it your own.
Following these instructions on how to knit santa hat, you can create a cozy and stylish Santa hat that will be the highlight of your holiday wardrobe. Whether you’re wearing it to spread some festive joy or gifting it to someone special, this DIY project is sure to be a hit! Happy knitting and happy holidays!
Additional Tips
Choose the Right Yarn:
For a Santa hat, you might want to consider yarns that are exceptionally soft and plush, such as acrylic or wool blends, to enhance the comfort and overall appearance of your finished hat.
Experiment with Colours:
While the traditional red and white combination is iconic, don’t hesitate to get creative by incorporating different colors or patterns. Metallic yarns can add a festive sparkle!
Gauge Swatch:
Before starting, knit a gauge swatch to ensure your stitches match the desired tension. This step can prevent sizing issues and help to achieve the perfect fit.
Use Stitch Markers:
If you’re knitting in the round, use stitch markers to help keep track of your rounds, especially during the shaping and decrease sections.

Care Instructions:
When caring for your finished Santa hat, consider handwashing and laying it flat to dry. This helps preserve the shape and texture of the yarn.
Involve Others:
Knitting can be a delightful group activity. Invite friends or family to join you in making Santa hats, turning it into a festive crafting party filled with fun and laughter.
Conclusion
In conclusion, knitting a Santa hat is a delightful project that not only enhances your holiday wardrobe but also allows you to express your creativity. By following the outlined steps on how to knit santa hat, you can craft a beautiful and functional accessory that embodies the festive spirit.
Whether you’re a seasoned knitter or a beginner, this project offers an excellent opportunity to hone your skills while creating something special for yourself or your loved ones. As you proudly wear your finished hat, you’ll undoubtedly spread joy and warmth during the holiday season. Happy knitting!
Elizabeth Davis
Elizabeth is a creative writer and digital editor based in the United States. She has a passion for the arts and crafts, which she developed from a young age. Elizabeth has always loved experimenting with new mediums and sharing her work with others. When she started blogging, she knew that DIYquickly would be the perfect platform to share her tutorials and tips. She's been writing for the blog from the beginning, and her readers love her helpful advice and easy-to-follow instructions. When she's not writing or editing, Elizabeth enjoys spending time with her family and friends.