How to Knit Without Knitting Needles
Knitting without traditional needles can open up a world of creativity and accessibility for crafters of all skill levels. For many, learning to knit can be daunting due to the tools involved; however, using alternative methods can make the process much easier and more enjoyable. This guide will explore various techniques for how to knit without knitting needles, allowing you to express your artistic flair with simple materials.
By utilizing everyday items, such as your fingers, forks, and pencils, you can create beautiful knitted pieces without the need for conventional implements. In this article, we will cover different methods for needle-free knitting, tips for success, and project ideas to help you start your crafting journey.
Materials and Tools Needed
Before diving into your needle-free knitting adventures, gather the essential materials and tools required for your projects. You will need yarn, which comes in various colors, textures, and thicknesses, allowing for endless creative possibilities.
For alternative knitting tools, consider using your fingers, forks, or pencils, which can all serve as excellent substitutes for traditional needles. Additionally, optional tools like crochet hooks and loom tools can enhance your technique or help you manage stitches more effectively. With just a few readily available items, you can embark on your journey of exploring how to knit without knitting needles.
How to Knit Without Knitting Needles: Knitting with Your Fingers
1.Basic Technique
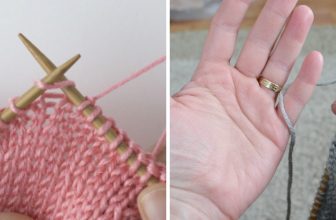
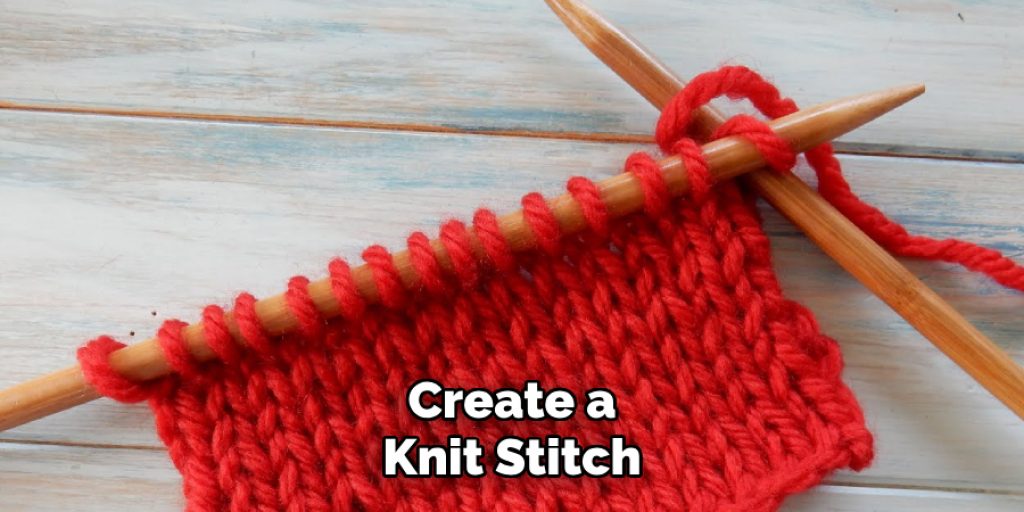
Knitting with your fingers is a simple yet rewarding way to create knitted items without traditional tools. To begin, cast on stitches by making a loop with your yarn and pulling a strand through the loop to create your first stitch. Continue this process until you’ve reached your desired number of finger stitches. Once you have your stitches cast on, you can start knitting the first few rows by pulling the bottom stitch over the top stitch on your fingers, releasing the top stitch as you go.
This method utilizes a simple knit stitch, making it easy for beginners to grasp. After completing your desired length, it’s time to bind off. To do this, create a knit stitch, and then pull the second stitch over the first one, repeating this process until you reach the end of your line. Finally, secure the last stitch to complete your project neatly.
2.Tips for Success
To ensure a successful knitting experience with your fingers, it’s important to keep your stitches even and consistent. Pay attention to the tension of your yarn—holding it too tight can lead to difficulties, whereas too loose may result in uneven stitches. Practicing with different yarn types can help you find the right balance.
For beginner-friendly projects, consider making simple items like scarves or headbands, which allow you to focus on mastering your skills without the complexity of intricate patterns. Starting small can boost your confidence, encouraging you to experiment further with finger knitting techniques.
Using Forks as Knitting Tools
Preparing the Fork
When using a fork as a knitting tool, first select the appropriate size for your project—typically a smaller fork works best for tighter stitches, while larger ones can create looser, chunkier designs. The material of the fork also matters; stainless steel or plastic forks can provide the best results. Position the yarn securely on the fork by wrapping it around the prongs and holding it with your fingers. This setup will allow you to harness the fork as a functional tool in your needle-free knitting adventure.
Knitting Technique
With your fork prepared, you can create a basic knit stitch by looping the yarn around the prongs and using the fork’s tines to pull the yarn through. This creates a stitch that can then be secured by pulling the working yarn along the fork. As you become comfortable with this method, try transitioning to purl stitches to add variety to your pieces.
Remember to manage your yarn as you work, keeping it taut but not overly stretched to maintain even stitches throughout your project. This small adjustment can significantly impact the final quality of your knitted items, so experiment to find the best technique that works for you.
Utilizing Pencils or Pens
Setting Up
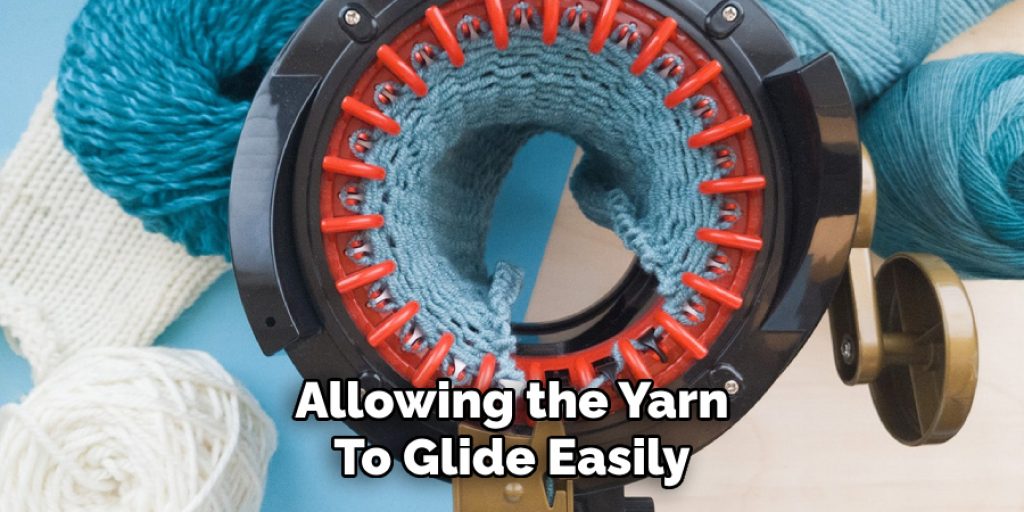
Using pencils or pens as knitting tools is an innovative approach that allows crafters to create unique pieces without traditional needles. When choosing appropriate implements, select pencils or pens that are long enough to accommodate your yarn without being too bulky. Ideally, you want tools that have a smooth finish, allowing the yarn to glide easily.
Once you have your pencils or pens ready, place the yarn between them, creating a makeshift knitting tool. Hold one pencil in your dominant hand and the other in your non-dominant hand to facilitate easier stitching.
Knitting Technique
To begin casting on stitches, wrap the yarn around the first pencil, bring it down between the two tools, and then wrap it around the second. This creates the initial cast-on stitch that you will work with. For each row, just like with traditional knitting, you will pull the bottom yarn over the top one to create the knit stitch. Switch the yarn’s positioning to introduce purl stitches, bringing it in front of the pencil before forming the stitch.
As you progress, you will work on building rows by continuing this method, remembering to keep consistent tension on the yarn to ensure even stitches. It’s time to bind off once you’ve knitted to your desired length. To do this, knit two stitches onto one pencil and pull the first over the second, repeating until you reach the end. Finally, secure your last stitch to complete your project, neatly trimming any excess yarn.
Using a Loom
Types of Looms
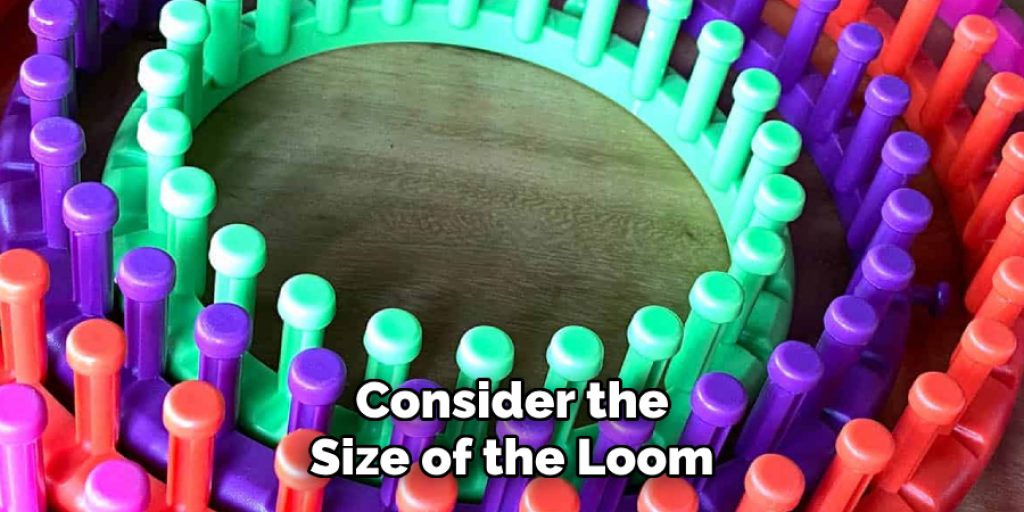
Loom knitting is another captivating alternative to traditional knitting methods. There are several different types of looms. There are round looms, which are typically circular in shape and great for knitting items like hats and socks, and rectangular looms, often used for larger projects such as blankets and shawls.
When choosing the right loom for your project, consider the size of the loom and the thickness of the yarn you plan to use, as these factors will influence the final outcome of your knitted piece.
Knitting Technique
Before you start knitting with a loom, set it up by attaching your yarn to one of the pegs. Begin by casting on stitches around the loom in a figure-eight pattern, ensuring that your yarn is taut without being overly stretched. Once you have cast on the desired number of stitches, you can start knitting by using a loom hook to lift the bottom yarn over the top yarn on each peg, creating a basic knit stitch.
As you become comfortable with the basic technique, try incorporating different patterns, including purl stitches by wrapping the yarn around the pegs differently. Once your piece reaches the desired length, carefully remove it from the loom by using a loom hook to lift the stitches off the pegs while ensuring you don’t drop any stitches in the process. Finally, bind off by securing the last row and weaving in any loose ends, ensuring that your finished piece is neat and polished.
Tips for Successful Needle-Free Knitting
To achieve success in needle-free knitting, maintaining consistent yarn tension is crucial. Start by choosing the right yarn and tools that suit your knitting style; this will significantly impact your overall experience. When working on a project, keep your hands relaxed to avoid stiffening, which can lead to tension issues.
If you’re transitioning between techniques—like moving from a fork to a loom—take time to adjust your grip and method accordingly. Regular breaks can help alleviate fatigue, allowing for a more comfortable knitting session. Finally, as you gain confidence, try out various stitches or patterns to broaden your skills, making the craft both enjoyable and fulfilling.

Managing Yarn and Tension
To keep yarn tension consistent, be mindful of how tightly you’re holding the yarn while working. Practice wrapping the yarn around your fingers, which can help control the flow. Different yarn types, such as chunky or fine, may require adjustments in how you loop the yarn, so be prepared to adapt your technique to maintain an even appearance. Keeping your elbows close to your body while you knit can also facilitate steadier tension.
Troubleshooting Common Issues
In the course of needle-free knitting, you may encounter dropped stitches or uneven edges. If you notice a dropped stitch, grab a crochet hook or a loom hook to reposition the yarn back onto the canvas. For uneven edges, check your method and yarn tension; make subtle adjustments to your grip and technique to achieve symmetry. If you’re still facing challenges, consider re-evaluating your tools, as the right implementation can drastically improve your results.
Project Ideas and Patterns
Beginner-Friendly Projects
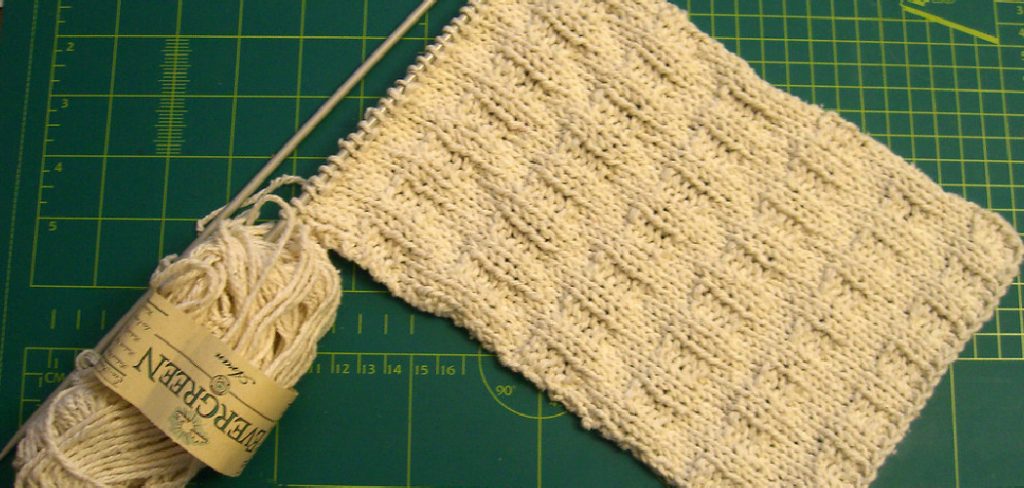
Simple projects like scarves, headbands, and coasters are excellent for those just starting with needle-free knitting. These items allow you to practice essential techniques without overwhelming complications. Basic patterns, such as garter or stockinette stitches, can help you become comfortable with maintaining yarn tension and achieving even stitches as you work through your project.
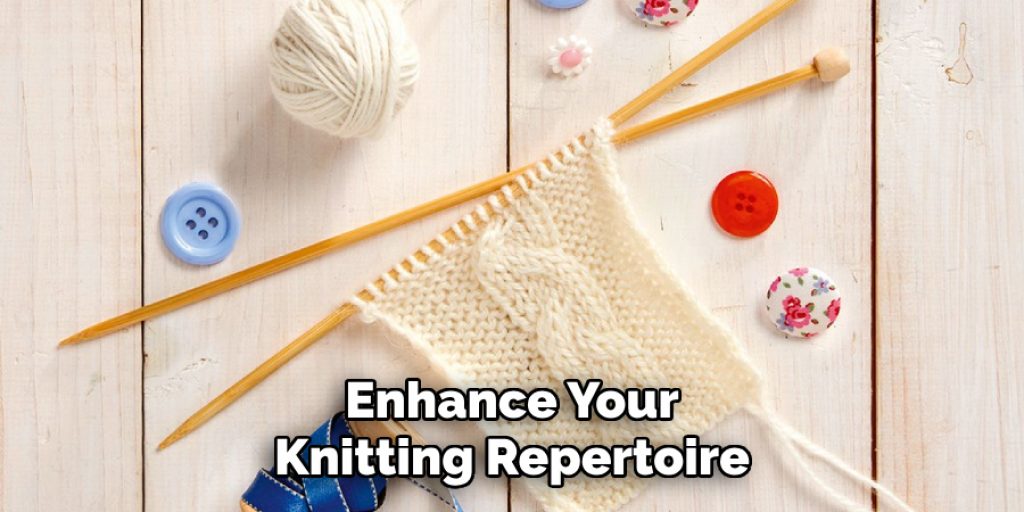
Advanced Ideas
As your skills progress, you can challenge yourself with more complex projects like blankets and hats. Consider adapting traditional knitting patterns to suit needle-free techniques, allowing for creativity in your crafting. Projects such as textured blankets or patterned hats allow you to explore new stitch combinations and enhance your knitting repertoire, ensuring an enjoyable and fulfilling crafting experience.
Conclusion
In summary, exploring alternative knitting methods, such as fork and loom knitting, opens up a world of creativity beyond traditional techniques. Each method offers unique benefits, whether it’s the simplicity of using a fork or the versatility of a loom, allowing crafters to choose the best fit for their projects.
As you learn how to knit without knitting needles, remember to experiment with different styles and patterns; there’s no right or wrong way to express your creativity. Embrace the joy of discovering new techniques, and don’t hesitate to challenge yourself with advanced projects that showcase your skills. The potential for creation is limitless, and each piece you craft can reflect your style and artistry. So gather your materials and embark on this delightful journey—there’s no better time to knit without needles than now!
Elizabeth Davis
Elizabeth is a creative writer and digital editor based in the United States. She has a passion for the arts and crafts, which she developed from a young age. Elizabeth has always loved experimenting with new mediums and sharing her work with others. When she started blogging, she knew that DIYquickly would be the perfect platform to share her tutorials and tips. She's been writing for the blog from the beginning, and her readers love her helpful advice and easy-to-follow instructions. When she's not writing or editing, Elizabeth enjoys spending time with her family and friends.