How to Knit Wrap and Turn
Knitting is a beautiful craft that requires patience, creativity, and attention to detail. There are many techniques to learn and master when it comes to knitting, and one of them is called “wrap and turn.”
This technique is used to create short rows, which are partially knitted rows, then turned back before they are completed. Short rows allow you to shape your knitting, giving it a more elegant and professional look. If you are interested in learning how to knit wrap and turn, then keep reading!
Can You Knit Wrap and Turn?
Do you love knitting but haven’t yet mastered the technique of wrap and turn? Don’t worry, with a little practice and patience, you can become a pro quickly! Wrap and turn is a popular knitting technique to create short rows and shape items like sweaters, shawls, and socks.
It involves wrapping the working yarn around the stitch before turning the work and knitting back in the other direction. However, it may seem like a daunting task at first, but the end result is worth it. Once you’ve learned wrap and turn, you can start exploring the endless possibilities it opens up in your knitting projects. With a little perseverance, you’ll soon be easily knitting stunning pieces!
Why Should You Knit Wrap and Turn?
Knitting is a form of art that can be both meditative and therapeutic. For those who want to take their knitting skills to the next level, one must-learn technique is wrap and turn. This technique creates short rows, which can be used to make various shapes, such as wedges, curves, and asymmetrical designs.
Moreover, it is a quick and easy way to create interesting textures and add depth to your knitting projects. By knitting wrap and turn, you can seamlessly blend in different colors, create unique designs, and elevate your knitting skills to the next level. So, if you’re ready to take your knitting to the next level, grab your needles, pick some yarn, and try Wrap and Turn!
The Art of Knitting – How to Knit Wrap and Turn
Step 1: Last Stitch Before the Turning Point
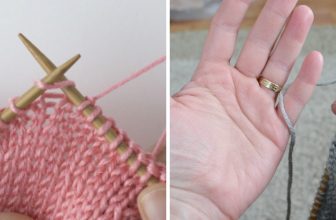
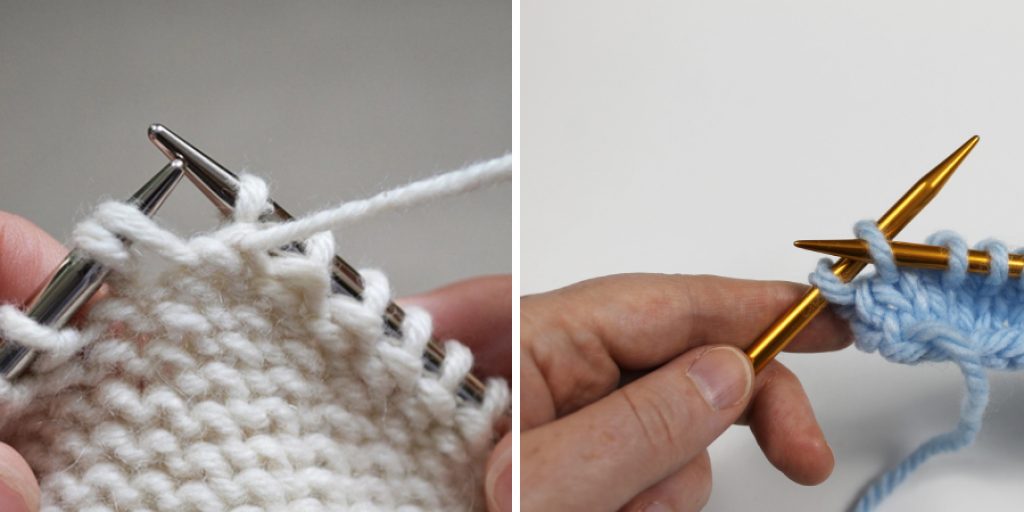
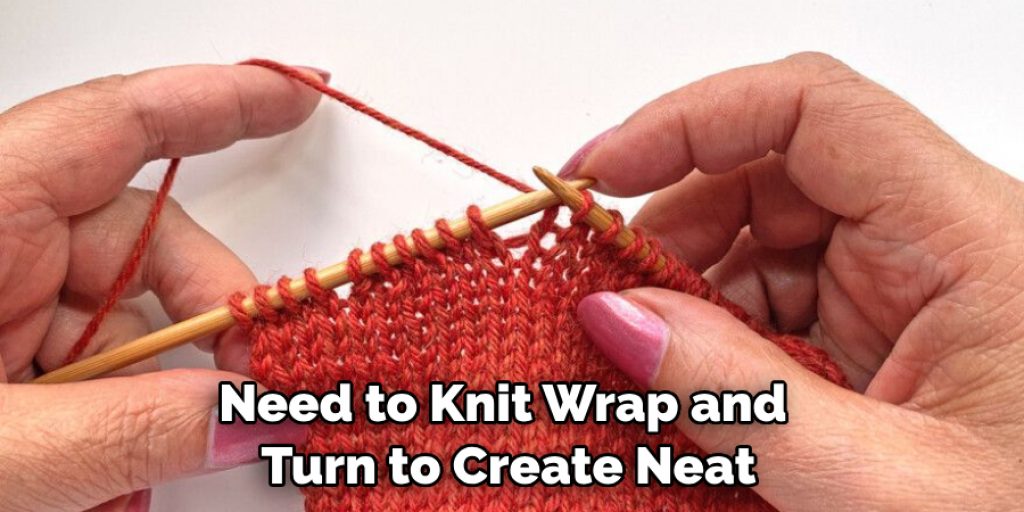
The first step in wrapping and turning is to knit to the last stitch before the turning point. Let’s say you are knitting a scarf and want to create a curve at one end. You would knit to the last stitch before the curve begins. Then you would bring the yarn to the front of your work, slip the next stitch knitwise, and bring the yarn back to the back of the work. This creates a “wrap” around the stitch that you slipped.
Step 2: Turn Your Work
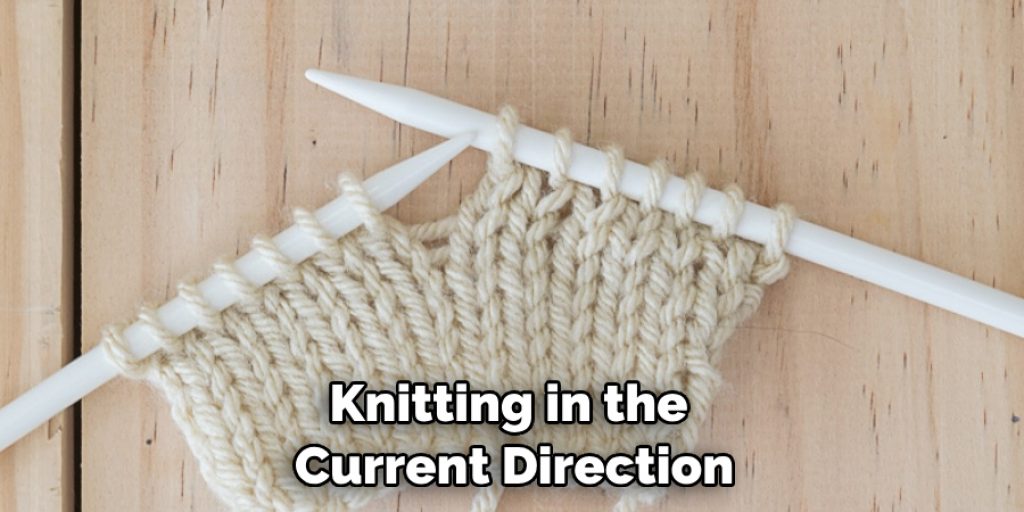
The next step is to turn in your work. This means you would stop knitting in the current direction and switch to the opposite direction. In our example, you would turn your workaround to the left-hand side and start knitting in the opposite direction. When you turn your work, you will see the wrapped stitch and yarn hanging in front of your work. You will also see a gap between the stitch you just wrapped and the next stitch on your needle.
Step 3: Purl the Next Stitch
To continue knitting your short row, bring the yarn to the back of your work, purl the next stitch, and continue knitting across the row until you reach the next turning point. You repeat the same steps at the next turning point: slip the next stitch knitwise, bring the yarn to the front of the work, turn your work, purl to the next turning point, and repeat.
Step 4: Pick up The Wrapped Stitch
Once you have completed your short row, you must “pick up” the wrapped stitch. To do this, you insert your right needle into the wrap from the front to the back, then into the stitch itself as if to purl, and then wrap the yarn around your right needle and pull it through both the wrap and the stitch. This “picks up” the wrap and hides it inside the stitch, creating a smooth and seamless look.
Step 5: Knit the Wrapped Stitch Together With Its Twin
Once you have picked up the wrap, you must knit it together with its twin. To do this, insert your right needle into both stitches as if to knit and wrap the yarn around it and pull through both stitches at once. This will join the two stitches together, creating a neat finish.
Step 6: Slip the Wrapped Stitch Off The Needle
Finally, slipping the wrapped stitch off your needle would be best. To do this, simply insert your right needle into the stitch as if to knit and slip it off your left needle. This will complete the wrap-and-turn process and leave you with a neat short row that looks like it was always a part of the fabric.
Step 7: Continue Knitting Your Pattern
Once you have completed your wrap and turn, you can continue knitting in your pattern as normal. You should now see a neat and tidy curve at the end of your work that looks just like it was meant to be there! With practice, knitting wraps and turns will become second nature, and you can easily create beautiful short rows.
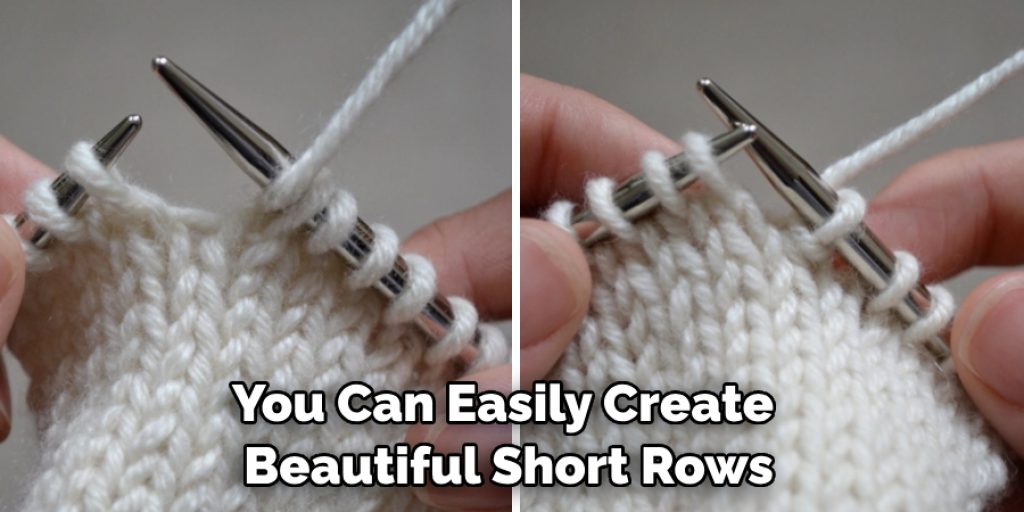
That’s it! You’ve now learned how to knit, wrap and turn. You can create the perfect short rows for all your knitting projects with some practice.
5 Considerations Things When You Need to Knit Wrap and Turn
1. The Type of Project You’re Working On
When deciding whether to knit, wrap or turn, you first need to consider the type of project you’re working on. If you’re working on a simple stockinette stitch project, there’s no need to knit, wrap and turn. However, if you’re working on a more complex project that requires shaping, then you’ll need to knit wrap and turn to create neat, clean edges.
2. The Yarn You’re Using
The second thing you need to consider is the yarn you’re using. If you’re using a slippery yarn like silk or bamboo, then it’s likely that your stitches will unravel if you don’t knit, wrap and turn. On the other hand, if you’re using a more sturdy yarn like wool or cotton, your stitches will be less likely to unravel.
3. The Needles You’re Using
The third thing you need to consider is the needles you’re using. If you’re using metal needles, then it’s important to knit wrap and turn to prevent your stitches from slipping off. However, if you’re using wooden needles, your stitches are less likely to slip off, and you may not need to knit, wrap and turn.
4. The Stitch Pattern You’re Using
The fourth thing you need to consider is your stitch pattern. If you’re using a simple stitch pattern like stockinette or garter stitch, there’s no need to knit, wrap and turn. However, if you’re using a more complex stitch pattern that requires shaping, you’ll need to knit wrap and turn to create neat, clean edges.
5. Your Personal Preference
The fifth and final thing you need to consider is your personal preference. Some prefer not to knit wrap and turn because they find it tedious or time-consuming. Others prefer to knit wrap and turn because they feel it gives them neater, cleaner edges. Ultimately, the decision of whether or not to knit wrap and turn is up to you!
Benefits of Knit Wrap and Turn
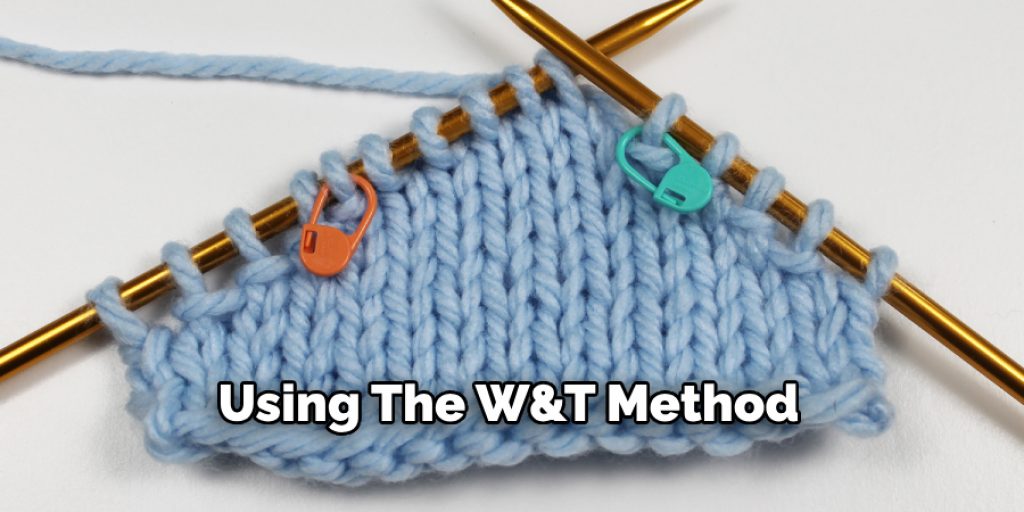
For avid knitters and enthusiasts alike, mastering new knitting techniques can be a source of excitement and challenge. One technique that has gained prominence in recent years is the knit wrap and turn, or W&T, which can have a big impact on the appearance and fit of your knitted fabric.
Using the W&T method, stitches are wrapped and turned around the next stitch, creating a neat and nearly invisible increase or decrease. Not only does this technique create a smoother and more polished look, but it can also help shape your project more precisely.
Whether you’re making a sweater or a shawl, mastering the W&T technique can take your knitting to the next level and give you more control over the finished product.
Some Common Mistakes People Make When Trying to Knit Wrap and Turn
Knitting wrap and turn can be a tricky technique to master, even for experienced knitters. While it may seem like a simple process, people make a few common mistakes when trying to execute the technique. One common mistake is not wrapping the yarn correctly, resulting in holes or uneven stitches.
Another mistake is not turning in the work correctly, causing confusion and frustration. Additionally, not properly tracking the wraps and turns can lead to errors in the pattern. These mistakes can be discouraging, but anyone can become a pro at knitting wrap and turn with practice and patience.
Conclusion
Wrapping and turning are essential techniques for creating short rows in your knitting projects. It allows you to shape and contour your knitting, making it look more professional and polished. While it may take some practice to master this technique, the results are well worth it.
So next time you are knitting a project that requires short rows, remember these simple steps and enjoy the beautiful results that come with the art of knitting. Thanks for reading our post about how to knit wrap and turn.
Nancy Behan
Nancy is an embroidery artist, fashion blogger and a full time editor at DIY quickly. Nancy edits the fashion section on DIY quickly, focusing on the embroidery and cross stitch articles, alongside with fabric and other costume design elements. She graduated from the University of Michigan with a Bachelor of Arts in Art History. She loves to work on her own projects, read books and watch romantic movies in her spare time.