
How to Make a 3D Pen
Introduction
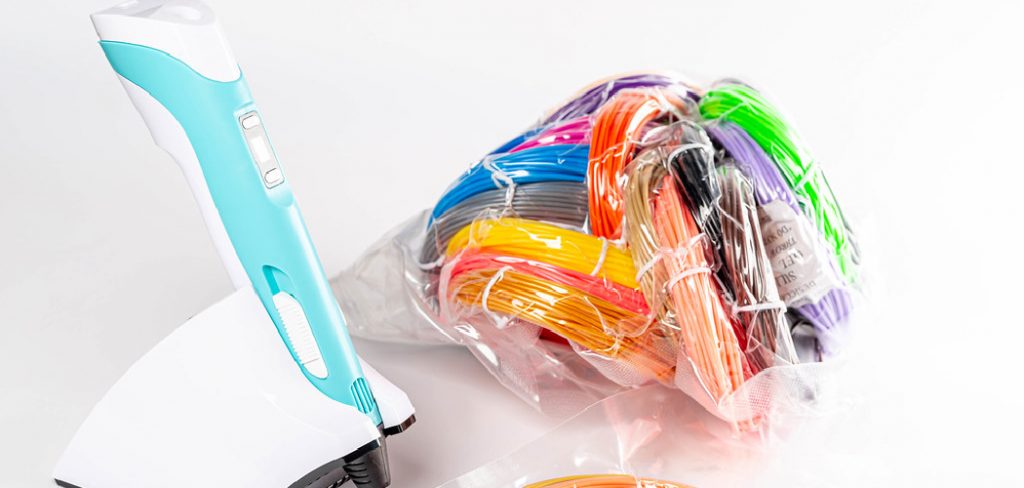
3D pens, also known as 3d drawing pens or 3d printing pens, are handheld tools that allow you to freehand draw in mid-air. They work by extruding a filament of plastic through a heating element, allowing you to create just about any shape your mind can conjure up. In this article, I will discuss how to make a 3D pen.
How does a 3D Pen work?
3d pens have two parts: a plastic filament and an internal component that heats up when an electric current is applied. When the pen is activated, the heating element turns on and melts the plastic into a fine tip. This melted material then comes out of an opening in the barrel at high pressure, extruding it through small nozzles.
It cools as soon as it leaves the hot tip, so you’re able to draw with amazing precision and control – even 1/64th of an inch. While drawing doesn’t require any ink or paint, you can use these materials for different effects!
What Are 3d Pens Used for?
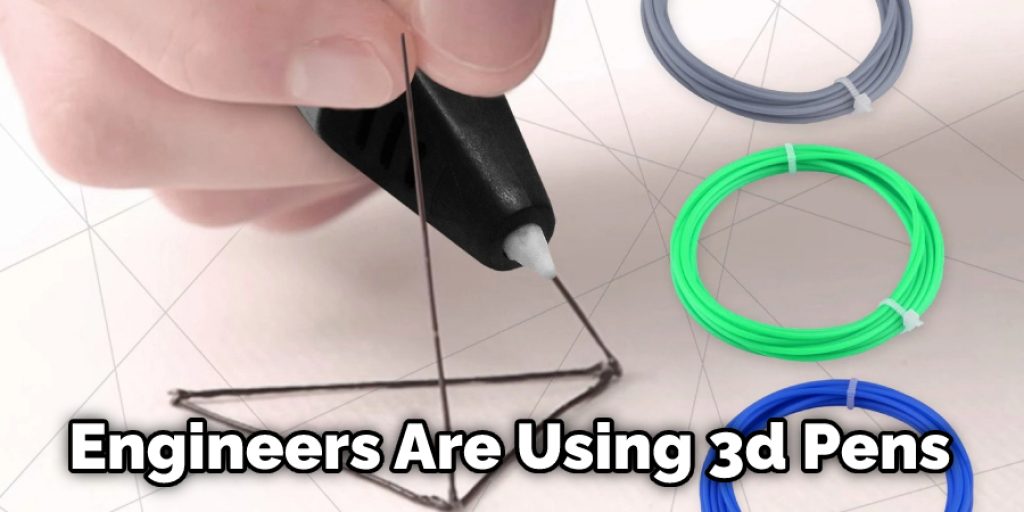
A 3D pen is really an amazing tool, and at this time, it has become popular in many fields. Some people say that with a 3d pen, you can make absolutely everything and the entire world. Nowadays, some engineers are using 3D pens during their designs to simplify their work and create more complicated things than before.
3D pens are not only great for schools, but also for kids who are interested in engineering from an early age. So it’s no surprise that there was a lot of interest in 3D pens at the CES 2015 show in January, which showcased the most interesting inventions of last year. This is how we could notice the number of new creative accessories like stand-alone DLP projectors or smart bands filled with sensors and chips, to name a few.
Step-wise Guide on How to Make a 3D Pen
1. Make a List of Everything You’ll Need:
- 3D pen body parts (an extruder and base)
- Power source for the motor (I used 4 AA batteries with an AC to DC adapter)
- Filament cartridges – I chose PLA as it’s easy to work with, but ABS would also be fine
2. Order All the Parts You Need :
if you’re in India like me, your best bet will be eBay or Aliexpress ($9.99 for 100 ft of 1.75 mm diameter filament on Amazon). Or ask around locally (I found that my local art supply store had both these things).
3. Find a suitable box/pouch for your new 3D pen (I used a pencil case and make-up bag)
3. Figure Out Where to Store All the Attachments :
if you’re like me, you’ll have four filament cartridges attached at all times (1 black/blue, 1 red/yellow, 1 white/black) and the one that’s not in use will be in a small pouch or box. I decided on using my earphone case as it had velcro straps for fastening – perfect! Just tie off an extra filament length so it stays put when you undo the velcro strap.
4. Build Your 3D Pen:
Next up is the fun part – this took me about 4 hours (including breaks) but really wasn’t difficult since nearly everything clicks together with no screws. I’d say that the most difficult part was gluing, which you don’t really need to do unless there are gaps in the joints.
To start with, screw on your base plate and make sure it is securely in place.
Next up, insert the filament cartridge (you can use blue tack or hot glue/super glue if needed). Make sure to only push down on the button until you feel a small click – if you press any further than this, air will be sucked into the cartridge tube and cause problems later on!
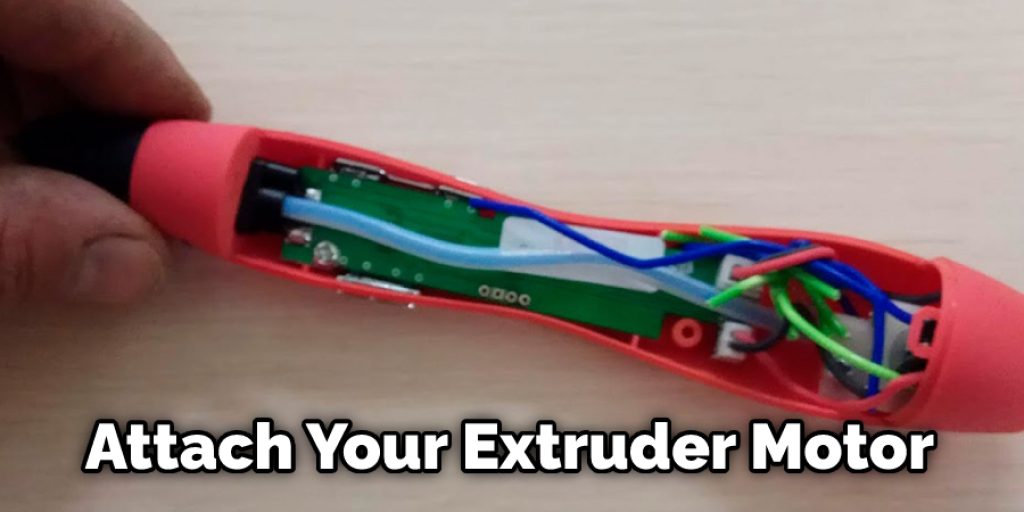
Once this is done, attach your extruder motor as per instructions – mine came attached to a metal bar, but yours may come with pre-installed wires. Attach this to the base plate as well. The last bit is to connect your power source to the extruder motor, and you’re all set!
5. Insert Filament:
I spent about 15 minutes figuring out this part, but it’s straightforward. Take a length of filament about 30 cm long and attach one end securely inside the back of the base plate using super glue or something similar. You should be able to push it in quite easily – if not, then make sure that your cartridge and extruder are firmly attached (you may have air trapped). The rest is straightforward – insert the other end into your 3D pen, and voila!
6. Get Started Withdrawing:
The 3D pen works by pushing a button and waiting for 3 seconds. A stabilizing arm will move down and keep the filament in place. Then you can press the button again to start extruding. If it doesn’t work, you can try pressing on the little black lever in front of where the blue/purple wire goes.
Precautions While Making a 3D Pen
- Use a camera frame not too close to the pen while filming, as it will give you the wrong reading on your software.
- Make marks with a pen, do not draw pictures. Use dot formation for all circles/squares; otherwise, you won’t get the perfect shape in a 3D printer.
- Remember the first layer is always rough, so don’t over extrude or move quickly if using ABS until it’s stuck and then continue extrusion. Remember that you can’t stop during printing that’ll break your filament, which costs more than the printed object itself! So try to avoid stopping when doing long prints. Always take a printout (only 1cm in length) before starting a big print and see how it looks this way you can avoid breaking filament and wasting time.
- Make a pause after each layer of your object that’ll let resin cool off somehow, which will increase the life span of the 3D pen.
- For a smooth finish, use flex/soft filaments as hard ones make a bubbly surface (but it’s not bad if you are doing something like, for ex: googles, pipes, etc.)
- Sometimes, slight shifts in printer settings can give you the best results, so try out various forms of resolution mode when extruding. (2-16 microns)
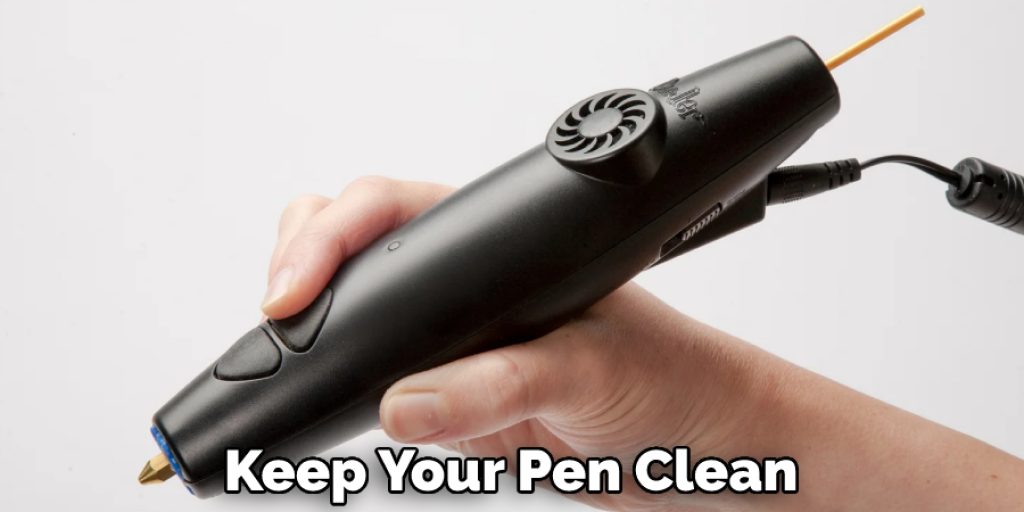
- Keep your pen clean, wipe it clean with a soft dry cloth or take a wire brush to it. While cleaning wires, they will improve more! And most important don’t use water as it’ll harm your pen!!
Conclusion
I hope this article has provided all the necessary information on how to make a 3D pen. Thank you and have a nice day!


