
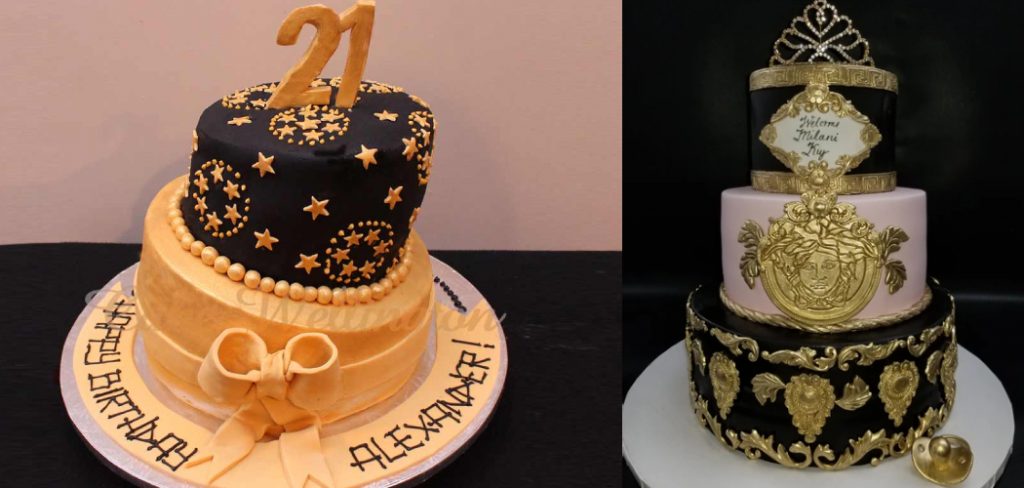
How to Make a Black and Gold Drip Cake
Drip cakes are a great way to add some pizzazz and elegance to your dessert table. This black and gold drip cake is perfect for any occasion, from birthdays to weddings. But, unfortunately, there’s nothing more frustrating than not being able to find the right recipe or instructions on how to make a black and gold drip cake.
They can be very simple or complex, depending on the baker’s skill level and their desired outcome. This blog post will provide you with a simple guide to making a black and gold drip cake, as well as some helpful tips for success. Of course, after that, you’ll never need another cake recipe again! So let’s get started!
6 Ways on How to Make a Black and Gold Drip Cake
1. Chocolate Drip Cake:
Make a chocolate cake in two separate square pans. Ice each square with vanilla icing, leaving the top of one icing free of icing for the drips. Drizzle melted candy coating over icing to make black and gold drip.
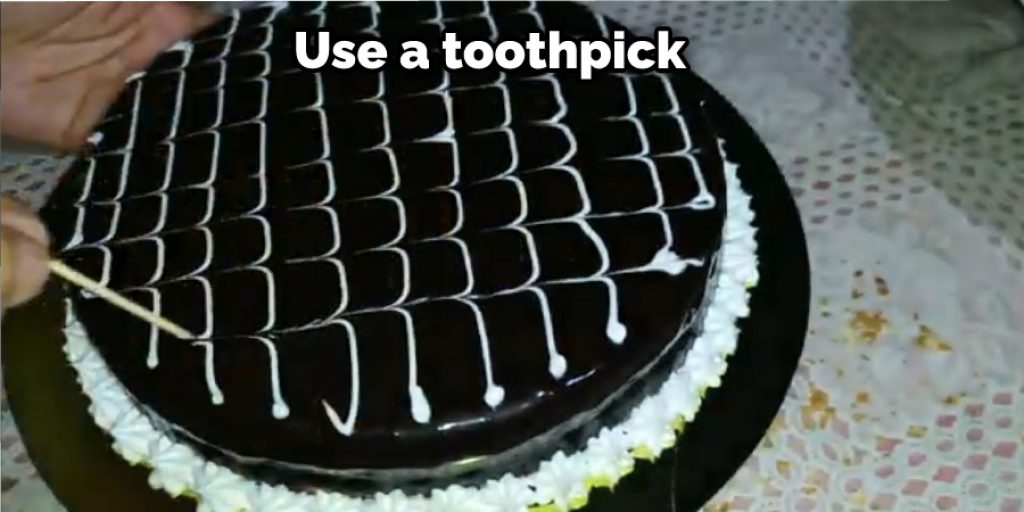
2. Drips With Flour:
Use a toothpick and touch the tip of it to your chocolate icing on your cake. Drag the toothpick through the icing, making a line down the side of your cake. Next, flip over your cake, make another line going in the opposite direction from when you started. Do this all around your cake until you have made full circles.
3. Drips With Caramel:
Drizzle your melted candy coating or caramel on top of the cake, making a line down the side, and then place a toothpick in one spot of the drips. Next, drag the toothpick to another area of the drip, alternate pulling the toothpick in one direction then the other to get a streaking effect.
4. Puree Drip Cake:
Puree fruit, scrape into a bowl and stir in sugar or honey until you have a thick mixture. Fill a plastic ziplock bag with puree. Cut a tip off one corner of the plastic baggie, then squeeze the puree on top of your cake for a drip effect.
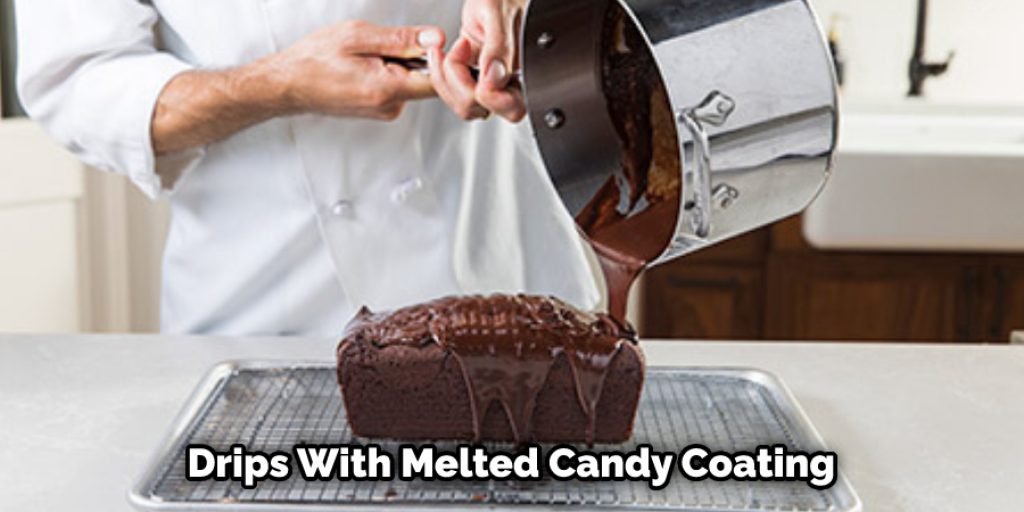
5. Drips With Melted Candy Coating:
Put your cake on a flat surface. Drizzle melted chocolate over the whole top of the cake, making one side thicker than the other, so it looks like melting. You can also start this technique near the edge of the cake, drizzling up to where you want your drip to stop.
6. Drop Drip Cake:
Place your cake on a flat surface. Take melted candy coating and place it in a ziplock bag. Cut the corner off one of the bottom corners of the plastic bag, then squeeze on your cake to create drips. You can also use this technique with white chocolate or vanilla icing to give you different looks than with dark Drips with chocolate syrup.
What You’ll Need
- A Cake
- Black Icing
- Gold Edible Spray Paint
- A Paintbrush
- Cupcakes
- Queen of Hearts Candles
- A Blow Dryer
Step by Step Guide: How to Make a Black and Gold Drip Cake
Step 1: Prepare Your Work Area
Make sure your work area is clean and wiped down. Ensure all of your tools are within reach, so you don’t have to shift around looking for them while working with the icing.
Step 2: Prepare Your Cake
Cover your cake with a thin layer of icing, just enough so that the black will stick to it. This is called a crumb coat. Allow this to set in the fridge for at least 20 minutes so the icing will harden, making it easier to handle and work with later on.
Step 3: Paint Your Black Lines
Grab your black icing and a paintbrush, then outline where you want your drips to be going. If you want the drips to be as perfect as mine, you will need to use a guide like a ruler. Fill in those lines with black icing and allow that to dry for another 20 minutes or so.
Step 4: Add Your Gold Details
Grab your gold edible spray paint and saucer cupcake pan, and start lining up your cupcakes on the saucers. Once you have your cupcakes where you’d like them, spray them with gold paint over every one of them until they are all evenly coated and look uniform. Allow this to set for about 10 minutes before moving on.
Step 5: Put Your Cake Together
Now that your black icing has cooled and hardened, take your cake out of the fridge and place it on a plate or stand. Next, start applying that icing as your glue to attach your painted cupcakes onto the top of your cake.
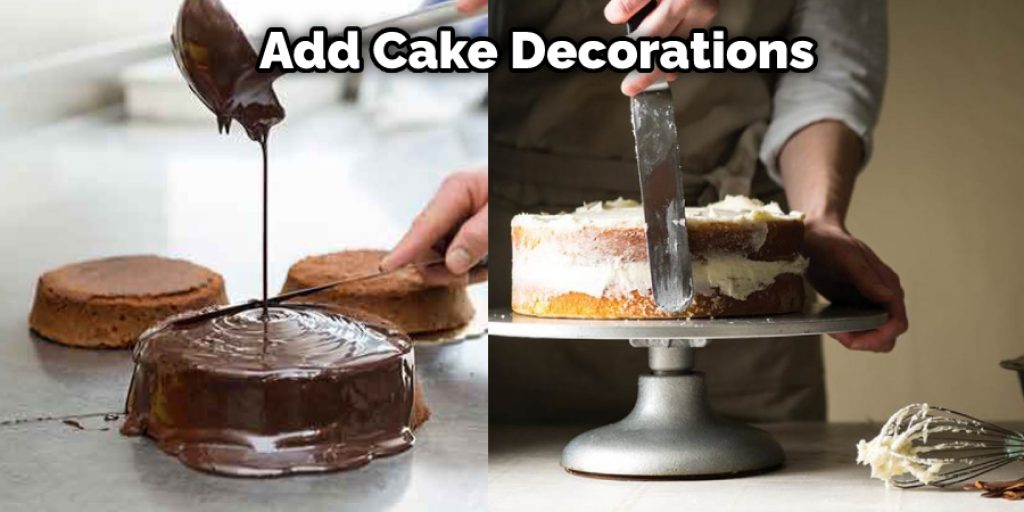
Step 6: Add Cake Decorations
Once you have applied all of your cupcakes, grab some candles and a lighter and place them on your cake for a festive flare.
Step 7: Clean Up
Clean up after yourself! Make sure to clean all of your tools with warm, soapy water before putting them away to prevent cross-contamination from using other icing colors. What You’ll Need This is just a list of the essential tools you will need to complete this design. You can find these at any cake-decorating store, craft store, or very well-stocked supermarket.
Tips
1. If you want to make extra drip cakes for a party, store them in the fridge with a sheet of parchment paper between each cake, so they don’t stick together.
2. To keep your board clean while decorating, lay down aluminum foil and cover the entire area where the cake will be iced and decorated. After everything is done, and the cake is ready to be displayed, carefully remove the aluminum foil and discard.
3. If you choose not to make a drip cake with all-black icing, keep in mind that it will look even better if you create a double-layer effect by having both colors on the outside edges of the iced cake. For this reason, it’s best to use the second color of icing for the drip.
4. Use a toothpick to make small dots for the eyes and buttons.
5. It may help you keep the cardboard cake circles (that come with most cakes) underneath the iced and decorated cake instead of moving it directly onto a serving platter. That way, you can place your iced cake on the table or wherever you plan on displaying it without ruining any iced edges that are still drying.
Conclusion
The black and gold drip cake will be perfect for your party, but if you want to make it even more special than that, feel free to add any other color. For example, you can use red or white frosting in the center of the layers to stand out against the dark colors.
If you do not have time before your event, try making this drip cake ahead of time, so all you need to do is put it together on the day itself. It should keep well in an airtight container for up-to-three days at room temperature! We hope you enjoyed learning how to make a black and gold drip cake. If you have any questions, be sure to reach out!


