How to Make a Clay Vase
Creating a clay vase is a fulfilling artistic endeavor that allows you to express your creativity while honing your pottery skills. In this guide on how to make a clay vase, we will explore the steps necessary to craft a beautiful and unique clay vase, from preparing your materials to shaping and finishing your creation.
Whether you’re a beginner or have some experience with pottery, this project offers an opportunity to unleash your imagination and create something truly special for your home or as a thoughtful gift. Let’s delve into the world of clay and discover the joy of making your own vase!
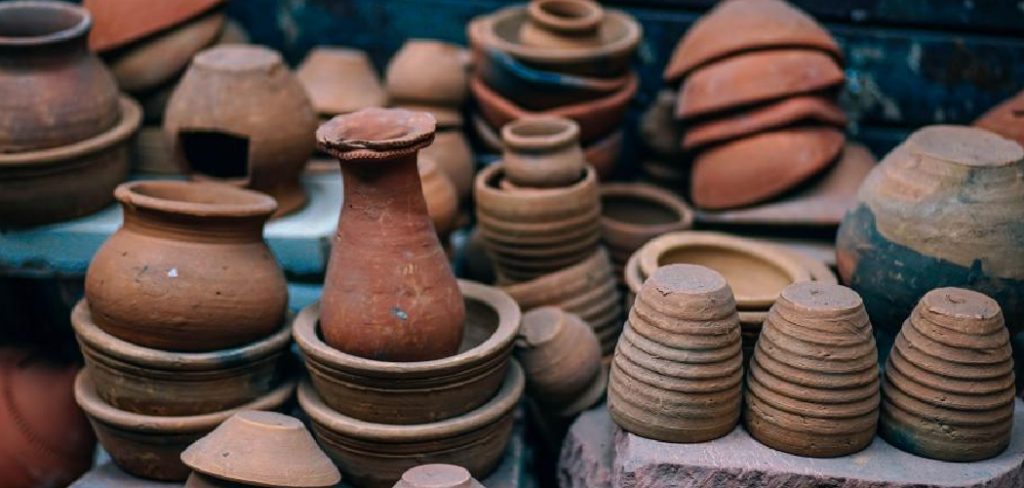
What is Clay?
Clay is a natural material that is formed from the weathering and erosion of rocks. It is composed of tiny particles of minerals, such as silica and alumina, mixed with water. This unique combination gives clay its malleable and sticky properties, making it ideal for pottery and other crafts.
There are various types of clay available, but the most commonly used for vase making is earthenware or stoneware clay. They have a balanced mix of plasticity, strength, and ability to withstand high temperatures in the firing process.
Materials Needed
- A Lump of Clay
- Water
- Rolling Pin
- Pottery Wheel or Turntable (Optional)
- Modeling Tools (Optional)
- Glaze (For Finishing)
8 Step-by-step Guidelines on How to Make a Clay Vase
Step 1: Prepare Your Workspace
Before you begin, make sure to have a clean and dry workspace. It is recommended to cover your work surface with plastic or canvas cloth to prevent the clay from sticking.
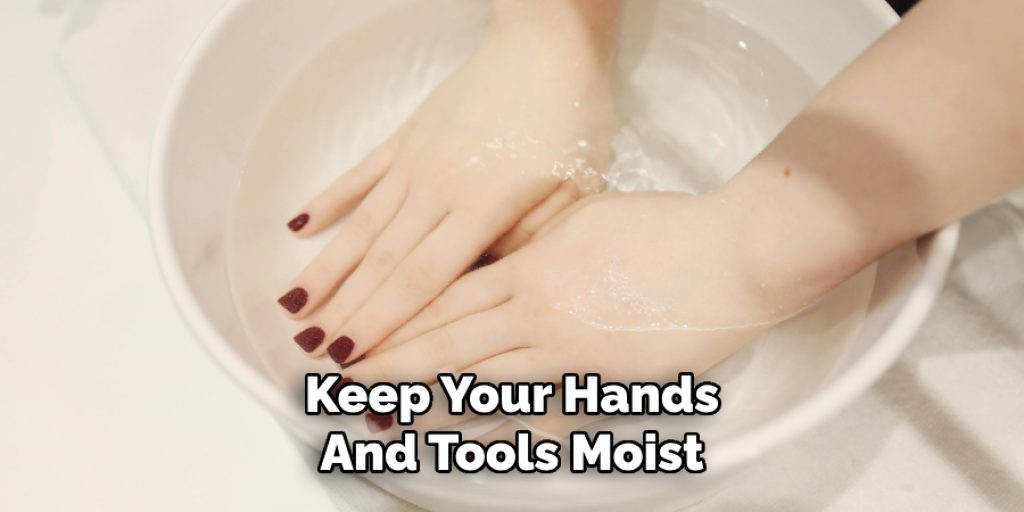
You will also need a bowl of water nearby to keep your hands and tools moist while working with clay. This helps prevent the clay from drying out too quickly and becoming difficult to manipulate.
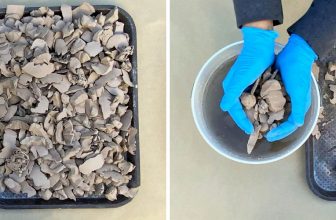
Step 2: Knead the Clay
Kneading the clay is a crucial step that ensures an even texture by removing air bubbles and contributing to the clay’s plasticity. Begin by cutting your lump of clay into smaller sections if necessary, then flatten it slightly with your hands. Use your palms to push down and forward on the clay, folding it over itself periodically.
This process should be repeated for about 5 to 10 minutes until the clay becomes smooth and workable. You can add a small amount of water if the clay feels too dry, but be cautious not to add too much, as this can affect the consistency. Properly kneaded clay will have a velvety feel and will be ready for the next steps in crafting your vase.
Step 3: Center the Clay on the Pottery Wheel (Optional)
If you are using a pottery wheel, begin by centering the clay on it. This means placing the clay in the middle of the wheel head and using your hands to press down firmly while simultaneously turning the wheel at a moderate speed. Once centered, make sure to secure the clay by sticking it to the wheel with a bit of water.
You can also skip this step and go straight to hand-building your vase if you do not have access to a pottery wheel.
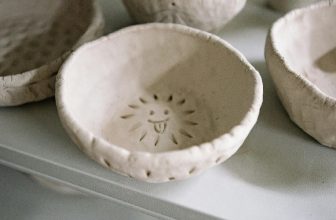
Step 4: Create the Base of Your Vase
To start forming your vase, use your hands or a rolling pin to flatten the clay into a circle. Begin at the center and work outward, ensuring that the thickness is even throughout. The size of the base will determine how large or small your vase will be, so make sure it’s sized according to your preference.
Next, using your thumbs, push down on the edges of the flattened clay to create a rim for your base. This will give stability and structure to your vase as you build up its walls.

Step 5: Build Up the Walls
Using your palms and fingers, gently lift and pull the edges of the base upwards to create the walls of your vase. Work gradually in a circular motion, making sure to maintain an even thickness throughout. You can also use tools to shape and smooth out any imperfections or add decorative details to your vase.
Continue building up the walls until you reach your desired height. Remember that clay shrinks during firing, so make sure to account for this when determining the final size of your vase.
Step 6: Shape and Define Your Vase
Now that you have built up the walls of your vase, it’s time to refine its shape and define its features. Use your hands to gently press and shape the clay, creating curves, angles, or any desired contour. If you want a more ornate design, this is the perfect moment to integrate decorative elements, like grooves or patterns, using your fingers or modeling tools.
Take your time to assess the form from different angles, making adjustments as needed to achieve a balanced and aesthetically pleasing result. Ensure that the thickness of the walls remains even to prevent cracking during the drying and firing process. Once satisfied with the shape, you can smooth the surface using a damp sponge to remove any fingerprints or tool marks, preparing your vase for the next steps in the crafting process.
Step 7: Let Your Vase Dry
After shaping and defining your vase, it’s essential to let it dry completely before proceeding. This step can take several days, depending on the size and thickness of your vase. To prevent cracking, make sure to rotate your vase periodically while drying to ensure even air exposure.
Once the vase is completely dry, you can gently remove any remaining imperfections using a damp sponge or sandpaper. If needed, you can also add additional details at this stage.
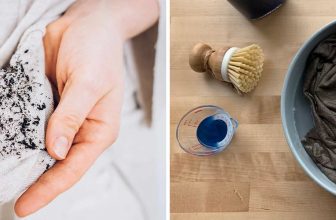
Step 8: Fire and Glaze Your Vase
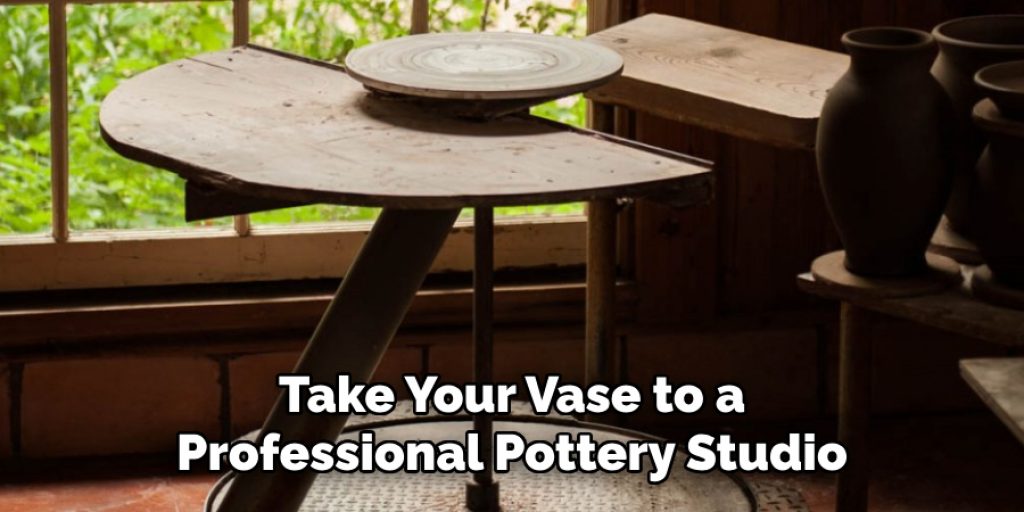
The final step in making a clay vase is firing it in a kiln and adding glaze for a polished finish. It is recommended to take your vase to a professional pottery studio for firing, as it requires specialized equipment and expertise.
Once fired, you can add glaze in any desired color or finish to complete the look of your vase. Glaze not only adds aesthetic appeal but also provides a protective coating that makes your vase functional and durable.
Following these steps on how to make a clay vase, you can create a unique and beautiful clay vase that is both functional and decorative. With practice, you can experiment with different shapes, sizes, and designs to make your vases truly one-of-a-kind. So go ahead and unleash your creativity with clay and enjoy the therapeutic process of creating your own handcrafted vase. Happy crafting!
Additional Tips
- When kneading the clay, be careful not to overwork it as this can cause it to become too soft or develop air bubbles.
- To achieve a smooth surface for glazing, make sure to sand any rough areas before firing.
- Experiment with different types of clay and glazing techniques to create unique effects on your vase.
- Don’t be afraid to make mistakes and learn from them. Crafting with clay is a continuous learning process, and each piece you create will be different and special in its own way.
- Have fun and let your imagination guide you! The beauty of hand-building with clay is that there are no limits to what you can create. So, let your creativity flow and enjoy the process. Happy crafting!
Frequently Asked Questions
Q1: Can I Use Air-dry Clay Instead of Kiln-fired Clay?
A1: Yes, you can use air-dry clay for this project, but keep in mind that it will not be as durable or water-resistant as kiln-fired clay. Air-dry clay also has a different texture and drying time, so follow the instructions on the packaging carefully.
Q2: How Long Will It Take for My Vase to Dry?
A2: The drying time can vary depending on the size and thickness of your vase and the type of clay used. On average, it can take anywhere from 1 to 7 days for the vase to dry completely. To speed up the process, you can use a fan or place it in a warm, dry spot.

Q3: Do I Need Special Tools to Make A Clay Vase?
A3: While specialized tools may make the process easier, you can create a clay vase using only your hands and simple household items like a rolling pin or butter knife. However, if you plan on making pottery regularly, investing in some basic clay tools can make the process more efficient and enjoyable.
Conclusion
Creating a clay vase is not only a rewarding artistic endeavor but also a wonderful way to express your creativity and connect with the medium. By following the steps on how to make a clay vase outlined, you can transform a simple lump of clay into a beautiful, functional piece of art that reflects your personal style.
Remember, the journey of crafting is just as important as the final product; take your time, embrace the learning process, and enjoy every moment spent shaping and forming your unique design. Whether you are a novice or an experienced potter, each vase you create is a testament to your creativity and skill. So gather your materials, let your imagination soar, and embark on this delightful pottery adventure. Happy crafting!
Elizabeth Davis
Elizabeth is a creative writer and digital editor based in the United States. She has a passion for the arts and crafts, which she developed from a young age. Elizabeth has always loved experimenting with new mediums and sharing her work with others. When she started blogging, she knew that DIYquickly would be the perfect platform to share her tutorials and tips. She's been writing for the blog from the beginning, and her readers love her helpful advice and easy-to-follow instructions. When she's not writing or editing, Elizabeth enjoys spending time with her family and friends.