How to Make Paper Mache Armor
Paper mache is a durable, inexpensive material that can be used in many ways. One of which is to make armor for cosplay or LARPing. It’s made by mixing the paper pulp with glue and then molding it into the desired shape. This article discusses how to make paper mache armor that is durable and long-lasting. So if you’re looking for an easy DIY project, this could be the one!
To start with, you’ll need to gather your tools and materials before you start. You’ll want to have the following items on hand a bucket or tub full of water, white school glue, brown craft paint, newspaper strips, old rags or towels, an old cereal box, or something similar sized. Read on to know more about this DIY project.
10 Ways on How To Make Paper Mache Armor:
1. Bend The Paper
Use wire to help you shape the paper into a curved piece. The thicker your wire, the easier it will be to bend the paper. It’s best to use a wooden dowel or something similar for this purpose, as a metal coat hanger could leave a mark on your armor.
When making paper mache, it’s best to use “newspaper and brown packing paper. The brown packing paper makes your project much sturdier than newspaper alone.”
2. Modeling
After you’ve shaped the armor into the desired form, cover it with strips of newspaper soaked in glue or paste until you can’t see any of the original objects. Then use another color of paper mache for the next layer, and so on. To finish it off, smooth out your project with fine sandpaper or a sanding block.
3. Waterproof It
Waterproofing your armor is important if you’ll be using it outside in the rain because if water gets through your paper mache, it will cause the newspaper to expand. The adhesive in the paper mache will lose its ability to hold together.
4. Using Feathers
Mix equal parts of flour and water, ensuring all lumps are out. Then coat your project with this mixture so that you can attach feathers or other materials to your project.
5. Using Glitter
Make a mixture of 1/4 cup water and 1/2 tablespoon of Elmer’s glue, then add glitter to the mixture. This will give your armor a shiny effect that looks great as long as you don’t use too much glitter, or it might look messy.
6. Making Cartoon Armor
For a cartoon look, paint the whole project white with latex paint. Then add your colors with acrylic paint. For a really cartoonish look, you can use blackboard paint around the edges of your armor to make it look like it’s been framed in wood or stone.
7. Painting On It
Using acrylic paint, paint your armor like it would be painted in the Middle Ages. Make sure you use the colors accurately for what period of time your armor belongs to (i.e., black and gold for medieval times).
8. Using Modeling Clay
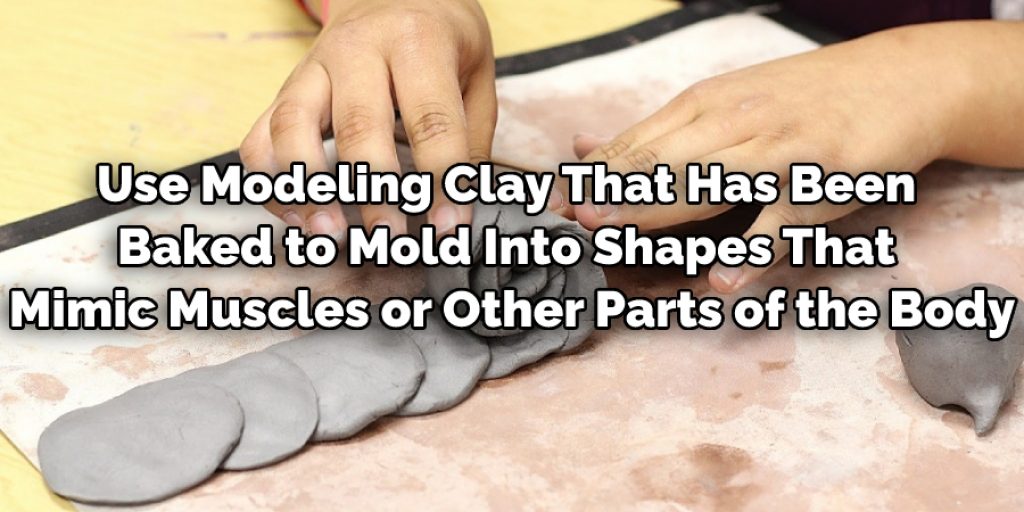
Use modeling clay that has been baked to mold into shapes that mimic muscles or other body parts, such as arms and legs. Stick the clay (unbaked) to your project with double-sided tape or glue.
Then bake it in an oven for 30 minutes at 350 degrees Fahrenheit. After that, paint the armor any color you want and add a sealant if necessary so your paint doesn’t come off when you touch it.
9. Create Smooth Armor
A great way to create a smooth and uniform paper mache armor is by using damp strips of fabric instead of newspaper. This also makes your pieces stronger and more durable because the fabric will absorb some of the blow.
After you’ve created your desired shape, let it dry for a few days before applying the first coat of paper mache paste. After it’s dry, sand it down and apply a thin layer to even out your surface. You can now paint on your design or whatever you desire if it goes with the texture you just created.
10. Make Layers
Make layers if you want to make a sturdy, durable, and realistic-looking armor. Use newspaper and brown packing paper for the first layer of paper mache. For the second layer of paper mache, use white printer paper for a lighter effect and cover it up with another color (second layer). Add another layer using construction paper and repeat the process if you want.
How Do You Make Homemade Armor?
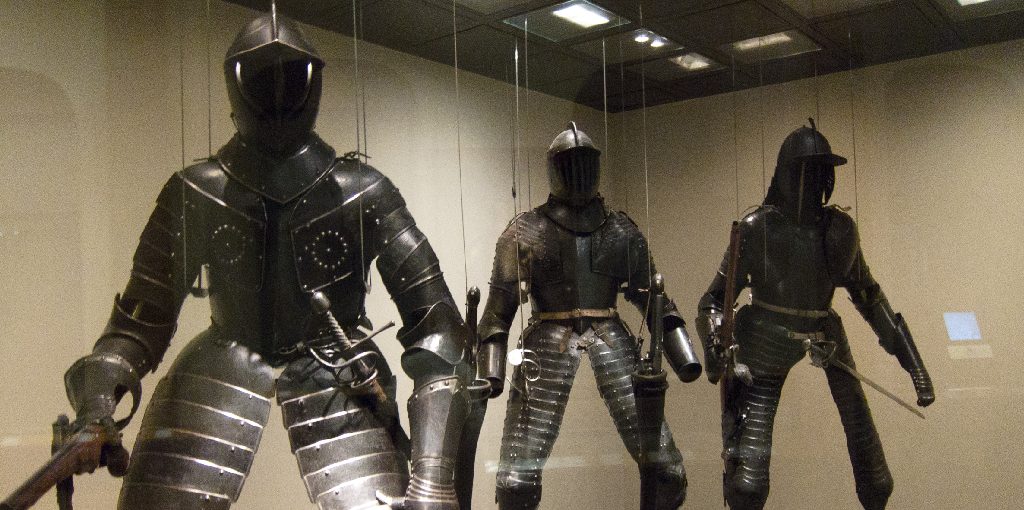
Armor is the protective covering used to prevent injuries in battle. Made popular by knights, armor is still worn today for protection during sports or work activities that pose a high risk of injury. However, thanks to modern technology, homemade armors are less common than manufactured ones.
Not only does making your own armor allow you to try out new designs and patterns, but you can also find unique and stylish pieces that aren’t available in traditional retail stores. A homemade armor is a work of art that will reflect your unique style and personality.
Is Paper Mache Better With Glue or Flour?
An important question in the paper mache craft is whether to use glue or flour to make your paper mache paste. Both will work well for this purpose, but some differences are worth noting when making these decisions for yourself.
Flour paste is the original, traditional recipe that was used for centuries before glue became popular. It is simple to use and smells nice while it bakes on your paper mache project. The downside is that you have to bake it in an oven,
which can be difficult with larger projects, and it takes much more time to dry than glue. However, it is also usually less messy than using glue, which can be nice if you are working indoors or somewhere that makes many messes.
Frequently Asked Questions
What Do You Use to Coat Paper Mache?
To coat paper mache, you can use any paint or glue. However, a paste is recommended if you want to make the surface look smooth and less messy.
Paint: You can use acrylic paint to make your paper mache look nice and glossy. Make sure that you are using latex-free paint so that it does not dry out the paper mache.
Glue: If you do not want to use the paste to coat your paper mache, many different types of glue can be used, such as Elmer’s Glue-All or liquid polyurethane glue.
Is Glue or Flour Better for Paper Mache?
Glue is better for paper mache. The glue texture is more flexible, and it dries quicker than flour.
It can also be easily molded into various shapes and will hold together well once dry.
Can I Use a Hair Dryer to Dry Paper Mache?
Yes, you can use a hairdryer to dry paper mache. The goal is to dry the paper quickly and uniformly, not stick together or tear it.
To start, unplug your hairdryer and plug it into an outlet that’s on a lower voltage than what you’re using (110 volts). This will help prevent damage to the cord of your hairdryer if you accidentally touch the metal parts while drying.
Then place a large sheet of newspaper on top of your work surface before starting. This will keep any drips from getting onto your work surface and making a mess.
Next, please turn on the hairdryer at its highest setting with no attachments or attachments set to low heat. Then place the hairdryer in front of the piece of paper mache and leave it there for 10-15 seconds while holding down the trigger button (the button used for heating up).
Does Paper Mache Have to Dry Between Layers?
No, paper mache does not have to dry between layers. However, if you are using a glue gun, then it is recommended that you wait until the glue has dried before adding more material.
Conclusion:
This article has provided many different ways how to make paper mache armor. You should now be able to confidently craft your own self-made, medieval warrior costume for Halloween or cosplay!
Remember these steps and get creative with the paint colors available at your local hardware store. We’ve also included a list of materials needed in this guide, so you have everything on hand when it comes time to create this amazing DIY project.
Read Our Another Article On – How to Make a Paper Mache Helmet
Elizabeth Davis
Elizabeth is a creative writer and digital editor based in the United States. She has a passion for the arts and crafts, which she developed from a young age. Elizabeth has always loved experimenting with new mediums and sharing her work with others. When she started blogging, she knew that DIYquickly would be the perfect platform to share her tutorials and tips. She's been writing for the blog from the beginning, and her readers love her helpful advice and easy-to-follow instructions. When she's not writing or editing, Elizabeth enjoys spending time with her family and friends.