How to Make a Crochet Snowflake
Are you looking for a fun and festive crochet project? Look no further than making your crochet snowflake! Not only is it a great way to decorate for the holiday season, but it also makes for a perfect handmade gift.
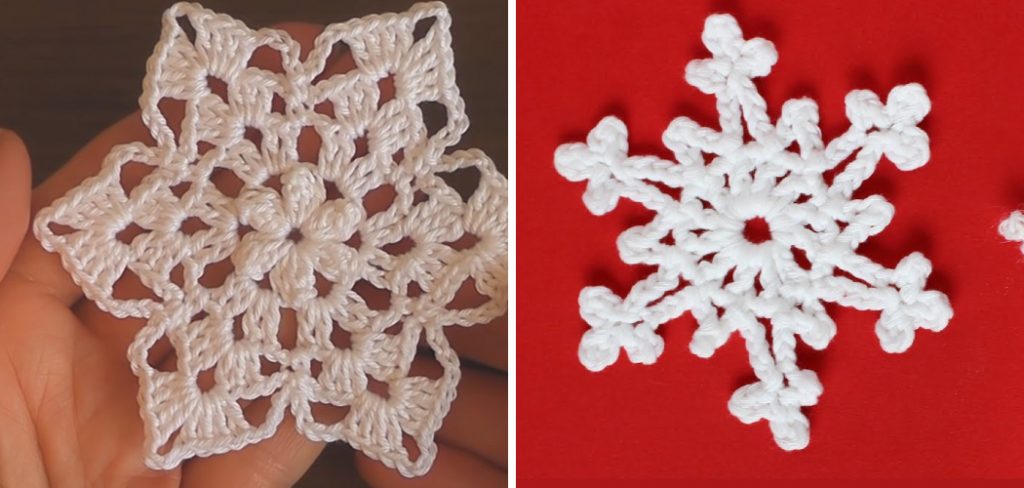
Crochet snowflakes are delightful, intricate creations that can add a touch of charm and whimsy to your winter decor. Whether you’re looking to decorate your home for the holidays, create unique gift embellishments, or simply enjoy the relaxing craft of crocheting, making snowflakes is a rewarding experience.
In this guide on how to make a crochet snowflake, we’ll walk you through the basic techniques, stitches, and patterns needed to create your very own crochet snowflakes. With just a few materials and some patience, you’ll be able to produce beautiful snowflake designs that can be cherished for seasons to come. Let’s dive into the magical world of crochet!
What Will You Need?
Before we begin, here are the materials you’ll need to get started on your crochet snowflake project:
- Crochet hook (size will depend on the desired thickness of your snowflake)
- Yarn (white or any color of your choice. Note that thinner yarn will produce delicate snowflakes while thicker yarn will result in bolder designs)
- Scissors
- Tapestry needle
That’s it! Now, let’s move on to creating a crochet snowflake.
10 Easy Steps on How to Make a Crochet Snowflake
Step 1: Choose Your Pattern and Yarn
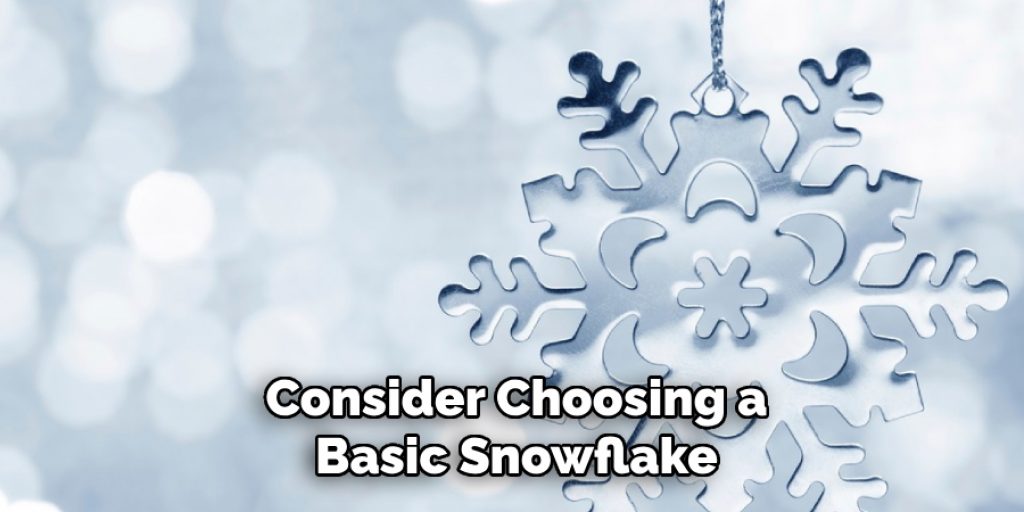
Selecting the correct pattern is critical to achieving the snowflake design you envision. Numerous patterns are available, ranging from simple, beginner-friendly designs to more intricate ones suited for those with advanced crochet skills. If you’re just starting out, consider choosing a basic snowflake pattern that typically involves simple stitches such as chains, slip stitches, and double crochet.
When it comes to yarn, while traditional snowflakes are often white to mimic the look of natural snow, you can get creative with colors—think pastel shades for a whimsical touch or metallic threads for a more glamourous flair. Remember that the yarn thickness directly influences the delicacy and size of your snowflake, so if you prefer larger, bolder pieces, opt for a thicker yarn.
Step 2: Start Your Foundation Ring
To begin your crochet snowflake, you’ll need to create a foundation ring. Make a slip knot with your yarn and place it on your crochet hook. Next, chain a specific number of stitches—usually around six to eight—depending on your chosen pattern. Once you have your chains, join them into a ring by slip-stitching into the first chain. This ring will serve as the base for your snowflake, so ensure it’s secure but not too tight, allowing room for the subsequent stitches to be added.
Step 3: Crochet the First Round
Now that you have your foundation ring, it’s time to crochet the first round which will form the intricate design of your snowflake. Begin by chaining a set number of stitches as specified in your pattern—typically around three chains, which will count as your first double crochet. Next, follow your pattern instructions and work a series of double crochets into the ring.
Aim to create a uniform number of stitches to help maintain a balanced shape. Once you’ve worked the specified number of double crochets, join the round by slip stitching into the top of the first chain, ensuring that your round is closed neatly. This creates a solid base from which your snowflake’s unique details will unfold.
Step 4: Create the Snowflake Points
With the first round complete, it’s time to shape the snowflake points that give it that classic star-like appearance. Follow your pattern to determine how many points your snowflake will have—traditionally, snowflakes feature six points but feel free to adjust based on your design. To form each point, chain a specific number of stitches (usually around four to five) from the last double crochet of the round, then work back into the base of the point with slip stitches to secure it.
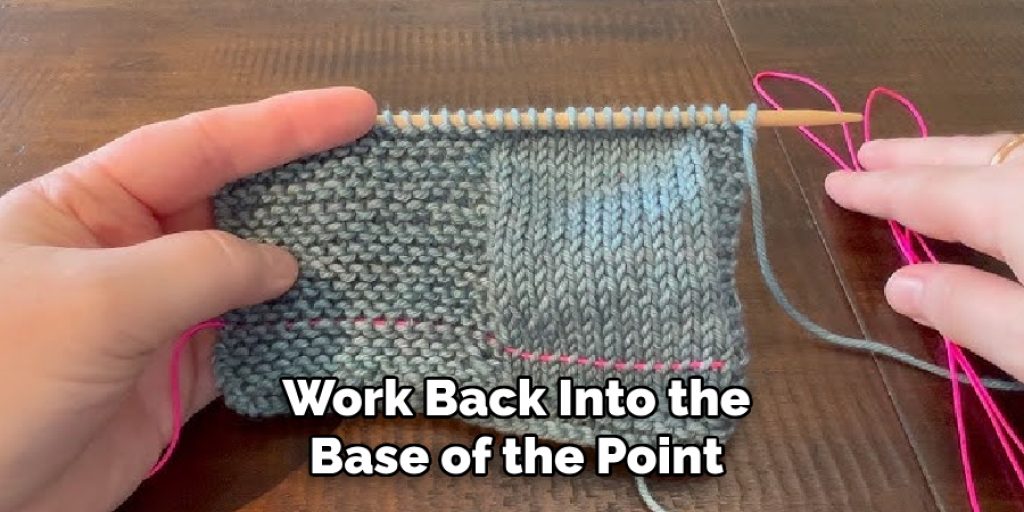
This creates the structure of your snowflake points. After securing each point, make sure to add decorative stitches such as picots, shells, or clusters as your pattern specifies to enhance the intricate look of your snowflake.
Step 5: Add Decorative Edging
Once your snowflake points are formed, it’s time to give your creation an elegant finish with decorative edging. This not only enhances the visual appeal but also adds texture and dimension.
Depending on your pattern, you might be instructed to work additional stitches around the points, such as single crochets, slip stitches, or shells. For a traditional touch, consider adding a series of picots—three chains followed by a slip stitch in the first chain—to create small, pointy accents along the edges. This step allows you to personalize your snowflake and experiment with different stitch combinations for unique results.
Step 6: Secure and Weave in Ends
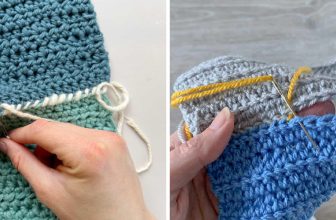
After completing the edging, it’s crucial to secure all your work to ensure that your delicate snowflake maintains its shape. Cut the yarn, leaving a long tail to weave in. Using a tapestry needle, thread the tail through the remaining stitches, pulling gently to tighten any loose edges. This step helps to prevent unraveling and gives your snowflake a polished look. Be sure to weave in any additional ends from the starting yarn so that your snowflake is neat and professional-looking.
Step 7: Stiffen Your Snowflake (Optional)
Consider stiffening your work if you desire a firmer, more structured snowflake. There are various methods to achieve this; one popular technique involves mixing equal parts of white school glue and water to create a stiffening solution. Submerge your crocheted snowflake in the mixture, ensuring it is fully coated. Afterward, gently remove any excess liquid and reshape the snowflake as needed. You can pin it onto a foam board or a dry towel to dry in your desired shape, allowing for the perfect display piece.
Step 8: Final Touches and Display
Once your snowflake is fully dry (if you opted to stiffen it), take a moment to admire your handiwork. Depending on your personal taste, you might choose to embellish it further with glitter, beads, or sequins for added sparkle. Snowflakes can be used in various ways—as ornaments for your Christmas tree, festive decor on windows, or even as part of gift-wrapping. Consider attaching a string or ribbon to hang it, or incorporate multiple snowflakes for a stunning winter display.
Step 9: Experiment with Variations
The beauty of crocheting snowflakes lies in the endless possibilities for creativity. Once you’ve mastered one design, why not experiment with different patterns, yarn colors, and sizes? Explore variations by adjusting the number of points, changing your stitch techniques, or combining different patterns for an eclectic feel. This experimentation can lead to creating an entire collection of unique snowflakes, each with its charm.
Step 10: Enjoy Your Crochet Snowflakes!
With your crochet snowflakes complete, take a moment to appreciate the process and the beautiful creations you’ve made. These delicate pieces add a personal touch to your winter decor and embody the joy and satisfaction that come with crafting. Share your snowflakes with friends and family, or gift them to loved ones, spreading the warmth of handmade artistry during the holiday season.
By following these steps, you can create stunning, one-of-a-kind crochet snowflakes that add a special touch to any winter setting.
5 Things You Should Avoid
- Skipping Gauge Swatches: Not checking your gauge can lead to inconsistencies in size and shape. Always make a gauge swatch to ensure your snowflake matches the intended dimensions of your pattern.
- Using Incompatible Yarn Types: Avoid using yarn that’s too thick or too thin for your chosen pattern. The wrong yarn weight can affect the texture and structure of the snowflake, making it look less delicate and intricate.
- Rushing Through the Stitching: Crocheting too quickly can lead to mistakes such as missed stitches or uneven tension. Take your time to ensure each stitch is placed correctly, enhancing your snowflake’s overall appearance.
- Neglecting Pattern Instructions: Ignoring pattern instructions, especially regarding specific stitch techniques or the number of stitches, can result in a snowflake that looks different from what was intended. Always refer back to your pattern for guidance.
- Forgetting to Block Your Finished Work: Failing to block your snowflake can leave it looking misshapen. Blocking helps to set the stitches and gives your snowflake a crisp, defined shape, enhancing its visual charm.
Conclusion
How to make a crochet snowflake is a rewarding and delightful project that allows crafters of all skill levels to express their creativity.
You can craft beautiful pieces that enhance any winter decor by following the detailed steps outlined, from forming the points to adding decorative edging, securing ends, and possibly stiffening for structure. Experimenting with different patterns and yarns can lead to a personal collection of unique snowflakes that reflect your style.
Embrace the joy of crocheting and share your handmade treasures with others to spread warmth and cheer during the festive season. Enjoy every stitch as you bring these delicate works of art to life!

