
How to Make a Fabric Birthday Hat
Do you want to learn about the process of how to make a fabric birthday hat? If yes, we want to tell you that this entire article is for you. Yes, you got the sentence correctly!
To learn the process of making a fabric birthday hat, you must follow some vital steps. And most importantly, throughout this content, we will discuss the step-by-step process of successfully making a fabric birthday hat. If you want the details about the topic, then kindly read the entire article and learn all the less-known factors to achieve your desired outcome!
An Overall Overview of the Topic
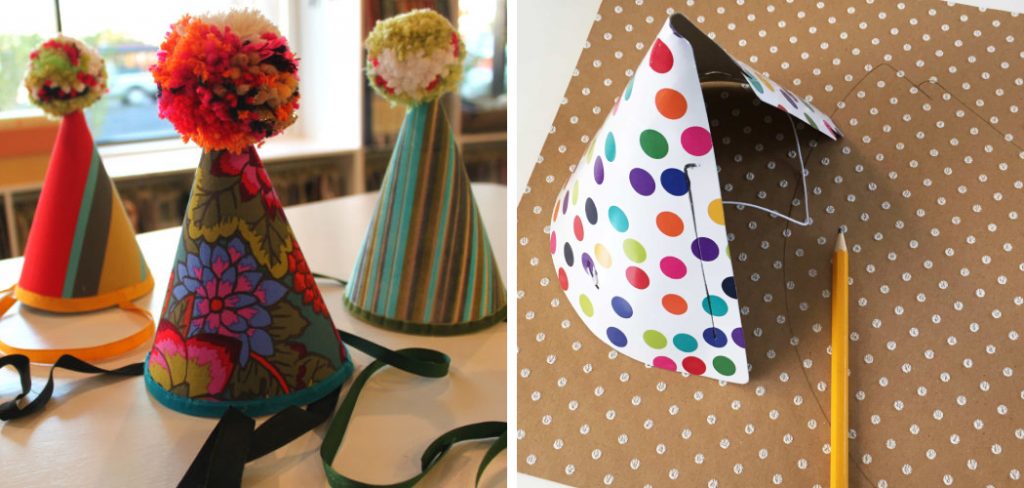
A gathering cap is a festive cone-shaped cap made with a piece of cardboard, usually with patterns printed on the outside and a long string of ribbon acting like a chinstrap, going between the different sides of the cone’s bottom to tie the hat to the person’s head.
Its name starts with its utilization. Party caps are worn regularly at birthday celebrations, particularly by the visitor of respect, with a critical minority being worn for New Year festivities.
Gear:
- Sewing machine
- Paste weapon
- Texture stick
- Starch shower
- Lace
- Stapler
- Heated glue weapon
Materials:
- 9 x 12 feet square shapes – one for each cap, in addition to a couple of extra for frivolity
- A gathering cap format
- Pompoms
- Hardcore iron-on interfacing
- 5mm versatile
The Process of How to Make a Fabric Birthday Hat
- Start by sticking the format to each felt square shape. Cut around the layout and slice a bit of interfacing to coordinate.
- Set up the entirety of your pieces. Line, a bit of interfacing with a, got a cut handle.
- Splash the felt side with a starch shower and iron the interfacing on medium warmth until it breakers to the felt. Do not iron at the explored aspect.
- Presently is a decent ideal opportunity to include some adornment and plan your trims – sew on rick rack, lace.
- After that, shape it into a cone. You can practice this a few times before using the paste. Once you have the technique down, apply the paste to the area, making sure to cover and secure it completely.
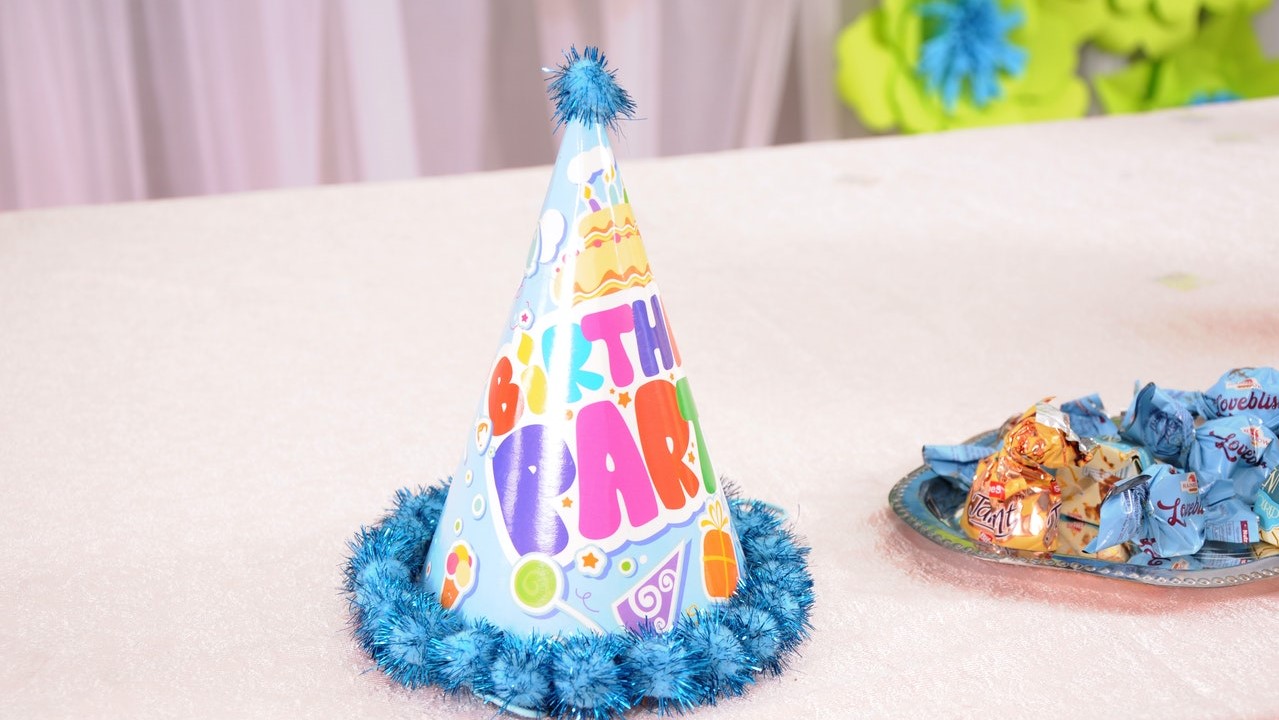
- Utilize the paste firearm to tie down bigger pompoms to the top and sides. We discovered applying the paste to the pompom originally was more successful – at that point, hold for 10-20 seconds.
- Measure below the jaw and cut your versatile an inch shorter.
- Utilize a sewing machine to tie down the flexible to the two sides.
Conclusion
Now we believe you have learned all the detailed information about the topic of how to make a fabric birthday hat. At the point of this article, we would like to recommend one thing that is following the steps that we mentioned earlier in the content accordingly. And then there will be no one who could stop you from achieving your most desired outcome!
Elizabeth Davis
Elizabeth is a creative writer and digital editor based in the United States. She has a passion for the arts and crafts, which she developed from a young age. Elizabeth has always loved experimenting with new mediums and sharing her work with others. When she started blogging, she knew that DIYquickly would be the perfect platform to share her tutorials and tips. She's been writing for the blog from the beginning, and her readers love her helpful advice and easy-to-follow instructions. When she's not writing or editing, Elizabeth enjoys spending time with her family and friends.


