How to Make a Flower Wreath
Are you looking for a creative, fun way to decorate your home or celebrate a special occasion? A flower wreath is the perfect solution! It’s easy to make and customizable, adding a beautiful touch to any space.
How to make a flower wreath is a delightful way to bring a touch of nature into your home, perfect for decorating doors, walls, or even as a centerpiece for special occasions. This simple yet creative project allows you to express your flair while celebrating seasonal blooms. Whether you prefer vibrant wildflowers or elegant garden varieties, making a flower wreath is an enjoyable activity that can be completed alone or shared with friends and family.
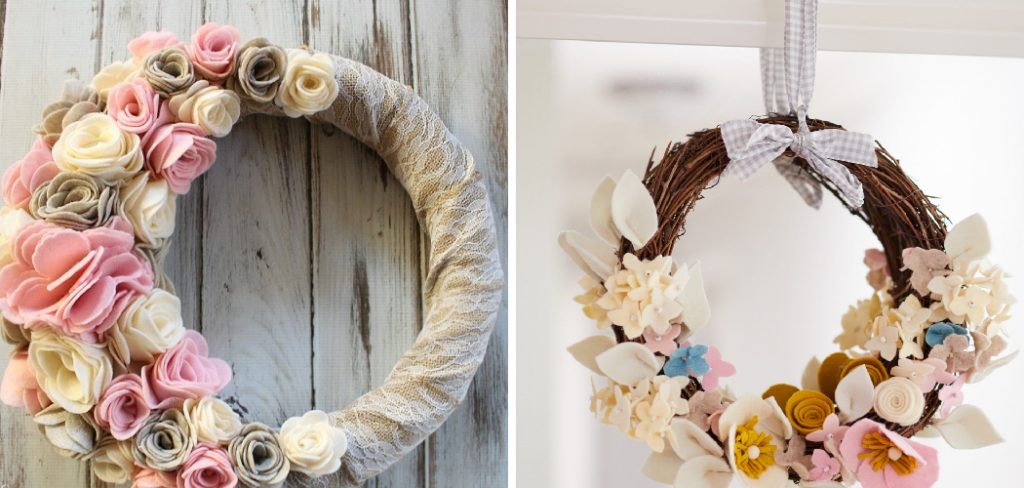
In this guide, we will walk you through the steps to assemble your flower wreath, ensuring you have all the tips and tricks needed to create a stunning and unique piece.
What Will You Need?
Making a flower wreath requires minimal materials, making it an affordable and accessible craft. The main items you will need include:
- A wreath base (can be made from wire, grapevine, or foam)
- Floral wire or hot glue gun
- An assortment of flowers and greenery of your choice
You can find all these items at your local craft store or even in your backyard! For the flowers, choose blooms that are in season or ones that have a special meaning to you. This adds a personal touch to your wreath.
10 Easy Steps on How to Make a Flower Wreath
Step 1: Prepare Your Base
Start by selecting a suitable wreath base for your design. If you’re using a wire base, make sure it’s flexible enough to shape according to the arrangement of flowers you envision. A grapevine base offers a rustic charm, while a foam base provides a solid foundation for heavier flowers. Whichever base you choose, ensure it’s clean and free from debris.

Once your base is ready, consider the size and style of your wreath. You’ll want to create a balanced arrangement for a more symmetrical look, placing larger flowers in the center and gradually adding smaller blooms around the edges. If you prefer an organic, free-flowing style, let your creativity guide the placement of each flower and greenery. It’s helpful to plan the layout before securing anything, allowing you to adjust as needed. This preparation sets the stage for a beautiful floral arrangement that genuinely reflects your personality and style.
Step 2: Choose Your Flowers and Foliage
Select various flowers and greenery to create a balanced and visually appealing arrangement. Consider mixing different shapes, sizes, and colors to add depth and interest to your wreath. A good combination might include larger focal flowers, smaller filler flowers, and some greenery for texture. Make sure to trim the stems to your desired length and remove any excess leaves that may distract from the overall design. Preparing your selection ahead of time will make the assembly process much smoother.
Step 3: Assemble the Flowers
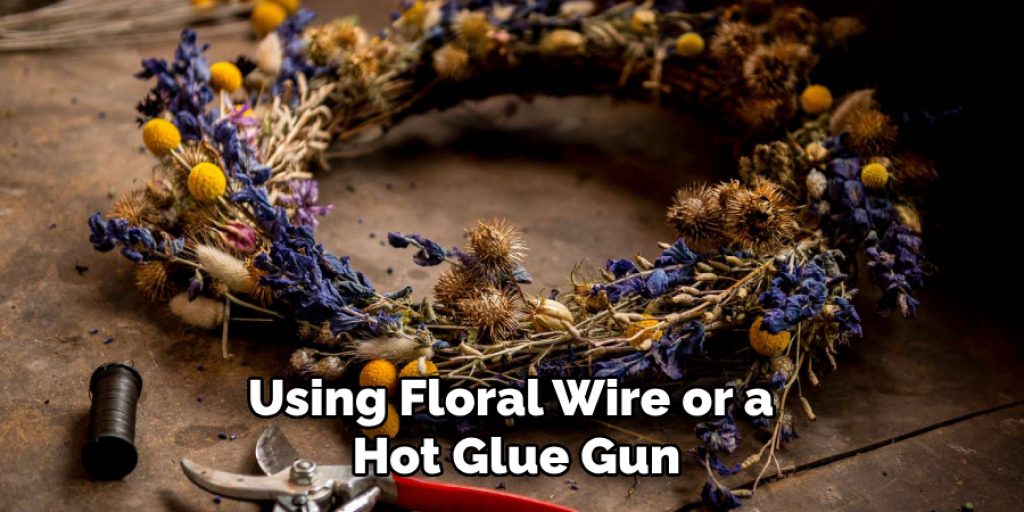
Begin assembling your flower wreath by attaching the larger blooms first. Start at the top of the wreath base and work around, using floral wire or a hot glue gun to secure each flower. If you’re using a wire base, you can weave the stems into the frame for added stability. Position each flower at varying angles to create a natural look, allowing some blooms to overlap slightly for depth.
Step 4: Add Filler Flowers
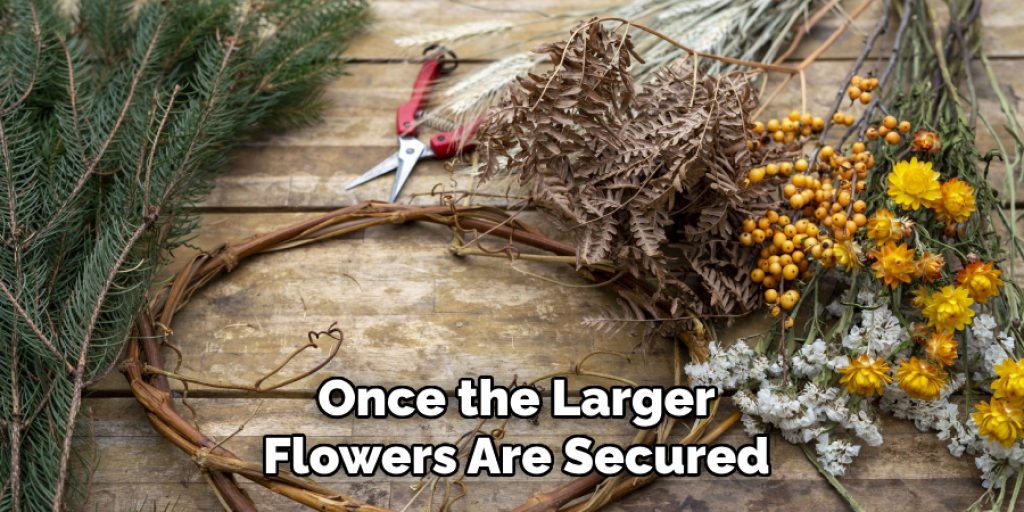
Once the larger flowers are secured, it’s time to fill in the gaps with smaller flowers. These filler flowers will create a fuller appearance and contrast the more prominent blooms. Carefully place these around the larger flowers, ensuring they spread out the colors for a balanced look. Again, secure them with floral wire or glue as necessary.
Step 5: Incorporate Greenery
After placing the flowers, it’s time to add in the greenery. This can be leaves, vines, or other leafy materials that complement your flowers. Greenery not only fills in empty spaces but also provides a fresh and vibrant backdrop for the blooms. Layer the greenery around the flowers, tucking it in between blossoms and the edges of the wreath base.
Step 6: Final Touches
Step back and assess your wreath once you’ve incorporated the flowers and greenery. This is the moment to make any adjustments and ensure your design is harmonious and visually appealing. Consider adding more filler flowers or rearranging some aspects for better symmetry.
After you’re satisfied with the arrangement, secure loose stems or foliage with additional floral wire or glue to ensure everything stays in place. An optional yet impactful step is incorporating decorative elements such as ribbons, dried flowers, or seasonal adornments to add a personal touch. If your wreath is intended for a specific occasion, you might choose embellishments that reflect that theme, whether it be autumn leaves for a fall wreath or pastel ribbons for spring. Finally, give your finished flower wreath a gentle shake to confirm that everything is secure, then find the perfect spot to display it, ensuring that it brightens up your space beautifully!
Step 7: Hang Your Wreath
Now that your flower wreath is complete and secure, it’s time to hang it up and enjoy your beautiful creation. Choose a prominent location where it can be admired, such as your front door, above a fireplace, or on a wall in your living space. To hang the wreath, you can use a hanger hovering over the top of your door, a suction cup for smooth surfaces or hook and loop tape for walls. Ensure that it is hung straight and at a height that allows it to be easily seen. If you prefer a more permanent fixture, consider using a small nail or adhesive hook for added security.
Step 8: Maintenance and Care
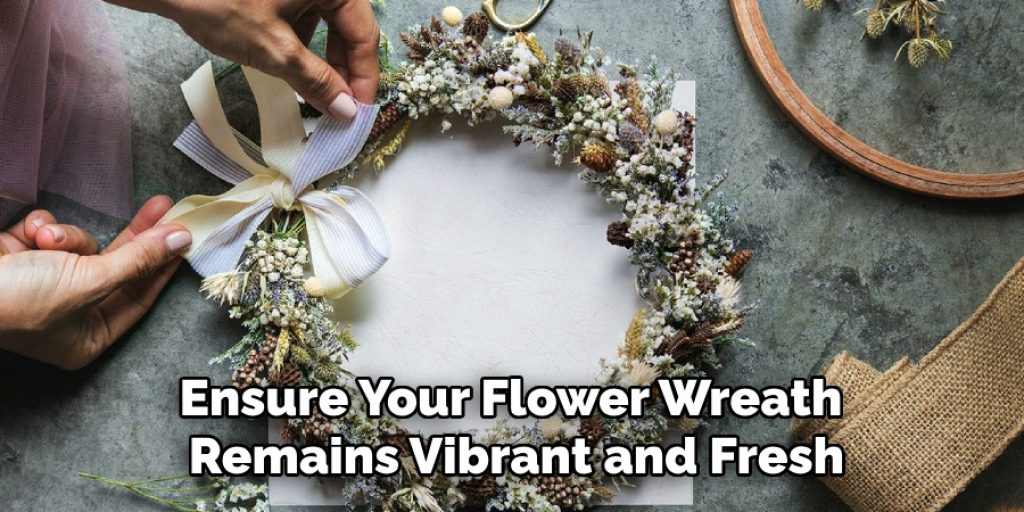
Proper maintenance is critical to ensure your flower wreath remains vibrant and fresh. If your wreath is made with real flowers, keep it in a cool, dry place away from direct sunlight to prevent wilting. It’s a good idea to lightly mist the flowers with water every few days to keep them hydrated. Gentle dusting with a soft brush or cloth will help maintain their appearance over time for wreaths made from dried or artificial flowers. Periodically check for any loose elements and re-secure them as needed. By caring for your wreath, you can enjoy its beauty for an extended period, whether it’s displayed indoors or outdoors.
Step 9: Seasonal Updates
As the seasons change, so too can your wreath! Rotate your floral designs to reflect the beauty of each season. For example, consider incorporating pastel blooms like tulips and daisies in spring, while summer can be celebrated with vibrant sunflowers and zinnias. In autumn, rich colors such as oranges and deep reds can be introduced with elements like pinecones or berries, and winter might call for evergreens, holly, and even ornaments for a festive touch. This keeps your decor fresh and allows you to express your creativity throughout the year.
Step 10: Store Your Wreath Properly
When it’s time to take your wreath down, store it correctly to preserve its condition. If your wreath is made from real flowers, it’s best to dispose of it compost-friendly. Store dried or artificial wreaths in a cool, dry place in a breathable container to avoid moisture buildup. Wrapping the wreath in tissue paper or using a wreath storage box can protect the design from dust and damage. Keeping your wreath safe will ensure that it remains a cherished decoration for future seasons.
Following these steps, you can create a stunning flower wreath that adds charm and beauty to any space.
5 Things You Should Avoid
- Skimping on Materials: Using low-quality or insufficient materials can result in a wreath that looks unprofessional and doesn’t last. Invest in good-quality flowers, greenery, and adhesives to ensure your wreath is sturdy and visually appealing.
- Ignoring Size Proportions: Please consider the size of your blooms concerning the wreath base to avoid an unbalanced design. Be mindful of creating harmony and proportion with large and small flowers to achieve a cohesive look.
- Overcrowding the Wreath: While it’s essential to fill in the gaps, overcrowding can make a wreath appear chaotic and messy. Aim for a balanced composition where each bloom has room to shine, allowing negative space to enhance the overall design.
- Neglecting Seasonal Considerations: Using flowers that aren’t seasonally appropriate can diminish the wreath’s appeal. Select blooms and greenery that reflect the current season to ensure your wreath is timely and relevant.
- Forgetting About the Hang Location: Not considering where the wreath will be displayed can lead to design flaws. Ensure your wreath is suitable for your chosen location, indoors or outdoors, and consider how it will be viewed — from the front, side, or top.
Conclusion
How to make a flower wreath is a rewarding and enjoyable process that allows you to express your creativity while enhancing your home décor.
By selecting quality materials and following the step-by-step guidance, you can craft a stunning wreath that reflects your style and seasonal themes. Remember to consider the placement and maintenance of your wreath to ensure its longevity and visual appeal. Whether you choose to display it indoors or outdoors, a well-made flower wreath serves as a charming focal point, welcoming guests and adding a touch of beauty to any space.
Embrace the joy of wreath-making and let your imagination flourish!


