How to Make a Homemade Grinder
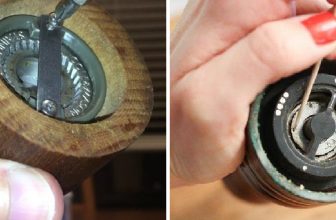
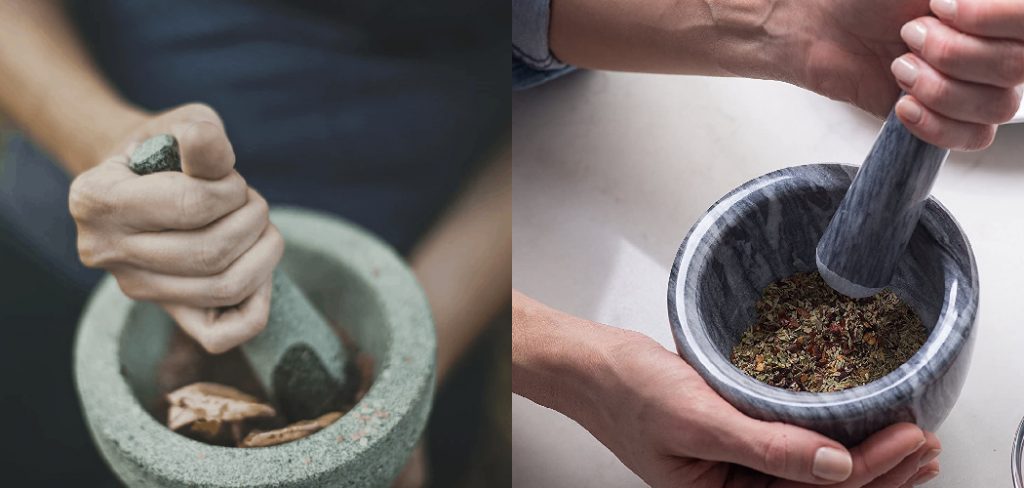
Grinders are essential to any smoker’s toolkit, allowing them to turn their favorite herbs and spices into a smokeable substance. While there are many great grinders on the market, they can be expensive. If you’re looking for a cheaper option, you can make your own grinder at home using common materials. This tutorial will show you how to make a homemade grinder using a few household items. Let’s get started.
Why You Should Make a Homemade Grinder
There are several reasons you might want to make your own grinder instead of buying one. Maybe you’re trying to save money, or you want a grinder that’s more personalized. One of the main advantages of making your own grinder is that you can control the size of the grind. This is especially important for smokers, as a finer grind will result in a smoother smoke.
Another advantage of making your own grinder is that you can be sure of its quality. When you buy a grinder, you trust that the company has made a quality product. You can be certain of its craftsmanship if you make your own grinder. And finally, making your own grinder is a great way to recycle materials that you might otherwise throw away. Many of the materials needed to make a grinder can be found around your house. So why not put them to good use?
What You’ll Need
To make your own grinder, you’ll need the following materials:
- A drill
- A saw (a hand saw or power saw will work)
- A piece of wood (preferably hardwood, like oak or maple)
- A piece of metal (aluminum or stainless steel)
- sandpaper
- glue
- a nail
- a hammer
- screws
- a drill bit (1/4″ or larger)
- a file
- a saw blade
Step by Step How to Make a Homemade Grinder
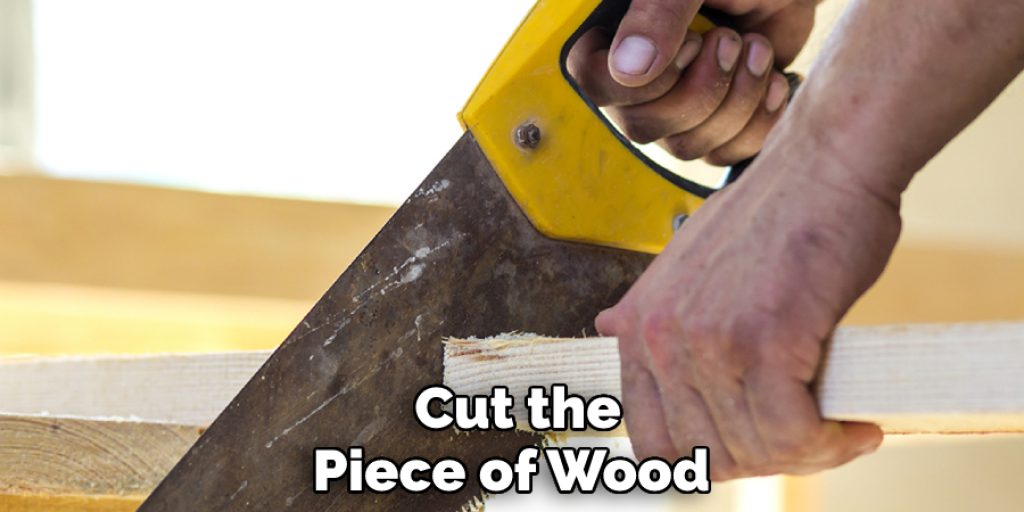
1. Cut the Piece of Wood
The first step in how to make a homemade grinder is to cut the piece of wood that will form the body of your grinder. You’ll want to choose hardwood for this, as it will be more durable than softwood. When choosing the piece of wood, consider its size and shape. You’ll want to make sure it’s large enough to accommodate the piece of metal you’ll be using for the grinding surface.
You’ll also want to ensure it’s the right shape for your needs. For example, if you’re only going to be using your grinder for spices, a simple rectangular or oval shape will suffice. But if you’re planning on grinding larger pieces of herb, you’ll want a grinder with a more complex shape that will allow for a greater surface area.
2. Cut the Piece of Metal
Once you’ve cut the piece of wood, it’s time to cut the piece of metal. This will form the grinding surface of your grinder. You can use a hacksaw, jigsaw, or other power tools to cut the metal. Make sure to wear protective gear while doing this. First, mark the outline of the metal on the wood. Then, cut along the lines. If you’re using a jigsaw, make sure to use a metal-cutting blade. If you’re using a hacksaw, you can wrap the blade with tape to make it easier to cut through the metal.
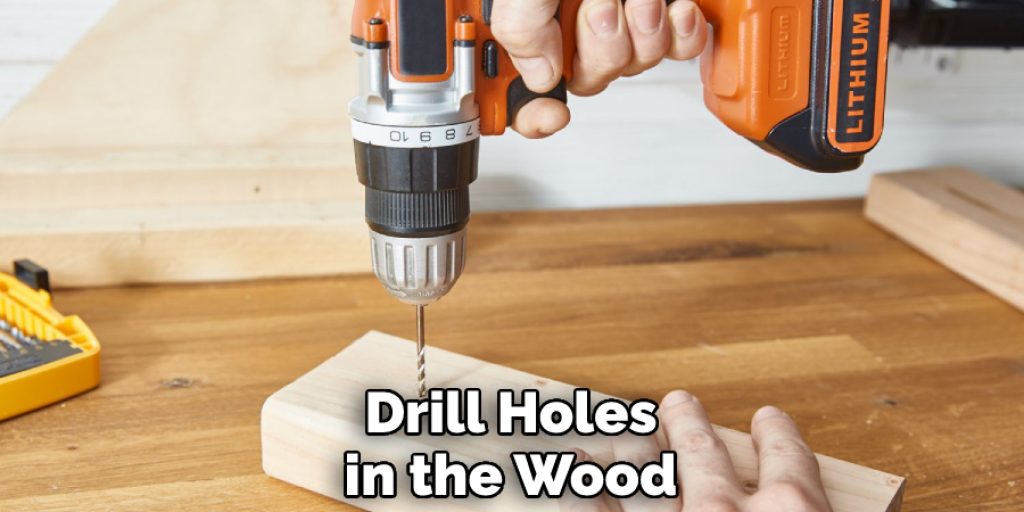
3. Drill Holes in the Wood
Next, you’ll need to drill holes in the wood. These holes will be used to attach the piece of metal to the wood. First, mark the location of the holes on the wood. Then, use a drill bit to drill through the holes. If you’re using a power drill, make sure to use a low speed to avoid damaging the wood. Avoid going all the way through the wood, as this could cause the piece of metal to come loose.
4. Drill Holes in the Metal
Now, you’ll need to drill holes in the piece of metal. These holes should line up with the holes you drilled in the wood. Again, use a drill bit that is the same size as your screws. You’ll need four holes in total. If you’re struggling to keep the drill bit straight, you can use a piece of tape to mark where you need to drill. Avoid making the holes too close to the edge of the metal, as this could weaken the grinder.
5. Attach the Metal to the Wood
Now, it’s time to attach the piece of metal to the wood. First, apply glue to the underside of the metal, then line it up with one of the grooves on the wood. Press down firmly and wait for the glue to dry. You can then use screws to secure the metal in place. Make sure the screws are long enough to go through both the metal and the wood. Countersink the screws so that they’re flush with the surface of the metal. If you’re using a power drill, make sure to use a low speed to avoid stripping the screws.
6. Sand the Surface
Once the glue has dried, you’ll need to sand the surface of the grinder. This will help to smooth out any rough edges and ensure a consistent grinding surface. First, use coarse-grit sandpaper to remove any large protrusions. Then, use finer-grit sandpaper to smooth out the surface. If you’re using an electric sander, keep it moving to avoid damaging the wood. Avoid sanding too close to the edge of the metal, as this could cause it to come loose.
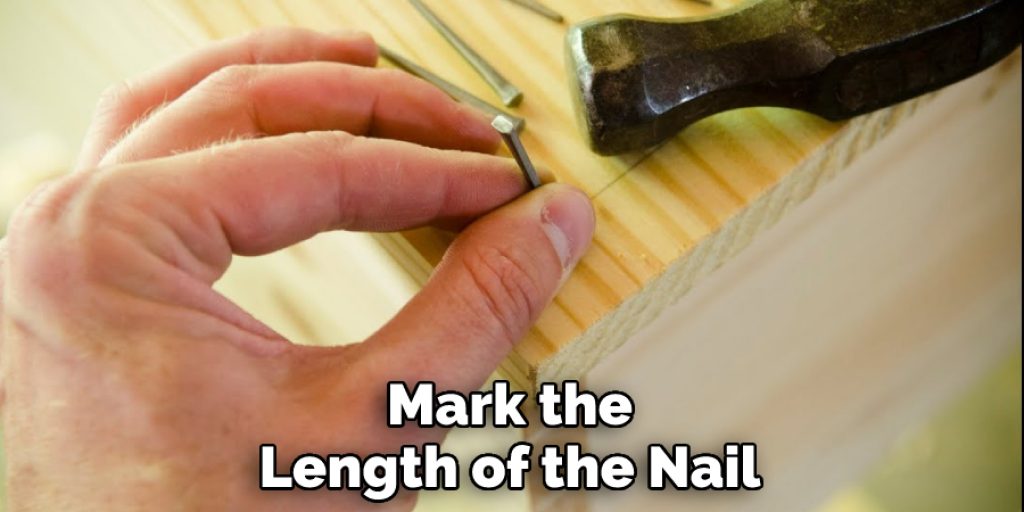
7. Cut the Nail
Now, you’ll need to cut the nail. This will form the handle of your grinder. First, mark the length of the nail on the wood. Then, use a saw to cut it to size. Make sure the handle is long enough to grip in your hand comfortably. Once you’ve cut the nail, you can use a file to smooth out the edges. Nail files are available at most hardware stores.
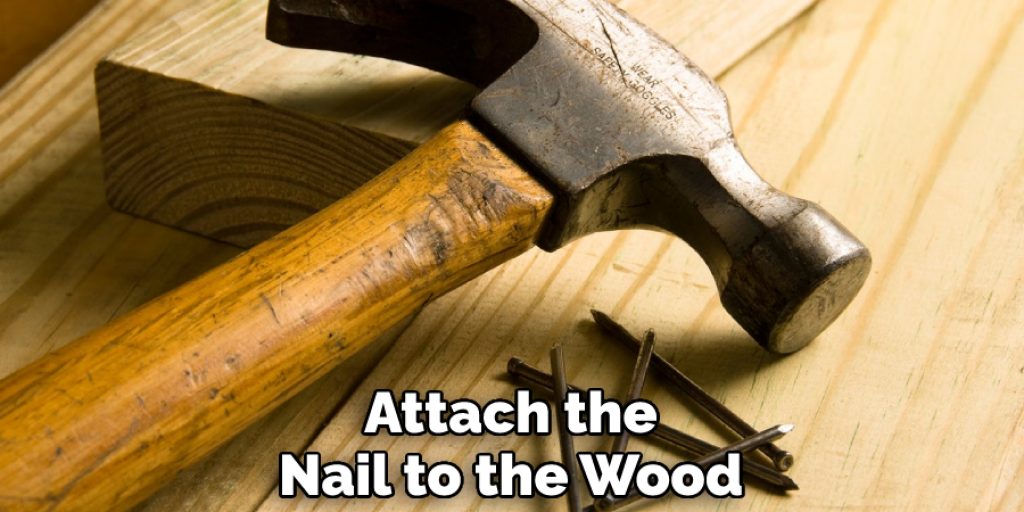
8. Attach the Nail
Now, you’ll need to attach the nail to the wood. First, apply glue to the underside of the nail, then line it up with one of the holes you drilled in the wood. Press down firmly and hold in place for a few minutes to allow the glue to set. Repeat this process for the other hole. If you want, you can also use a small piece of tape to secure the nail in place while the glue dries.
9. Attach the Grinding Surface
Now, you’ll need to attach the grinding surface to the grinder. First, apply glue to the underside of the metal disk. Then, press the disk onto the center of the board. Make sure that the disk is flush with the top of the board. Wait for the glue to dry completely before proceeding. If you’re using a power drill, drill pilot holes into the disk before screwing it into place.
10. Add the Handle
Once the glue has dried, you’ll need to add the handle to the grinder. First, determine the length of the handle. Then, using a hacksaw, cut the handle to size. Once the handle is cut, drill a hole through the center of it. The hole should be slightly bigger than the bolt that will be used to attach it to the grinder. Next, insert the handle into the hole on the grinder’s side. Then, take the bolt and thread it through the hole on the handle and into the hole on the side of the grinder. Finally, tighten the bolt to secure the handle in place.
11. Test the Grinder
Now, it’s time to test the grinder. First, add some coffee beans to the grinding surface. Then, hold the grinder in one hand and the handle in the other. Apply pressure to the handle to start grinding the beans. Continue grinding until the beans are the desired consistency. If the grinder struggles to grind the beans, you may need to apply more pressure. Once the beans are ground, remove them from the grinder and dispose of them. Congrats, you’ve now made your very own coffee grinder. You can now add a finishing touch to your grinder by staining or painting it if you want.
How Much Does It Cost to Make a Homemade Grinder?
The cost of making a homemade grinder will vary depending on the materials you use. However, you can expect to spend around $20 on the wood, metal, and nails needed to make the grinder. The cost of the coffee beans is relatively low, so you won’t need to worry about spending a lot of money on them. If you need to buy a power drill, you can expect to spend around $30 on one. Overall, the cost of making a homemade grinder is very low. You can easily make one for less than $50.
Conclusion
So, there you have everything you need to know about how to make a homemade grinder. It is actually not that difficult to make your own grinder at home with a few simple tools and some elbow grease. Just follow the instructions closely and take your time so that you don’t damage any parts or injure yourself in the process. Have fun and happy grinding!