How to Make a Hot Tub Cover
As the weather outside gets colder, many of us turn to our hot tubs to enjoy a warm and relaxing soak. But regular use means frequent exposure to rain, snow, debris, and other elements that could potentially damage your beloved hot tub.
To help protect it from all these risks, you’ll need a high-quality hot tub cover – but don’t worry! It’s easy to make one yourself at home with just a few basic materials and tools. In this blog post, we’ll give you step-by-step instructions on how to make a hot tub cover for your own spa or Jacuzzi so you can keep it safe year-round!
The Benefits of Hot Tub Cover
Before you get started, it’s a good idea to understand the benefits of having a hot tub cover. Not only will it protect your spa from dirt and debris, but it can also help keep heat inside the tub, reducing energy costs and saving you money in the long run.
Additionally, covers that are designed with an insulating foam layer can help reduce noise and vibration, providing a more peaceful and private relaxation experience. It also gives you the added safety of preventing anyone from accidentally falling into the tub. With privacy, it also ensures that no one can use your spa without your permission.
Materials Needed
To make your own custom hot tub cover, you’ll need the following materials:
- Marine-grade vinyl or canvas fabric (one yard should be enough for most hot tubs)
- Foam insulation batting (this will depend on the size and type of your hot tub)
- Heavy-duty thread and sewing machine
- Polyester webbing or rope (for the cover’s straps)
- A few pieces of wood for support, such as two 2x4s (the length will depend on the size of your hot tub)
- Heat gun and adhesive
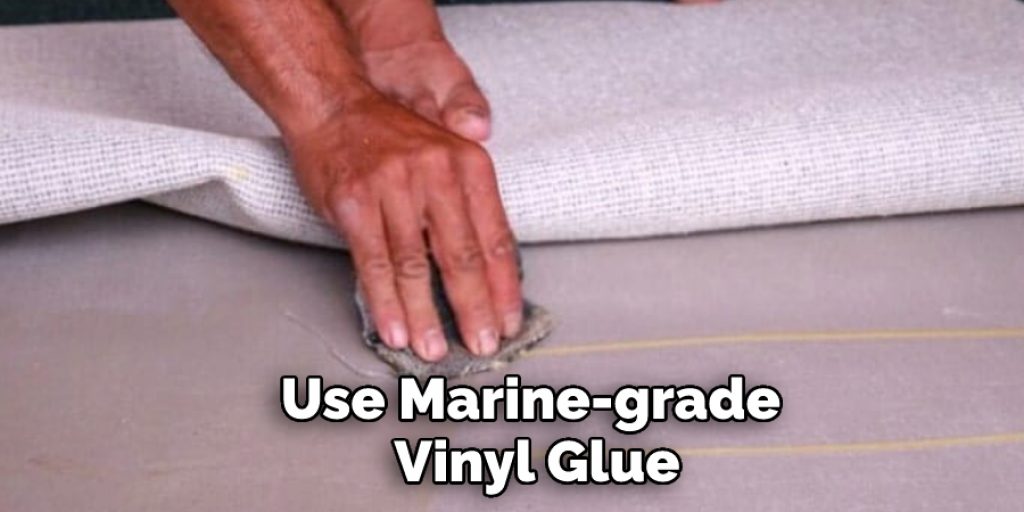
- Marine-grade vinyl glue (optional but recommended)
10 Steps on How to Make a Hot Tub Cover
Step 1: Measure the Tub
Make sure to measure the length, width, and height of your spa so that you know how much fabric and foam you need to buy. Knowing the proper measurements will also help you make the cover fit perfectly.
Step 2: Cut and Sew
After you have your measurements, cut a piece of fabric that’s slightly larger than what’s needed to go around your hot tub, making sure to leave some extra space along the edges. Then, using a sewing machine and heavy-duty thread, sew the fabric into a circular shape that fits snugly around your spa.
Step 3: Make Sure Straps Are Included on the Cover
For added security, you should make sure to add straps to your cover so it won’t blow off in strong winds or be easily removed by anyone. To do this, cut two pieces of webbing or rope that are long enough to go around the sides of your hot tub and attach them to each side with a few stitches.

Step 4: Sew Strips of Foam Insulation Onto the Cover
Once you have finished sewing the fabric into a circular shape, you’ll need to add some foam insulation batting. This will help keep the heat in and make sure your cover is durable enough to withstand the elements. Cut strips of foam batting that are slightly smaller than the circumference of your hot tub and sew them onto the top and bottom edges of the cover, making sure they are secured tightly with stitches.
Step 5: Attach the Wood Supports
To ensure your cover will stay in place, you’ll need to add two pieces of wood on either side of the hot tub. Cut two pieces of 2x4s that are slightly longer than the width of your spa and then attach them to each side using a heat gun and adhesive.
Step 6: Sew the Fabric
Now you’ll need to sew the fabric of your cover onto the two pieces of wood you just attached. This will help keep everything secure and ensure that your cover won’t blow off in strong winds. Start by sewing one edge of the fabric around one piece of wood and then repeat for the other side.
Step 7: Sew the Straps
Once you have sewn the fabric onto the wood supports, it’s time to sew the straps onto them as well. This will ensure that your cover is securely in place and won’t be blown off easily. Begin by sewing the straps onto one piece of wood, making sure to reinforce the stitches so they won’t come undone.
Step 8: Add Vinyl Glue
To further secure your cover, you may want to use marine-grade vinyl glue along the edges of the fabric and straps when attaching them to the wood support. This will ensure that everything is held together securely and won’t come undone easily.
Step 9: Check the Fitting
Before you finish up, make sure to double-check that your cover fits snugly around your spa. Adjust it if necessary by sewing or cutting more fabric, straps, or foam batting as needed.
Step 10: Enjoy
Now that you’re finished, it’s time to enjoy the fruits of your labor! Your new hot tub cover should provide added security and protection from the elements so that you can relax and enjoy your spa in peace.
8 Safety Measures to Follow
- Make sure the material you choose is waterproof. Measure your hot tub and purchase a cover large enough to fit securely over the top. Waterproof materials include vinyl, polyester-coated polypropylene, and woven acrylic.
- Check the material for any tears or damage in order to avoid water damage to your hot tub. Also, make sure that your cover is strong enough to support someone’s weight if they were to step on it.
- Make sure prior to purchasing the cover that the material will not be prone to shrinkage or stretching when exposed to heat and humidity. Choosing the right material ensures your cover will last a long time.
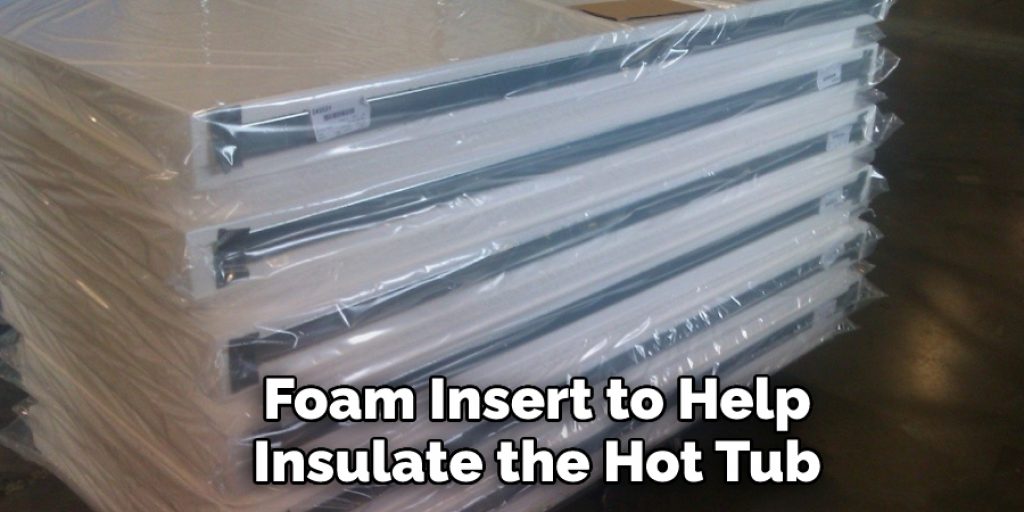
- Consider using a thick foam insert to help insulate the hot tub and reduce heat loss. This can help save you money in energy costs over time.
- Make sure the seams are properly sealed, as any openings can allow water to seep through and cause damage to your hot tub. Sealing the seams will also prevent dirt and debris from entering the spa.
- Use a protective spray on your cover to help protect it from mold and mildew, as well as discoloration from the sun’s rays. The spray will also help to keep the material from fading and cracking.
- Make sure you purchase a cover that has straps or ties so you can secure it in place when not in use. This helps reduce the movement of the cover and ensures it will stay in place when you need it.
- To ensure the safety of your hot tub, replace your cover every two to three years to avoid any wear and tear that could lead to damage. Make sure you store it in a cool, dry area when not in use to help prevent any mildew or mold from forming on the material.
Following these easy steps will help you make a safe and secure hot tub cover that will last for years to come! Enjoy your hot tub, knowing it is well protected from the elements.
Frequently Asked Questions
What Will Be the Cost of Making Hot Tub Cover?
When making a hot tub cover, the cost is determined by several factors, including the size of your hot tub, the material chosen, and any additional features, such as a foam insert or protective spray. Generally speaking, you can expect to pay anywhere from $50-200, depending on these variables.
You can also purchase ready-made hot tub covers, which are often more affordable than making one yourself. However, when it comes to DIY projects, the satisfaction of creating something with your own two hands can be priceless.
What is the Best Material for Hot Tub Cover?
The best material for a hot tub cover will depend on your individual needs and preferences. Some of the most popular options include vinyl, polyester-coated polypropylene, and woven acrylic. All of these materials are waterproof and strong enough to support someone’s weight if they were to step on it.
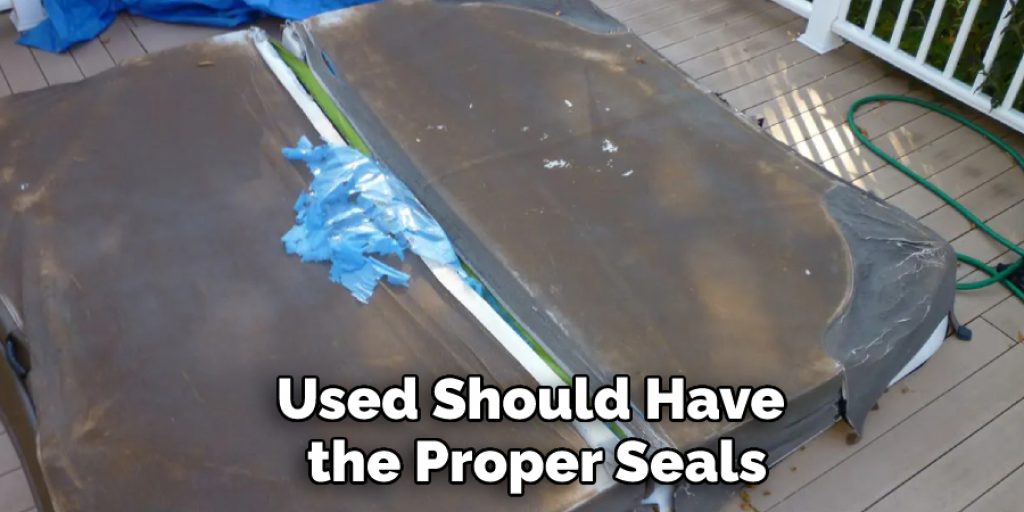
No matter which material you choose, make sure to do your research and select one that meets all of your needs. It is also important to remember that any material used should have the proper seals in order to prevent water damage and dirt or debris from entering the spa.
Conclusion
Now that you know how to make a hot tub cover, you can save money and enjoy your hot tub for years to come. If you don’t have the time or patience to make your own cover, check out our selection of custom-made covers.
We offer a wide variety of styles and colors to choose from, so you’re sure to find the perfect fit for your hot tub. Thanks for reading!
Angela Ervin
Angela is the executive editor of DIY quickly. She began her career as an interior designer before applying her strategic and creative passion to lifestyle and home. She has close to 15 years of experience in creative writing and online content strategy for housekeeping, home decorations as well as other niche efforts. She loves her job and has the privilege of working with an extraordinary team. She lives with her husband, two sons, and daughter in Petersburg. When she's not busy working she spent time with her family.