
How to Make a Knot Headband
Creating a knot headband is a fun and fashionable project that’s perfect for adding a personal touch to your accessories. This versatile piece can be made from a variety of fabrics and can easily be customized to fit your style, whether you prefer bold patterns or subtle colors.
It is not only a practical way to keep hair in check, but it also serves as a chic statement piece that can elevate any outfit. In this guide on how to make a knot headband, we will walk you through the steps needed to make your very own knot headband, providing tips along the way to ensure a successful and enjoyable crafting experience.
What is a Knot Headband?
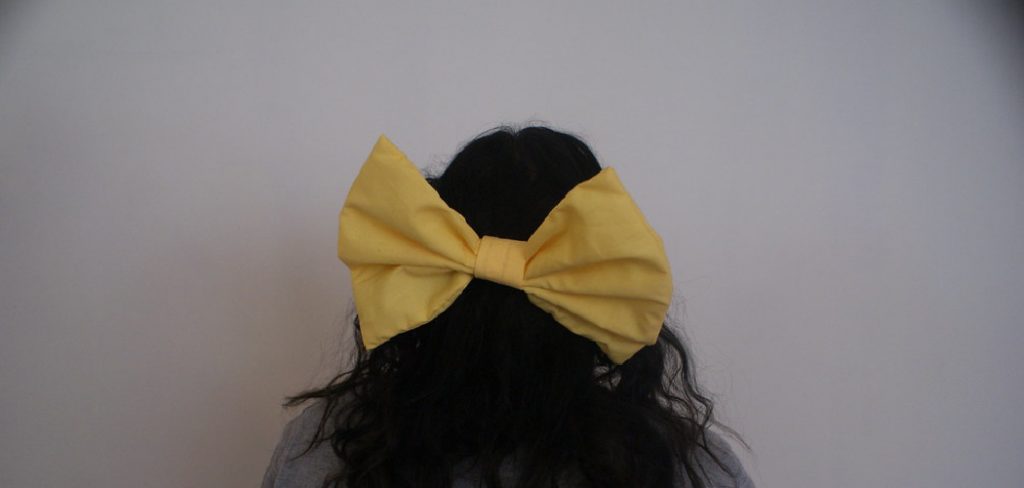
A knotted headband is a hair accessory that features a knot at the front, creating a unique and stylish look. It can be made from various types of fabric such as cotton, knit, or even satin – making it suitable for all seasons. The knot not only adds visual interest but also helps to keep the headband secure on your head.
If you’re looking for a quick and easy project to elevate your style, making a knot headband is the perfect option. Plus, it’s a great way to use up any leftover fabric scraps you may have lying around.
Materials Needed
To make your own knot headband, you will need:
- Fabric of Your Choice (Approximately 20 Inches Long and 5 Inches Wide)
- Sewing Machine or Needle and Thread
- Scissors
- Measuring Tape or Ruler
- Pins
- Iron and Ironing Board (Optional but Helpful)
7 Step-by-step Guidelines on How to Make a Knot Headband
Step 1: Measure and Cut Your Fabric
Begin by measuring out your fabric to the required dimensions. You will need a piece that is approximately 20 inches long and 5 inches wide. Use your measuring tape or ruler for accuracy, and mark the measurements with a fabric marker or chalk. Once you have the measurements, carefully cut the fabric using scissors.
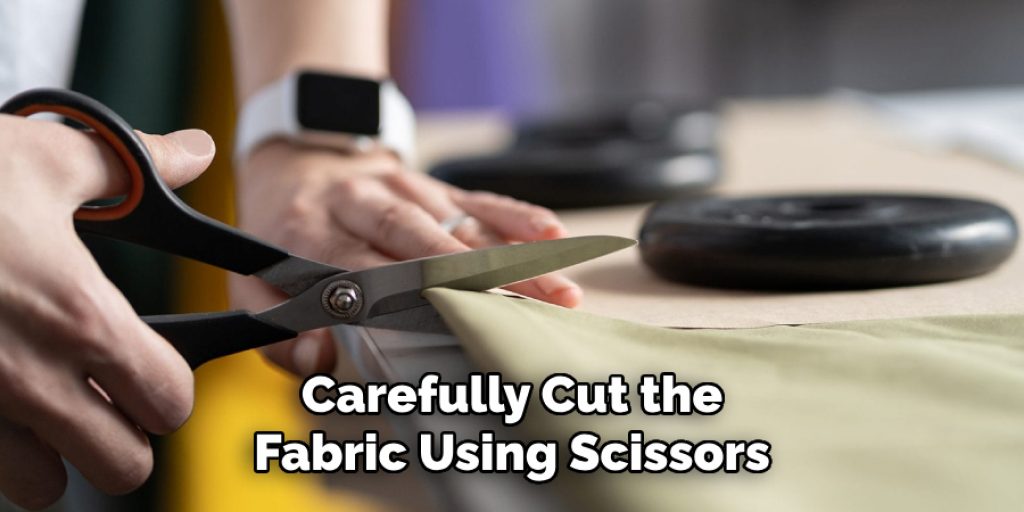
Ensure that the edges are straight for a neat finish. If desired, you can also use pinking shears to prevent fraying. This is the foundation of your knot headband, so take your time to get this step right!
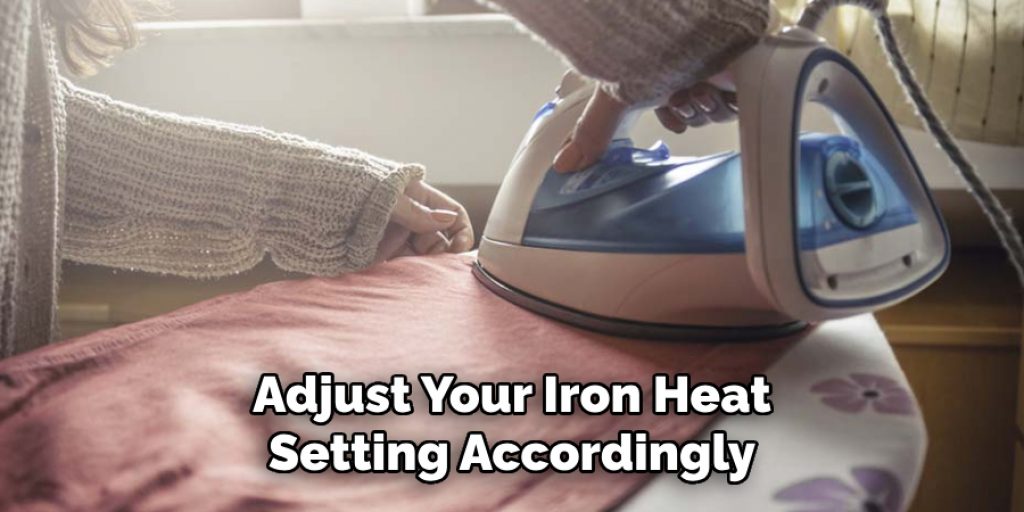
Step 2: Iron the Fabric
Once you have cut your fabric to the desired dimensions, it’s time to iron it. This step helps eliminate any wrinkles and ensures that your fabric lays flat, making the sewing process much easier. Set your iron to the appropriate heat setting for the type of fabric you are using. Carefully press the fabric, moving the iron along its length, and pay special attention to the edges.
If you’re working with a fabric that tends to shift, you may want to pin the edges down before ironing to keep everything in place. A smooth, wrinkle-free fabric will result in a more polished and professional-looking knot headband.
Step 3: Fold and Iron the Fabric in Half
Next, you will need to fold your fabric in half lengthwise. This means that the right sides of the fabric should be facing each other. Use your iron to press down on the fold, ensuring a crisp edge. This step is crucial as it will help create a clean, finished look for your headband.
It’s important to note that if your fabric has a specific pattern or design, you will want to make sure that it is correctly positioned before folding and ironing.
Step 4: Sew the Long Edges
With your fabric folded in half, it’s time to secure the long edges. Using your sewing machine or needle and thread, sew along the open long edges, leaving the short ends unsewn. Make sure to use a straight stitch and maintain a consistent seam allowance of about ¼ inch.
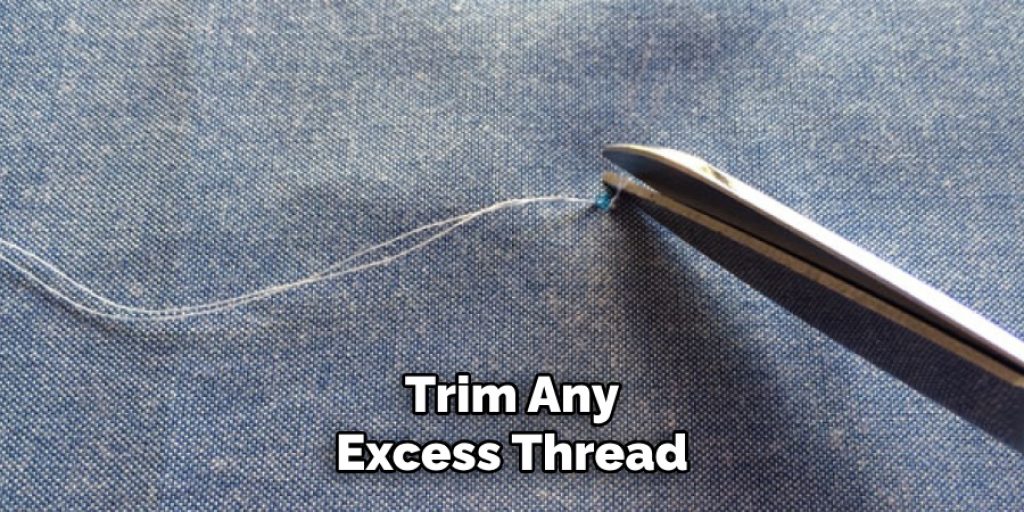
This stitching will create a tubular shape for your headband. If you want added strength, feel free to stitch a second seam parallel to the first. Once you’ve finished sewing, remove any pins you used to hold the fabric in place and trim any excess threads.
Step 5: Turn the Headband Right Side Out
After sewing the long edges, carefully turn your headband out on the right side. This step can be a bit tricky, so take your time and use a blunt object (e.g., chopstick or knitting needle) to gently push out the corners and ensure that the headband is fully flipped. Make sure to smooth out any wrinkles or puckering in the fabric.
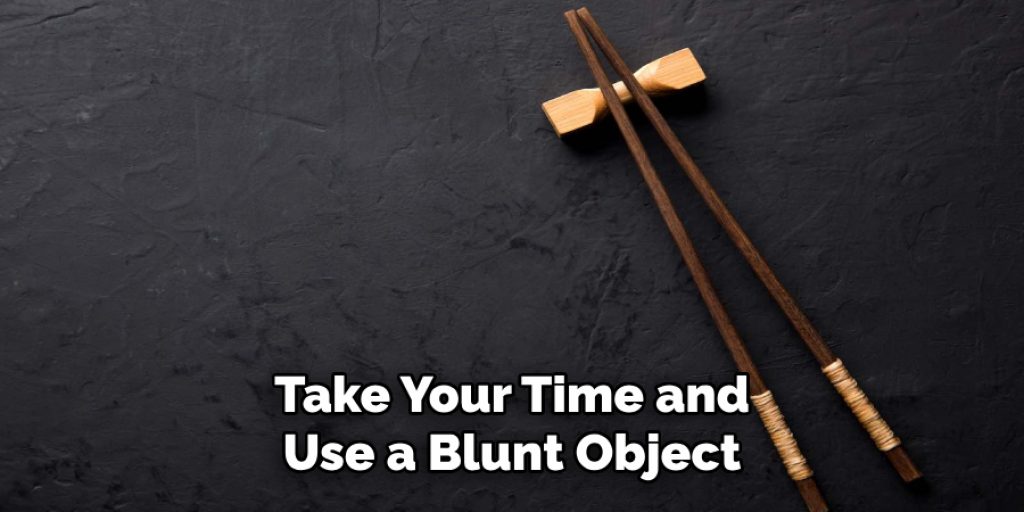
It’s important to note that if you’re using a thicker fabric, you may need to trim the corners slightly to reduce bulk and create a more defined shape.
Step 6: Create the Knot
Finally, it’s time to create the knot for your headband. Begin by holding your headband with both hands at the center, where the seam is. Take one end and make a loop by folding it in half and bringing it up toward the center of the headband.
Next, take the other end and do the same, but this time, bring it down towards the center. This will create two loops that overlap in the middle. Adjust them to your desired size and shape, making sure that they are evenly sized.
Step 7: Secure the Knot
Once you have created your desired knot, secure it in place by hand stitching it closed. You can also use a sewing machine for this step if you prefer. Make sure to sew through all layers of fabric, including the headband itself, for added durability.
After completing the stitches, tie off and trim any excess thread. And voila! Your knot headband is now complete and ready to wear. Following these easy steps, you can create multiple-knot headbands in different fabrics and designs to match your outfits and personal style.
Tips for Creating the Perfect Knot Headband
- Experiment with different fabric types to achieve different looks. For example, a cotton headband will have a more structured look, while a knit one will be softer and stretchier.
- If using a printed or patterned fabric, make sure to line up the patterns before cutting and sewing.
- Practice making knots with scrap fabric to perfect your technique before creating the final product.
- Don’t be afraid to customize your headband by adding embellishments such as buttons or beads for a unique touch.
- Have fun and be creative! The beauty of making your own knot headband is that you can truly make it your own by choosing the fabric, size, and style that best suits you. So go ahead and rock your handmade knot headband with confidence! Happy sewing!
Following these step-by-step guidelines on how to make a knot headband, you can easily create your own stylish knot headband to add a touch of fashion and functionality to any outfit. With just a few materials and some basic sewing skills, you can create a unique accessory that is both trendy and practical. So, whether you’re looking to add a pop of color or keep your hair in place, a knot headband is the perfect solution. So grab your fabrics and get ready to make your one-of-a-kind knot headband today! Happy crafting!
Frequently Asked Questions
Q: Can I Make a Knot Headband Without a Sewing Machine?
A: Yes, you can hand sew the headband using needle and thread. However, it may take longer and require more patience. It’s important to use a strong, durable thread and secure the stitches well to ensure longevity.
Q: Can I Use Any Type of Fabric for My Knot Headband?
A: Yes, you can use any type of fabric as long as it is not too thick or stiff. Cotton, knit, and linen are popular choices for knot headbands due to their softness and flexibility. Be sure to adjust your iron heat setting accordingly when working with different fabric types.
Q: How Do I Adjust the Size of My Knot Headband?
A: You can easily adjust the size of your knot headband by varying the length and width of your starting piece of fabric. For a smaller headband, use less fabric, and for a larger one, use more. Additionally, you can also adjust the size of the knot itself by making the loops larger or smaller.
Q: Can I Wash My Knot Headband?
A: Yes, you can wash your knot headband, but it’s important to follow the care instructions for the specific fabric you used. Machine wash on a gentle cycle or hand wash with mild soap and let air dry. Avoid using bleach or harsh chemicals to preserve the integrity of your headband.
Conclusion
Knot headbands are trendy, versatile, and easy-to-make hair accessories that can elevate any outfit. With just a few materials and simple sewing techniques, you can create your own knot headbands in various styles and designs.
Whether you’re looking for a practical solution to keep your hair out of your face or want to add a fashion-forward element to your look, a knot headband is a perfect choice. So, go ahead and try making your own knot headband today! Thanks for reading this article on how to make a knot headband.
Elizabeth Davis
Elizabeth is a creative writer and digital editor based in the United States. She has a passion for the arts and crafts, which she developed from a young age. Elizabeth has always loved experimenting with new mediums and sharing her work with others. When she started blogging, she knew that DIYquickly would be the perfect platform to share her tutorials and tips. She's been writing for the blog from the beginning, and her readers love her helpful advice and easy-to-follow instructions. When she's not writing or editing, Elizabeth enjoys spending time with her family and friends.


