
How to Make a Lapel Flower
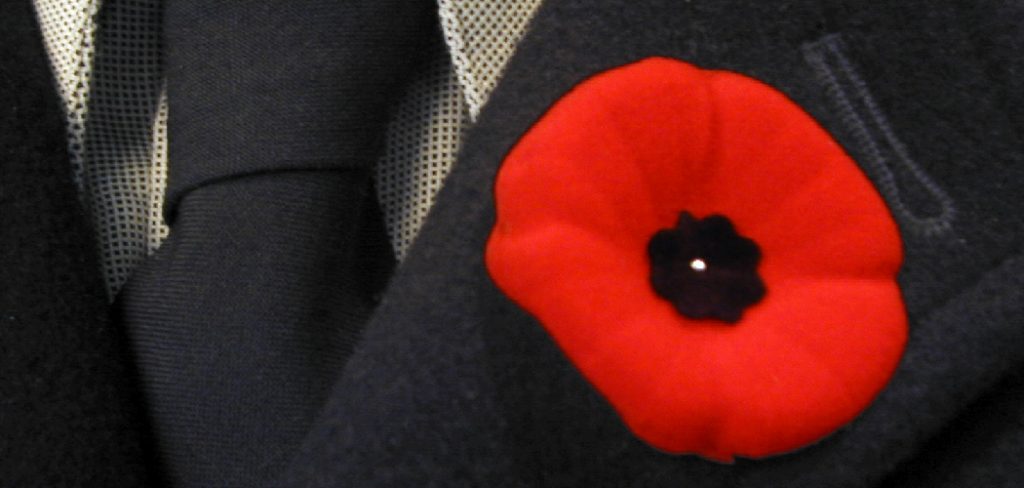
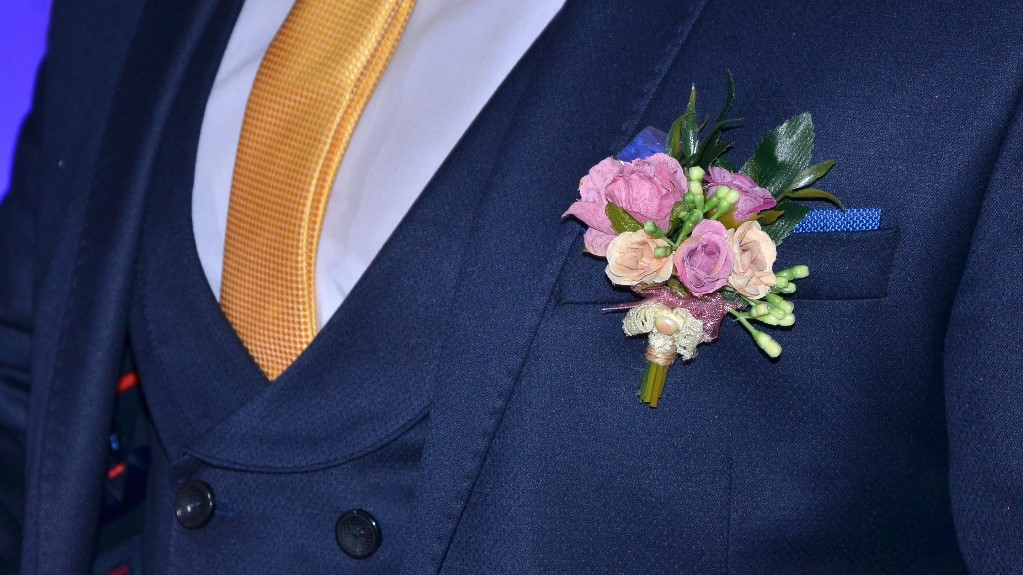
Men are wearing boutonnieres, as prevalent in American society, on formal events such as awards ceremonies, wedding receptions, and dinner parties. Buying a flower bouquet can become very costly, particularly in comparison with the difficulties of making one. Constructing your own floral reduces costs, but you can also differentiate your flower materials and components structures to suit your taste.
Appliances & Components
- Cutters on Wire
- Scissors
- Blue flower casserole
- 24 Gage flower cable in black
- Pearl Bolt
- Trees and grass (leatherleaf, water, fern and so on)
- Focal flora (mum, rose, or bonnie, etc.)
- Filler flora (wax plant or berries, etc.)
- Measuring tape (not necessary)
Security
Utilize extra care to prevent risk when managing wire cutter and cutter. Be also cautious, so if affixing the boutonniere to the garments, not to keep poking your thumb with the jewel needle. If you’re cutting fabric and wind up with a cut, a little bit of superglue can assist repair the fabric so that it does not unravel.
Instructions
- I trimmed the focal flora, so you have around one inch of stem.
- Split the filling floral, and you’ve got only one inch of base.
- Split the main stem of green grass, just one leaf segment. Slice the green space then so you’ve got about an inch of stem. This part is used as the backup, or boutonniere structure.
- Focus point floral string. a. If you use bonnie/mum- chopped a 6 “piece of string (cut on an angle to develop a sharp blade), pierce the cord via the foundation of the Rosie, cautiously move the stem upwards. The string will put back from the floral core. Softly place a simple cable at the edge of the cord and then steadily drop back till the clip in the center of the Rosie vanishes slightly.
- When using bouquet / rose-cut, a 5-6 “piece of string (trim at an angle to develop a sharp edge), softly pierce the cord via the foundation or calyx of the petals so as not to tear the flower head. String bent over from both ends.
- Unwrap the tape 6-7. Marginally expand flower tape to enable the sensory function.
- Conform flower label on wire covering at the focus plant core head. Bend the tape back to the body till the cable is fully extended, twisting it between the thumbnail and center/pointer finger. At the final moment, pinch out large amounts of tape.
- Take a 5-6 “strip of string; break metal in half (must appear like a hairpin); loop the string over the vegetation to the smallest” branch. Green areas tape uses the very same strategy as focal floral (think to extend moderately until damp. Set the focus flora in front of the green grass. Vegetation must plant in “frame.” The sharp aspect of the branch to the “front.” Then gently wrap the branch with tape. Tape gently along the branch (in a spiral).
- Spot filler to the decorative edge. Split film and extend film (as historically done). Begin at the foundation of the stem package (tie a few times at the foundation) and instead move following, lining the stems firmly with flower tape till the roots and cables are entirely encased. If you don’t want the stems to be visible, cover the cables with green foil or a additional layer of clear film. In case your flowers are relatively fresh (or at least moist), they might not want as much moisture as a drier package.
- Split every cable or tape that stays at the edge. You’ll need to get around a 2 “stem of the final stuff.
- Utilize jewel pin for lapel attachment. An easy way to insert the boutonniere is to fasten the bolt via the rear of the lapel, puncture via the stem of the flower, then lock the stick down into the garment. It will end up making it so that the wire’s final part and sharp-pointed finished off the ball is sewn behind its lapel, but does not reach the body part.
Elizabeth Davis
Elizabeth is a creative writer and digital editor based in the United States. She has a passion for the arts and crafts, which she developed from a young age. Elizabeth has always loved experimenting with new mediums and sharing her work with others. When she started blogging, she knew that DIYquickly would be the perfect platform to share her tutorials and tips. She's been writing for the blog from the beginning, and her readers love her helpful advice and easy-to-follow instructions. When she's not writing or editing, Elizabeth enjoys spending time with her family and friends.


