
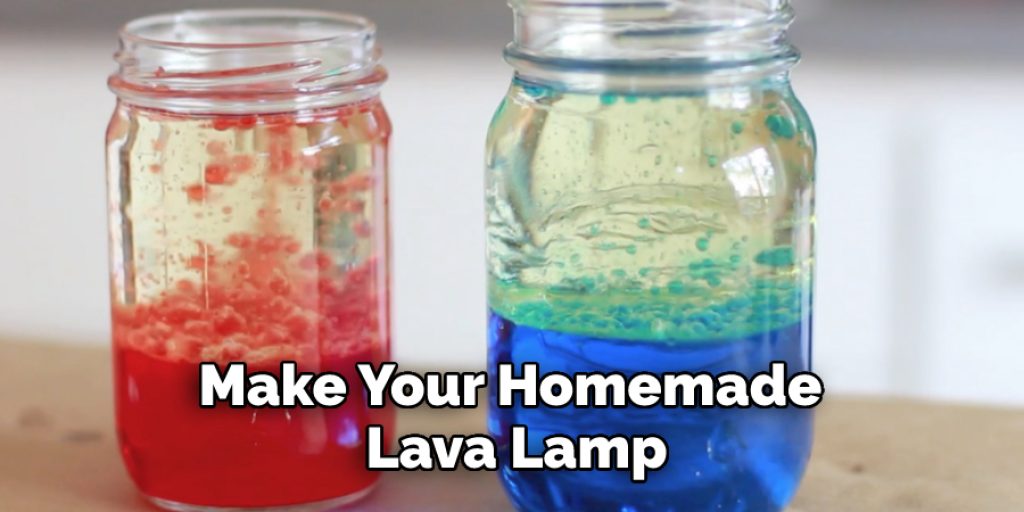
How to Make a Lava Lamp in a Bottle
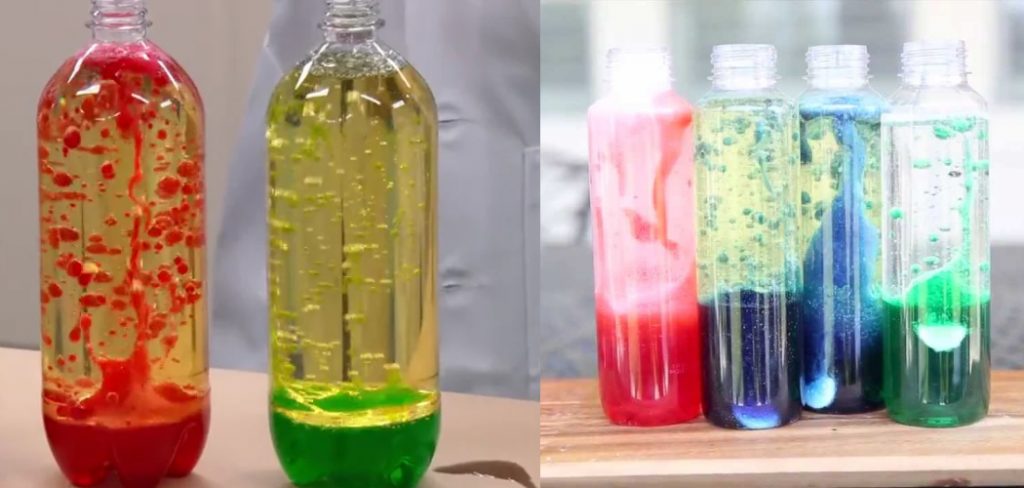
If you are looking for a fun, DIY project to do with your kids, then this post is just for you. This easy-to-follow tutorial will teach you how to make a lava lamp in a bottle! All you need is a water bottle, food coloring, and some dish soap. Fill up the bottom of your empty water bottle with about an inch of soapy water. Next, add in some drops of color and wait for it to settle down before pouring in more color.
Keep adding different colors and watch as they mix and create beautiful patterns on top of the water. You can experiment with how much or little soap you want to use when making your lava lamp in a bottle-just remember that less is more because too much will make the contents bubble over! If you’re feeling extra creative, add glitter or other small objects like beads into your mixture for even more fun effects!
Materials and Supplies Needed:
- A clear plastic soda bottle
- Vegetable oil
- Water
- Food coloring
- Hot plate or stovetop burner
- Funnel
10 Steps to Follow: How to Make a Lava Lamp in a Bottle
STEP 1:
Fill the soda bottle half full of water. Add a few drops of food coloring to the water and shake well. Place a funnel in the mouth of your soda bottle. Pour vegetable oil into the top of the funnel until it reaches about an inch below the bottle’s rim.
STEP 2:
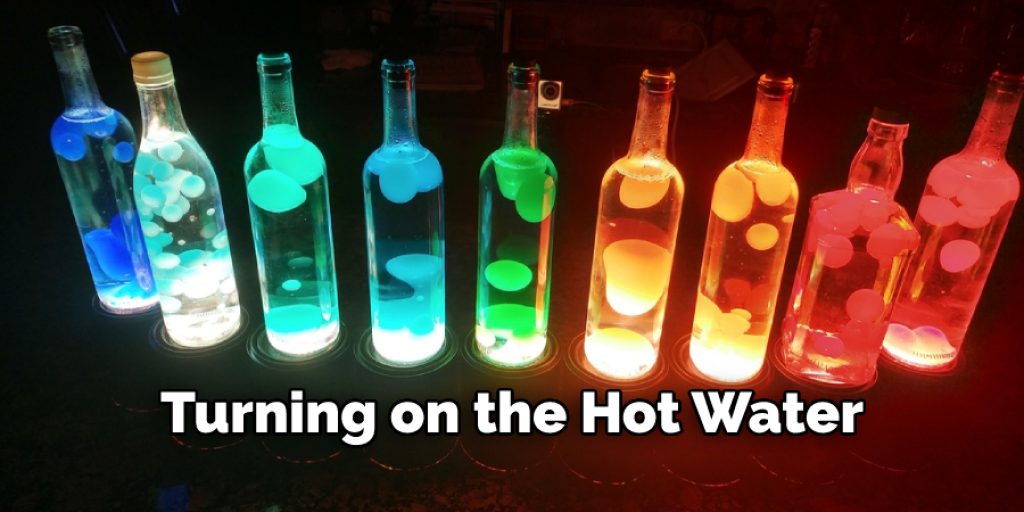
Place an inverted funnel in the mouth of your empty plastic water bottle. Place a pan of hot water underneath the inverted bottle, and turn on your stovetop burner to high heat.
STEP 3:
The water from inside the soda bottle will diffuse into the oil through the funnel you placed in its mouth. This causes it to rise into the top of the water bottle, displacing the colored water, which will spill out of the funnel in your inverted plastic bottle.
STEP 4:
As time goes on, you will notice that the oil can reach higher and higher up into the inverted bottle. Eventually, it will grow so high that it can no longer climb any further, and it will begin to spill out of the top.
STEP 5:
When this happens, remove the inverted bottle from the pan of hot water immediately, turn off your stovetop burner, and observe what happens once the oil begins to fall back down into your original soda bottle.
STEP 6:
You can re-create this by placing the inverted bottle back underneath your original soda bottle, turning on the hot water, and waiting for the oil to begin climbing again.
STEP 7:
If you want to make it last longer, you can put your lava lamp in the refrigerator beforehand. The cold temperature will slow down all of its movements significantly.
STEP 8:
You can also use gloves to handle the oil, which can cause it to melt on your hands, and continue climbing up them since their temperature is lower than room temperature.
STEP 9:
If you want instant results, try putting your Lava Lamp in a freezer instead of a refrigerator for ten minutes (be very careful not to touch it with your bare hands). Once your lava lamp is removed from the freezer, it will start climbing almost immediately, and you can turn on your stovetop burner to add even more to the excitement.
STEP 10:
If you decide to use a hot plate or stovetop burner, be careful not to burn yourself from the stove’s heat. Also, please do not attempt this with an open flame or lighter because it can pose a severe fire hazard.
Some Tips and Suggestions:
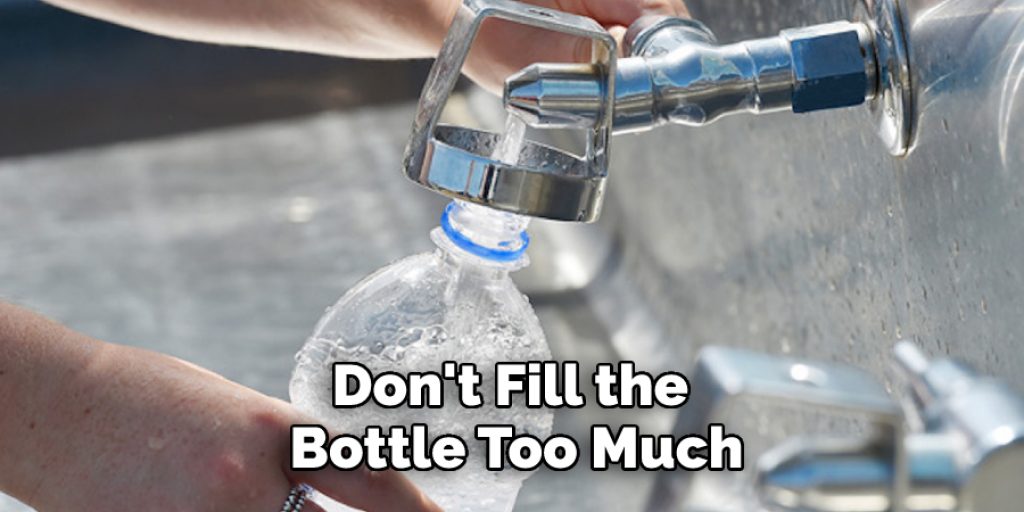
- Don’t fill the bottle too much. You don’t need that much water inside it.
- Make sure that the Alka Seltzer isn’t touching the sides of the glass. It won’t work if they’re feeling it!
- When you’re adding the Alka Seltzer, it’ll start to foam. When that happens, slow down on pouring it in there.
- Be careful while handling the glass bottle! It’s fragile and can break easily!
- If your lava lamp doesn’t work, try adding more Alka Seltzer. If that doesn’t help, add a little bit of water and some more Alka Seltzer and shake it!
- You can use more than one color if you want to! Just pour the appropriate amount in the bottle so that they don’t mix.
- Don’t waste your ingredients! If it doesn’t work, try again with the same amount of ingredients or less.
- Make sure you follow the safest recipe possible if you’re doing this experiment in class! It’s not worth getting hurt over!
Precautions and Safety Measures:
- Always have adult help when doing ANY experiment.
- Be very careful if you decide to modify the bottle. If you use a hot glue gun, do not let it touch the plastic or glass when in liquid form.
- You can get creative with the oil and food dye if you want. Just remember to keep it safe by not letting any dye get inside of your bottle.
- Don’t do anything without safety clothing.
- Do not leave unattended when in use; even if there are no safety hazards involved, people may still trip over or bump into the experiment causing it to fall and break.
- If anyone has asthma, do not let them anywhere near this experiment.
- Always have a container of water nearby in case the heat is too much for you to handle.
What Liquid Is Used in Lava Lamps?
In traditional lava lamps, the “lava” is made from a mixture of mineral oil and a fluorescent dye called litho granules. The granules contain a chemical that’s safe for humans but glows brightly when exposed to ultraviolet light.
Litho is also used in glow-in-the-dark posters and paint. The oil makes the “lava” less dense than water, so it floats up through the water and turns over, just as regular lava does in Earth’s atmosphere. To make your homemade lava lamp, you can use food coloring or a glowing chemical compound made for crafts called “luminescent paint” instead of litho.
Final Thoughts:
There’s no need to spend money on a store-bought one when you can make it yourself. You’ll have people coming back for more of this unique decoration every time they come over. So now that you know how to make a lava lamp in a bottle, go on and try it out!
Share your results with us. We would love to see what colors work best for each of the ingredients. If you have any questions or comments about this experiment, feel free to leave them below. Also, check out our other articles if you want more tips and tricks for making the best homemade lava lamps.


