
How to Make a Leather Get Back Whip
Making a leather get-back whip is a fun and easy project that can be completed in about an hour. This project requires few materials and basic sewing skills. The finished whip is perfect for personal use or as a gift for someone special. This blog post will learn how to make a leather get back whip.
You will need some basic tools and supplies, which you can find at most hardware stores. However, this project is a great way to use up scrap leather, so don’t be afraid to experiment with different colors and textures. Follow the simple steps in this tutorial, and you’ll have a new whip in no time! Read on for more information.
Summary: The best way to make a leather get back whip is to start with a sturdy piece of leather. You will also need a drill, a screwdriver, and some thread. First, cut the leather into a rectangle that is about 2 inches wide by 8 inches long. Next, use the drill to make holes along one of the long sides of the rectangle. Make sure the holes are evenly spaced. Then, use the screwdriver to create screws along each hole. Finally, thread the thread through the screw holes and tie it in a knot.
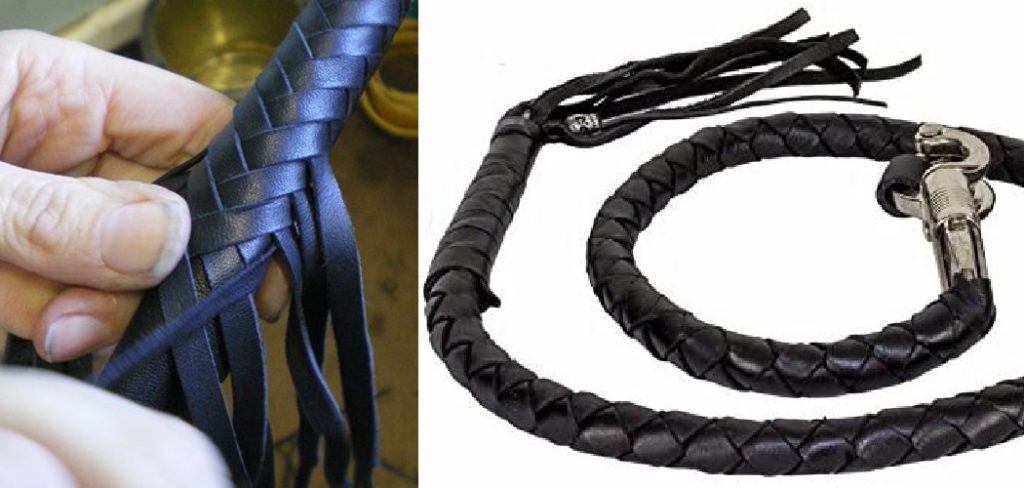
What Is a Get Back Whip
A get-back whip is a type of whip that is used to help control livestock. It is also known as a stockwhip, bullwhip, or cowslip. The get-back whip is made up of a handle and a thong. The thong is usually made out of leather, but it can also be made out of other materials such as nylon or Kevlar.
The get-back whip is used by cracking it in the air. The noise made when the get back whip is cracked the livestock causes them to move away from the person cracking the whip.
Get back whips are also provided with a loud noise for herding dogs. Get back whips are also used in some types of competitive sports, such as whip cracking. They are also sometimes used as punishment for horses that misbehave. Get back whips are usually made out of leather or rawhide and have a long handle with a tassel on end.
What Materials and Supplies You’ll Need
You’ll need a few supplies to make your get-back whip. Here’s a list of what you’ll need:
- 1/4 inch diameter leather lacing
- A comfortable grip handle.
- A dremel tool or other rotary cutting tool
- A sharp knife
- A leather punch
- An awl
- A lighter or matches
Step by Step Guide: How to Make a Leather Get Back Whip
Step 1: Cut the Leather Lacing.
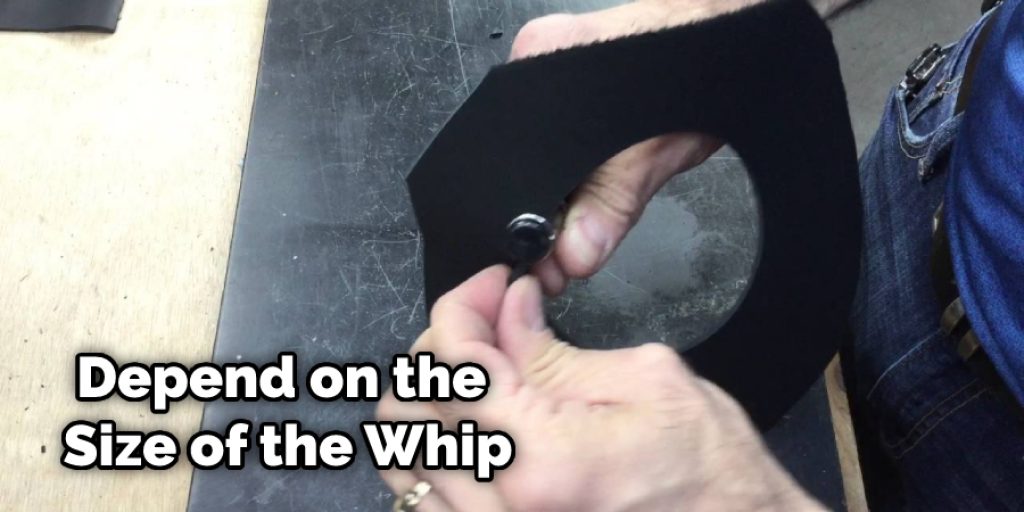
Cut the leather lacing to the desired length. The length will depend on the size of the whip you want to make. A good rule of thumb is to make the whip about twice as long as the distance from your elbow to your fingertips.
Step 2: Burn the Ends of the Lacing.
This is an important step to prevent the lacing from unraveling. Use a lighter or matches to singe the ends of the lacing carefully. Be sure not to set the leather on fire!
Step 3: Punch Holes in the Leather Lacing.
Use a leather punch to make two holes at one end of the lacing. These holes will be used to tie the lacing to the whip’s handle.
Step 4: Attach the Lacing to the Handle.
Cut a 6-inch length of paracord and tie a loop in one end. Slip the loop over the top of the handle and pull tight. This will be your lacing. Now take the other end of the paracord and thread it through the hole in the bottom of the handle. Pull it tight and tie a knot. Trim the excess cord.
Step 5: Attach the Fall to the Lacing.
Take the fall and thread it onto the lacing. Adjust it so that the fall is about 3 inches from the end of the lacing. Tie a knot in the lacing to secure the fall in place.
Step 6: Wrap the Lacing Around the Handle.
Start at the end of the lacing opposite the fall and wrap it around the handle. Wrap it snugly but not too tight, going in a spiral motion up the handle. Tie a knot at the end of the lacing to secure it in place.
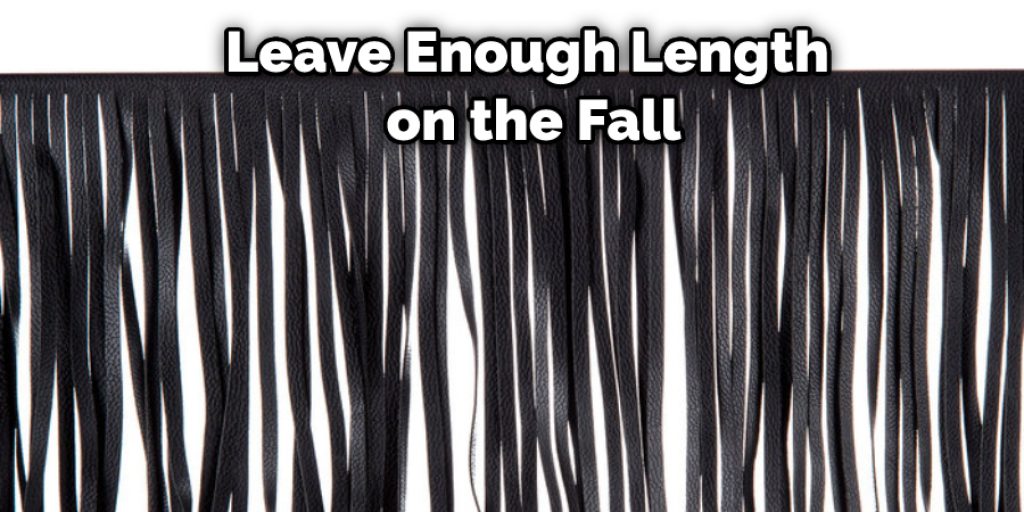
Step 7: Trim the Lacing and Fall.
Trim the lacing and fall to the desired length. Be sure to leave enough length on the fall to be used comfortably.
Step 8: Enjoy Your New Whip!
You’ve now learned how to make a leather get-back whip. This simple project can be completed in about an hour, and it’s a great way to use up scrap leather. Experiment with different colors and textures to create a unique whip that is perfect for personal use or as a gift for someone special.
Some Helpful Tips and Suggestions
1. If you want your whip to be extra sturdy, you can use a paracord or a strong cord for the lacing.
2. You can use any leather for this project, but thicker leather will be more durable and easier to work with.
3. If you’re using a thinner piece of leather, you may want to add an extra layer of fabric or cardboard to the inside of the whip to give it more structure.
4. You can decorate your whip however you like! Try adding some beads, feathers, or other embellishments to make it unique.
5. When you’re finished, condition the leather with a good quality leather conditioner to keep it soft and supple.
6. Don’t forget to oil your leather regularly to keep it from drying out and cracking.
How Do You Recondition a Leather Whip
Leather is a natural material that will deteriorate over time if not properly cared for. Therefore, leather whips need to be reconditioned regularly to keep them supple and prevent them from drying out and cracking.
Several commercial products can be used to recondition leather, but you can also make your own leather conditioner at home. Mix equal olive oil and vinegar parts in a small container to make your own leather conditioner. Then, apply the conditioner to the whip with a soft cloth, working it into the leather.
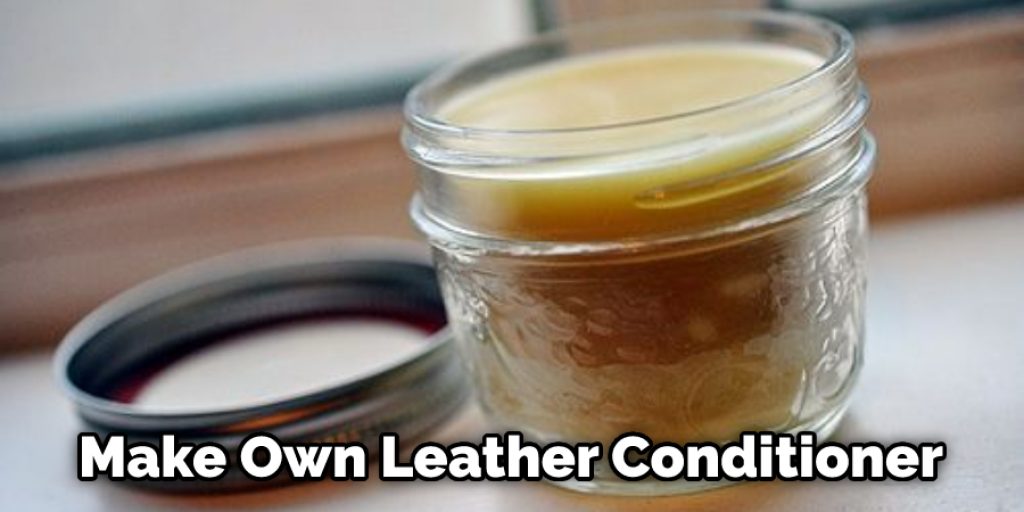
Allow the conditioner to soak into the leather for 30 minutes, then buff it off with a clean cloth. You can also use this conditioner to protect your whip from the elements. If you are going to be storing your whip for an extended period, wrap it in a cloth soaked in the conditioner. This will help keep the leather supple and prevent it from drying out.
Final Thoughts
Making a leather whip is not as hard as it may seem. With the right tools and some patience, you can have a new whip to show off in no time at all. However, be sure to practice with it a bit before taking it out on the town – you’ll want to make sure you’re familiar with how it moves and how much force is needed to get the desired results.
We hope this blog post has guided you on how to make a leather get back whip. With a little bit of practice, you’ll be able to put those onlookers’ heads spinning in no time at all. Thanks for following along, and be sure to check back often for more informative tutorials. Now, get out there and put those whips to good use!


