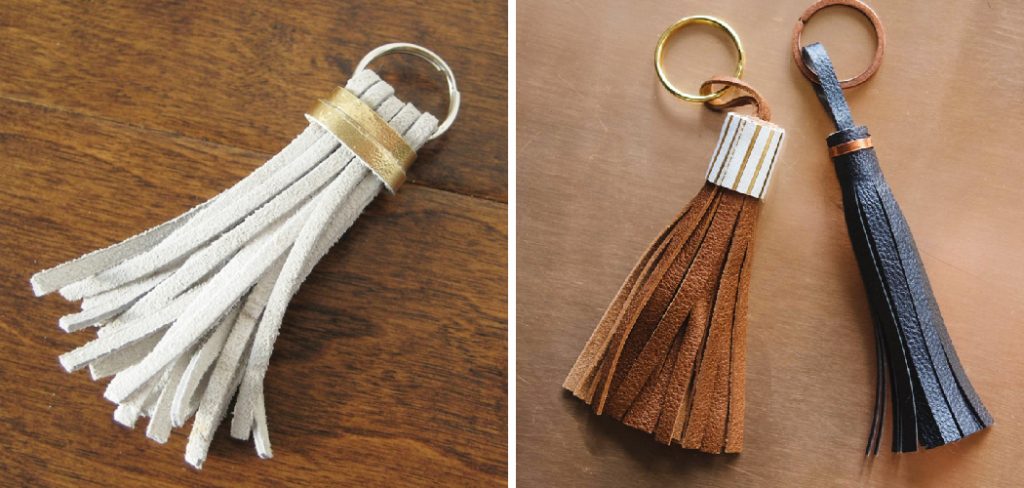
How to Make a Leather Tassel
Crafting leather tassels is a captivating fusion of artistry and functionality, adding a touch of elegance to various accessories and items. Whether embellishing a handbag, keychain, necklace, or home decor, mastering the art of making leather tassels opens up a world of creative possibilities.
The tactile and visual appeal of leather lends a timeless charm to these adornments, making them versatile accents for both contemporary and vintage designs. Through a blend of precise cuts, thoughtful assembly, and creative flair, crafting a leather tassel becomes an enjoyable endeavor for craft enthusiasts and novices alike.
This article delves into the step-by-step process of how to make a leather tassel, offering insights into material selection, cutting techniques, and assembly methods. With a few tools and a dash of imagination, you can embark on a journey to craft these stylish and tactile embellishments that effortlessly infuse your projects with sophistication and charm.
What Is Leather Tassels?
Leather tassels are decorative accessories made of leather that come in a variety of colors and styles. They can be used to add texture, color, and style to any clothing item or accessory. Leather tassels are typically attached to the end of a cord, ribbon, chain, or zipper for an eye-catching effect.
Making your own leather tassels is a fun and creative way to give your wardrobe an upgrade. With the right materials, you can easily create your own unique style of tassel with just a few simple steps.
Their Versatile Use in Fashion and Accessories
Many fashion accessories include tassels or fringe, and leather tassels are a popular option for both apparel and accessory designs. A leather tassel is a versatile item that can be used to embellish many items such as purses, bags, pouches, jewelry pieces, garment hems, and even shoes.
Leather tassels can also be affixed to zipper pulls or used to create a fringe for garments. With the right materials and basic sewing skills, creating leather tassels is an easy craft project that can add a touch of style to your wardrobe. Though it is often used in fashion, leather tassels can also be used in interior design. They are a great way to add texture and visual interest to rugs, curtains, upholstery fabrics, and even lampshades.
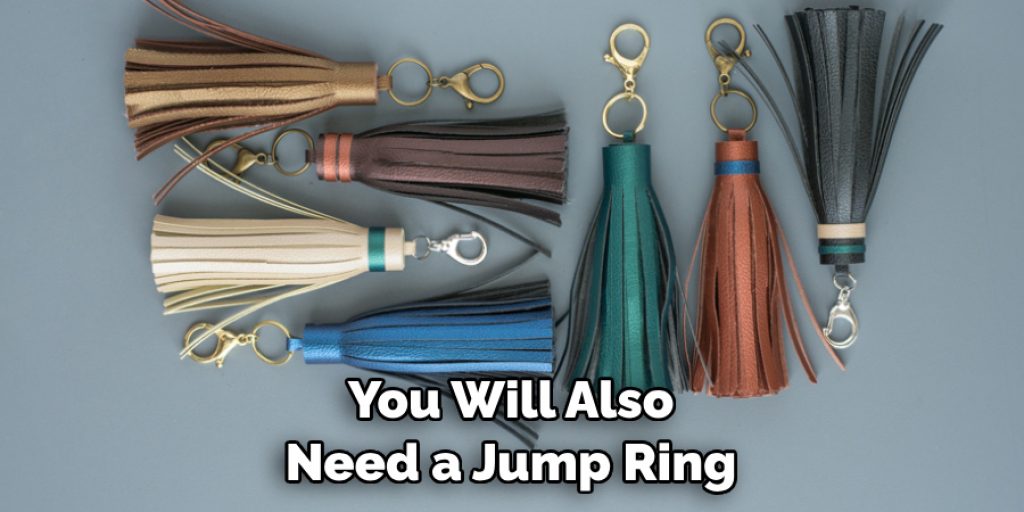
To start the process of creating a leather tassel, you will need a length of thick vegetable-tanned leather cord, a pair of scissors, and an upholstery needle. For projects that require the tassel to hang from something else, such as a necklace or zipper pull, you will also need a jump ring. The size of your leather cord will determine the size of your tassel; for smaller tassels use 1/8-inch or thinner cord.
What You’ll Need
To make a leather tassel, here’s what you’ll need:
- Leather cord or string
- Leather strips
- Ruler/measuring tape
- Scissors
- Glue or a needle and thread
10 Steps How to Make a Leather Tassel
Step 1: Gather Materials and Tools
Before you begin, gather all the necessary materials and tools for making leather tassels. You’ll need leather scraps, a cutting mat, a rotary cutter or utility knife, a ruler, a hole punch, jump rings, a lobster clasp (if making a keychain), scissors, and a ruler. You can also use a leather hole punch instead of a utility knife, if desired.
Step 2: Choose Leather
Select the type and color of leather you want to use for your tassel. Genuine leather or faux leather both work well. Thinner leather is easier to work with, but thicker leather can create a more substantial tassel. For color, choose a color that complements the other colors in your design. While both solid and patterned leather can be used, it’s best to stick to one or the other so your tassel looks cohesive.
Step 3: Cut the Leather Strip
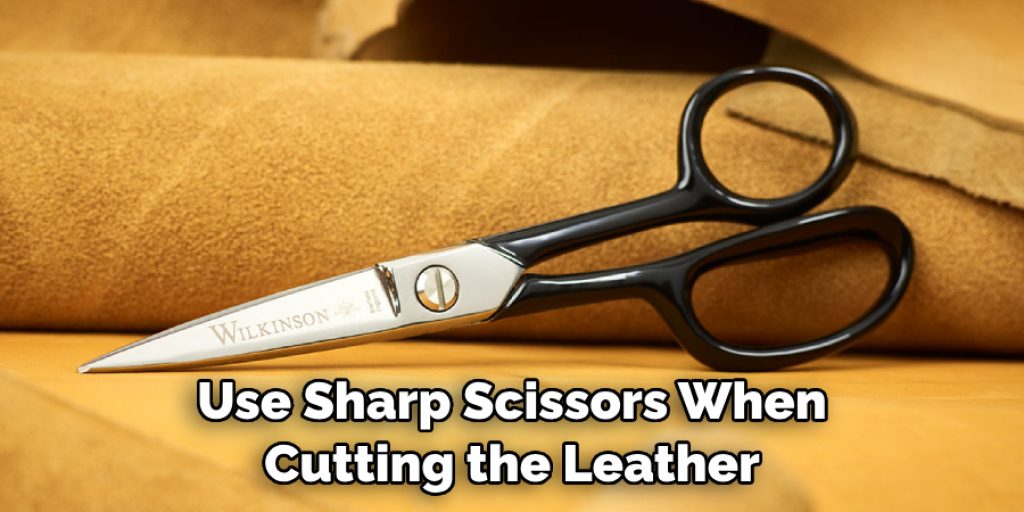
Start by cutting a strip of leather to the desired length of your tassel. The width of the strip will determine the thickness of the tassel. A common size is around 1/2 inch wide and 6-8 inches long. Use a sharp scissors or knife to make the cut. Make sure to handle with caution as you don’t want to accidentally slice yourself! To get a neat and professional looking tassel, make sure to cut the strip as straight and even as possible.
Step 4: Create Fringe
Using a ruler as a guide, mark the back of the leather strip at regular intervals, leaving about 1/4 inch at the top uncut. Use a rotary cutter or utility knife to make vertical cuts along the marked lines, creating fringe. Make sure the cuts are shallow to avoid cutting through the back of the leather. However, be sure not to leave the fringe too long as it will become difficult to tie together. Once the fringe has been cut, use a bone folder to smooth down all sharp edges.

Step 5: Add Jump Ring Hole
At the uncut top of the leather strip, measure about 1/4 inch from the edge and punch a hole using a hole punch. This hole will be used to attach the jump ring. To make sure the hole is a consistent size, you may want to use a leather punch, which has several different sizes of hole punches and will give you a consistent result. Try to make the hole as small as possible while still being able to attach the jump ring.
Step 6: Roll and Secure
Starting from the uncut top, tightly roll the leather strip along its length. As you roll, apply a small amount of glue along the uncut edge to secure the roll. Press down gently to make sure the glue adheres. Finally, tie a piece of cord around the rolled leather to hold it in place.
Step 7: Attach Jump Ring
Insert a jump ring through the hole you punched earlier. If you’re making a keychain, attach the lobster clasp to the jump ring as well. Close the jump ring securely using pliers.
Step 8: Shape and Trim
Hold the rolled leather tassel and gently fan out the fringe. Trim the fringe to your desired length, keeping the ends even. You can trim it straight across or at an angle for a more dynamic look. While trimming, be sure that you are drawing the scissors across in one fluid motion to avoid frayed edges.
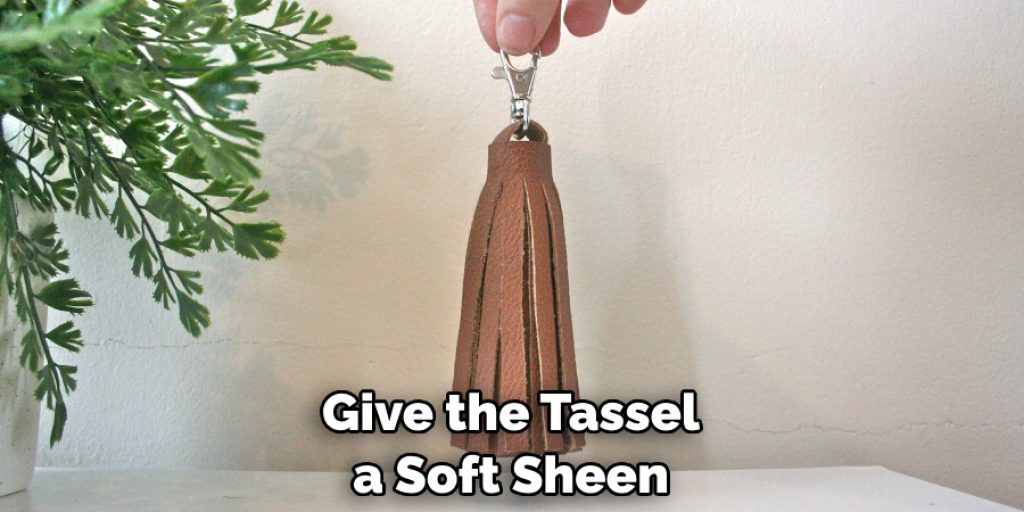
Step 9: Fluff and Finish
Gently fluff the fringe to give the tassel volume and texture. If you want a more polished look, trim any uneven strands. You can also apply leather conditioner to give the tassel a soft sheen.
Now you have a beautiful leather tassel that you can attach to a bag, keychain or zipper pull for added style and flair. You can even use it as an accessory in your hairstyle! Get creative and make a few more to share with friends and family. Enjoy!
Step 10: Attach to Your Project
Your leather tassel is now ready to be attached to your desired project! You can use it as a keychain, a decorative accent on a bag, a necklace pendant, or even as home decor. Simply use the jump ring to attach the tassel securely.
Some Common Mistakes to Avoid When Making a Leather Tassel
Making a leather tassel can be intimidating if you’re new to leatherworking, but it’s a fairly straightforward process. However, there are some common mistakes that many beginners make when trying to create their own leather tassel. Here are a few tips and tricks to help you avoid these pitfalls:
- Make sure your leather is the right thickness and quality. Thicker leather is much harder to work with, so it’s often best to opt for something a bit thinner that you’re comfortable working with.
- Be sure to measure twice and cut once! This age-old adage also applies when making a tassel. Make sure all your measurements are precise before you cut, or you could end up with a tassel that’s too small or too large.
- Avoid using glue to hold the leather pieces in place, as it won’t provide enough support. Opt for a leather sewing needle and thread instead; this will create an extra strong bond between your leather pieces that will last much longer.
- Be sure to use sharp scissors when cutting the leather. Dull blades can cause the leather to tear and won’t give you clean, precise cuts.
Conclusion
To summarize, creating a tassel out of leather can be an easy and beautiful craft project. You now know how to cut your leather into ideal pieces, tie them together, curl the ends, and decorate your tassel to make it all the more unique. All in all, experimenting with such projects can be a fun way to add something special to your life with little time and effort.
When people admire how you put something so simple together yet so lovely – you’ll be proud of yourself! Crafting isn’t only about productivity; it’s also therapeutic too. So, go ahead and give it a shot! Grab a piece of scrap leather now and start crafting – we guarantee you won’t regret learning how to make a leather tassel!
Angela Ervin
Angela is the executive editor of DIY quickly. She began her career as an interior designer before applying her strategic and creative passion to lifestyle and home. She has close to 15 years of experience in creative writing and online content strategy for housekeeping, home decorations as well as other niche efforts. She loves her job and has the privilege of working with an extraordinary team. She lives with her husband, two sons, and daughter in Petersburg. When she's not busy working she spent time with her family.