How to Make a LED Backlight for Stained Glass Panel
Introduction
Many ways can be implemented to make a LED backlight for a stained glass panel. We are going to provide a stepwise solution that will enable you to get this done quickly. The process is much useful for beginners because it will allow them to learn new things. The steps included in this process are stated below.

Procedure
Step One
To make a LED backlight stained glass panel, you will need a table saw and a miter saw to cut the wood panel, a strong adhesive to attach the wood, clamps to keep the board in position, a LED strip tape for the backlight, and some wiring and duct tape.

Step Two
After you have gathered all the materials you need, it’s time to start working. You will need the glass panel that you want to install in the frame. The glass panel will be handled delicately and placed on a table. Then, using a ruler, you will need to take the dimensions of the frame. This will be used to cut the wood panel. After the measurement is accepted, you will need to take the wood and, using the table saw, cut the four panels. This will be processed on the next steps.
Step Three
Now you have to measure the glass panel’s thickness and use a miter saw, and you have to cut grooves on the wood panel. The tracks should be sanded properly using twenty grit sandpaper. After the grooves are prepared, you should check the glass panel fitting. Next, you have to use the miter saw to create an angular cut in the panels’ edges. After the board is adequately made, you have to place the glass panel and then glue the wood panel with it.
Step Four
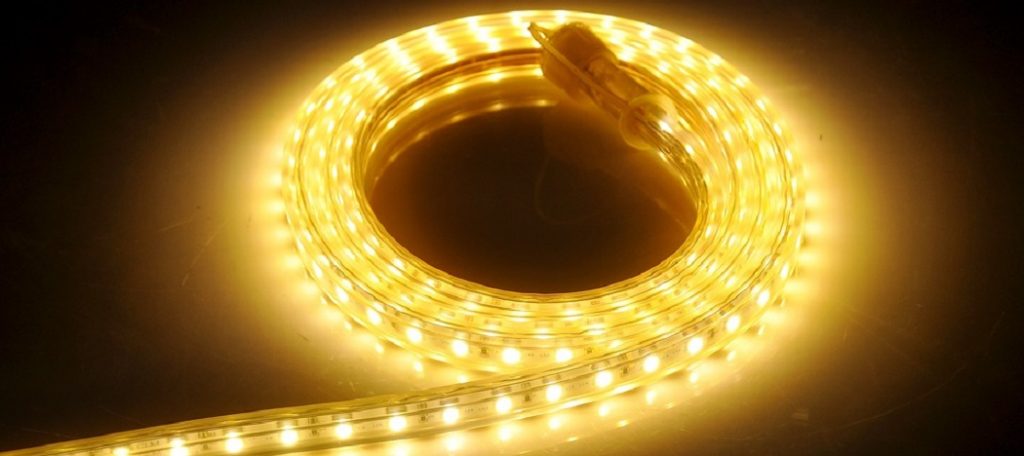
You will need to use clamps to hold the wood in place so that the glass and timber do not get displaced. You can also use a drill machine to attach the wood panels. Next, you will need to make the shadow box and then turn it around to set up the LED light. You will need LED light tape for this purpose, which you can easily manage form the internet. Finally, you will need to take super glue and attach the LED strip along the edge of the panel.
Step Five

After the LED strip is attached, you can easily install wiring and switch with it. Now you have to take a wood piece that will measure equivalent to the panel’s back part. Then install it using a drill machine, and you have to make a hole through which the wiring of the box will be taken out. Now you can use a sanding device to make the surface smooth. In this manner, you can easily create a LED backlight for stained glass.
Final Thoughts
In conclusion, we would like to state that the process we have mentioned here will be highly beneficial for making your own LED light-based shadow box. DIY lovers will surely love this project. Thank you for your time. Have a nice day!
you may also read now


