How to Make a Mug Rug
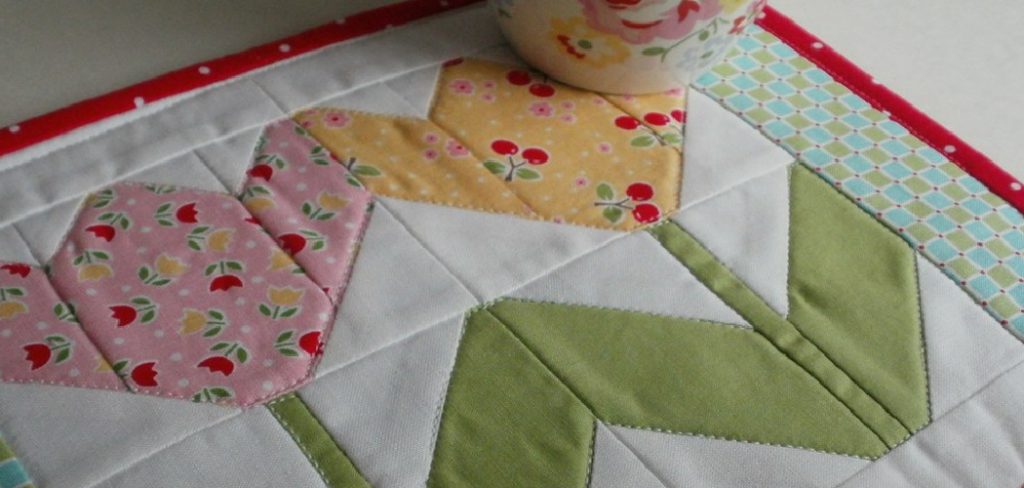
A mug rug is a delightful and functional accessory for your home, providing the perfect surface for a warm cup of coffee or tea alongside a tasty treat. Larger than a coaster yet smaller than a placemat, mug rugs offer a charming way to protect your furniture while adding a touch of personality to your table setting. Whether you’re a seasoned crafter or a beginner looking to explore sewing, making a mug rug is a simple and rewarding project.
In this guide on how to make a mug rug, we’ll walk you through the materials needed and the steps to create your very own unique mug rug, allowing you to express your style and creativity with every stitch.
What is a Mug Rug?
Before we dive into the tutorial, let’s first understand what exactly a mug rug is. As mentioned earlier, it is a small piece of fabric or mat that serves as a coaster for your coffee mug or tea cup. However, unlike traditional coasters that are usually made from unadorned materials like cork or plastic, mug rugs offer endless possibilities for design and personalization.
They can be made from various fabrics such as cotton, linen, or even felt and can be decorated with appliques, embroidery, quilting, or other creative techniques.
Materials Needed
To make your own mug rug, you will need:
- Fabric (at Least 10 X 8 Inches) for the Top and Bottom Layers of the Rug
- Fusible Fleece or Batting (at Least 10 X 8 Inches)
- Fabric Scraps for Appliques (Optional)
- Thread
- Sewing Machine or Needle and Thread
- Scissors
- Ruler
- Iron and Ironing Board
8 Step-by-step Guidelines on How to Make a Mug Rug
Step 1: Prepare the Fabric
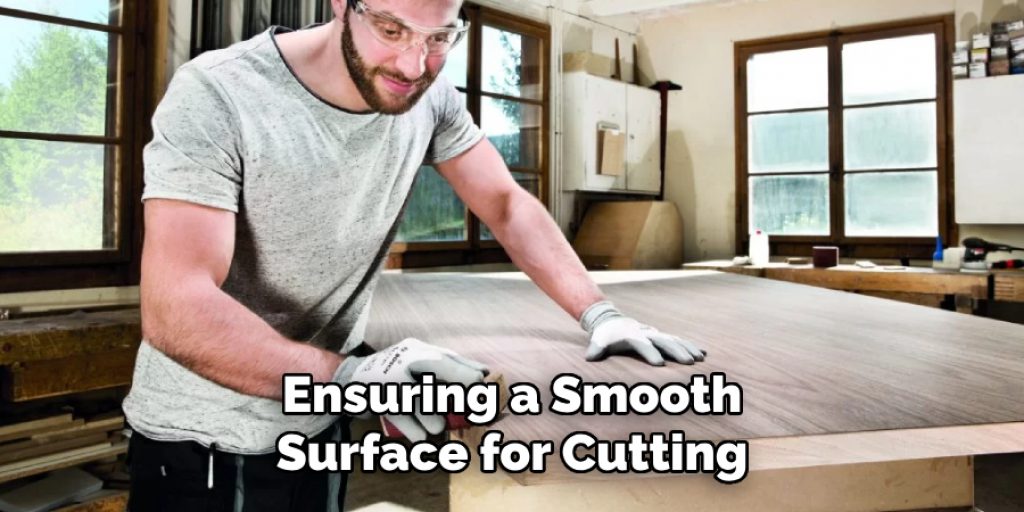
Begin by pre-washing your fabric to remove any impurities or sizing that could affect the finished product. This also prevents any shrinkage after your mug rug is completed. Once dried, iron the fabric to eliminate any wrinkles, ensuring a smooth surface for cutting and sewing. Next, use a ruler to measure and cut your fabric pieces, ensuring both the top and bottom layers are at least 10 x 8 inches, along with your fusible fleece or batting.
If you plan to add embellishments, cut out your fabric scraps for appliques at this stage as well. Having all your materials prepared will streamline the sewing process and result in a more polished final product.
Step 2: Layer the Top and Bottom Fabrics
Once you have your pieces of fabric cut, it’s time to layer them for sewing. Start by placing the top fabric piece on the right side on a flat surface. Next, take your fusible fleece or batting and lay it directly on top of the top fabric. Finally, place the bottom fabric piece right side down onto the fleece or batting, creating a sandwich of fabric layers.
Ensure that all edges align for a neat finish. To keep the layers stable while you sew, you may pin them together or use fabric clips. This preparation is crucial as it will help you achieve a clean and professional-looking mug rug once assembled.
Step 3: Sew the Layers Together
Using a sewing machine or needle and thread, start sewing around all four edges of your layered fabric sandwich. Leave a small opening (around 2 inches) on one side to turn the rug inside out later. This opening will also allow you to stuff the mug rug with batting if you prefer a more cushioned finish. Secure your stitches by backstitching at the beginning and end of your sewing.
If using a sewing machine, you can also use a decorative stitch to add some interest and texture to your mug rug. Trim any excess fabric from the edges, but make sure not to cut too close to the stitches.
Step 4: Trim the Corners and Turn Inside Out
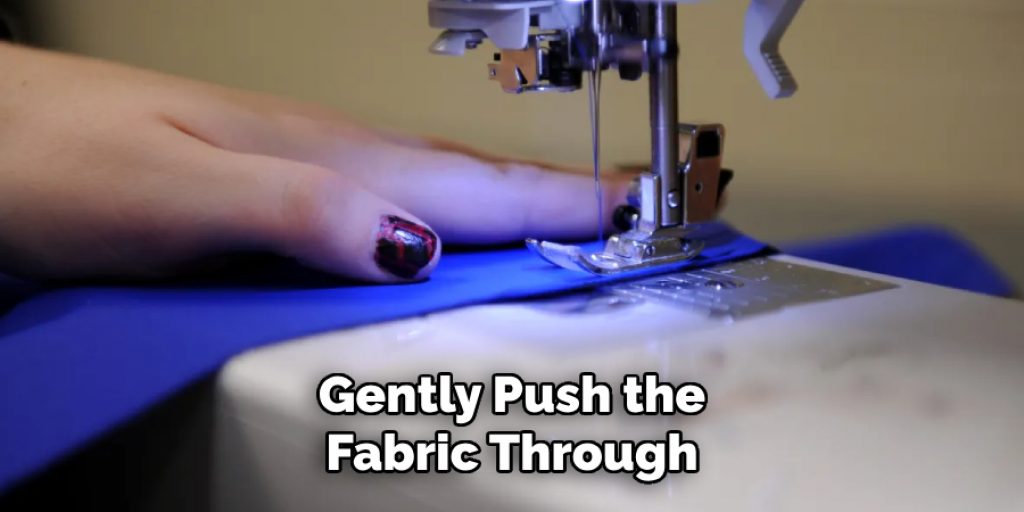
To ensure neat corners, trim a small triangle from each corner of your mug rug. This will help reduce bulk when the rug is turned inside out and give you crisp edges. Once all corners are trimmed, reach into the opening and gently push the fabric through, turning it inside out. Use a ruler or chopstick to carefully push out all corners for a smooth finish.
It’s always a good idea to iron your mug rug at this point, flattening out any creases and ensuring the layers are nicely aligned.
Step 5: Close the Opening
After turning the mug rug inside out and ensuring the corners are nicely shaped, it’s time to close the opening. Fold the raw edges of the opening inward, aligning them with the sewn edges for a clean finish.
You can either hand-stitch this opening closed using a slip stitch for an invisible seam or use your sewing machine to sew a straight stitch across the opening, making sure to secure it well. If you prefer a more decorative touch, consider topstitching around the entire mug rug, which not only closes the opening but also adds an attractive border to your creation.
Step 6: Add Appliques (Optional)
If you want to add some personalization to your mug rug, now is the perfect time. You can use fabric scraps or pre-made appliques for this step. Simply arrange and pin them onto the top layer of your mug rug in any design you desire. Once satisfied with the placement, sew around each piece using a straight stitch or decorative stitch, securing them onto the fabric.
Remember to use coordinating thread colors to enhance your design and make it stand out.
Step 7: Quilt Your Mug Rug (Optional)
To give your mug rug even more texture and interest, consider quilting it using a sewing machine or by hand. You can use a simple stitch pattern such as straight lines or have fun with more intricate designs.
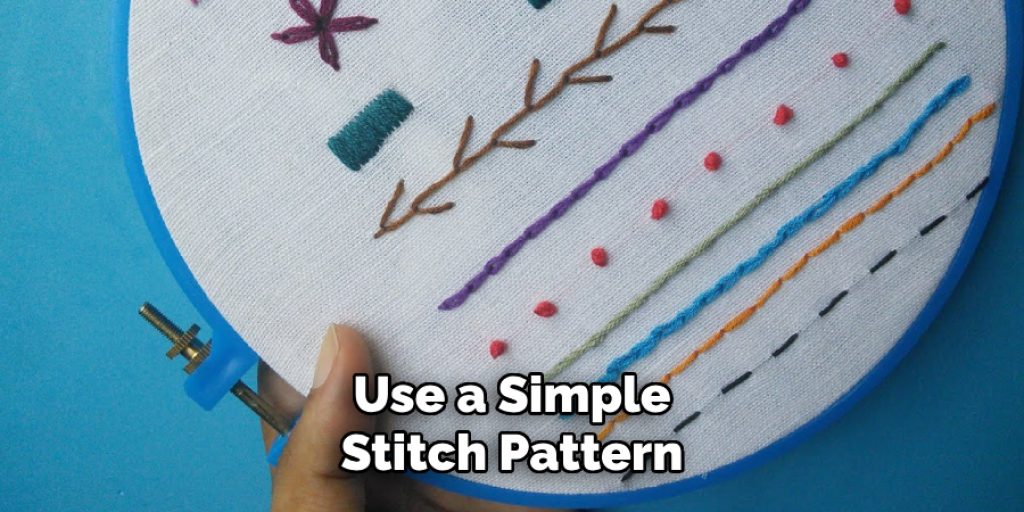
Quilting will also help secure the layers together and make your mug rug more durable. It’s a great opportunity to get creative and add some unique touches to your creation.
Step 8: Enjoy Your Custom Mug Rug!
And that’s all there is to it! In just a few easy steps, you have created your very own custom mug rug, perfect for adding a touch of personality to your coffee table or gifting to a friend. Experiment with different fabric combinations, appliques, and quilting designs to make each mug rug one-of-a-kind.
Following these guidelines on how to make a mug rug, you can easily make mug rugs of various sizes and designs to suit your individual style. Whether you prefer a more traditional look or want to let your creativity flow, mug rugs are a fun and practical way to express yourself through sewing. So grab your materials and get started on your own unique mug rug today!
Additional Tips
- For extra durability, consider using a double layer of fusible fleece or batting.
- To prevent the fabric from shifting while sewing, use basting spray or temporary fabric adhesive to hold the layers together.
- If using a sewing machine, test out different stitch lengths and widths on scrap fabric before starting on your mug rug.
- Experiment with different shapes like circles, squares, or hexagons for a unique mug rug design.
- Have fun and don’t be afraid to make mistakes! Part of the beauty of handmade items is their imperfections. So embrace them and enjoy the process of creating something special. Happy sewing!
Frequently Asked Questions
Q: Can I Use a Different Type of Fabric Instead of Cotton for My Mug Rug?
A: Yes, you can use a variety of fabrics such as linen, canvas, or even flannel, for your mug rug. Just make sure to adjust the sewing machine settings accordingly and consider using interfacing for added stability.
Q: How Do I Clean My Mug Rug?
A: It is best to spot-clean your mug rug, especially if it has appliques or quilting. If necessary, you can hand wash it in lukewarm water with mild detergent and lay flat to dry. Avoid putting it in the washing machine or dryer as this may cause damage.

Q: Can I Make a Larger Mug Rug?
A: Absolutely! You can adjust the size of your mug rug by cutting larger pieces of fabric and fleece/batting accordingly. Just make sure to leave enough room for seam allowance when sewing. Alternatively, you can also join multiple mug rugs together to make a larger one.
Q: I Don’t Have a Sewing Machine, Can I Still Make a Mug Rug?
A: Yes, you can hand-sew your mug rug using a needle and thread. However, it may take longer and require more patience. Alternatively, try using fabric glue to attach the layers together for a no-sew option.
Conclusion
Creating your own mug rug is a rewarding and enjoyable project that allows for creativity and personalization in every stitch. Whether you choose to add unique fabrics, appliques, or quilting techniques, each mug rug becomes a special piece that reflects your individual style. This versatile accessory is not only functional but also adds charm to any space.
Remember, the journey of making your mug rug is just as valuable as the finished product, so embrace the process and have fun exploring your sewing skills. Thanks for reading this article on how to make a mug rug.
Elizabeth Davis
Elizabeth is a creative writer and digital editor based in the United States. She has a passion for the arts and crafts, which she developed from a young age. Elizabeth has always loved experimenting with new mediums and sharing her work with others. When she started blogging, she knew that DIYquickly would be the perfect platform to share her tutorials and tips. She's been writing for the blog from the beginning, and her readers love her helpful advice and easy-to-follow instructions. When she's not writing or editing, Elizabeth enjoys spending time with her family and friends.