How to Make a Paper Jersey
Making a paper jersey is a fun and creative project that allows you to express your love for your favorite sports team or player. Whether you’re decorating for a sports party, creating a unique gift, or just enjoying a crafty afternoon, this simple yet engaging activity can be enjoyed by people of all ages.
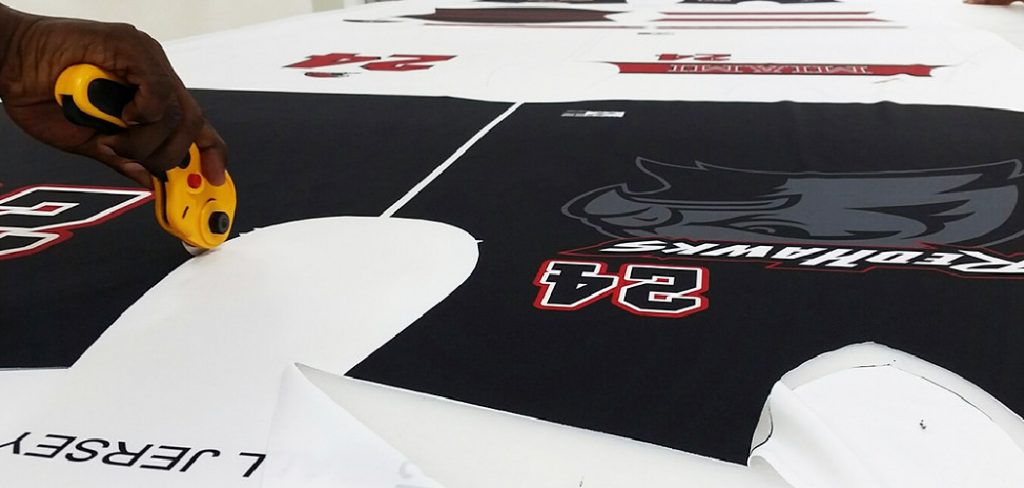
In this guide, we will walk you through the necessary materials and step-by-step instructions on how to make a paper jersey, adding a personal touch that showcases your team’s colours and design. Let’s get started on this exciting crafting journey!
Materials and Tools Needed
To create your paper jersey, you’ll need the following materials and tools:
- Colored Paper: Choose paper in the colours of your team. You may need different shades for various elements.
- Scissors: For cutting the paper to create the jersey’s shape.
- Glue or Tape: To assemble the different parts of your jersey.
- Markers or Paints: For adding details like numbers, names, and logos.
- Ruler: To measure and create clean, straight lines.
- Pencil: For sketching out your design before cutting.
- Templates: Optional jersey templates can help guide your cutouts (you can find printable templates online).
10 Methods How to Make a Paper Jersey
Method 1: Basic Paper Jersey
The basic paper jersey is an easy and straightforward project that can be completed with minimal materials. Begin by selecting a piece of construction paper or cardstock in your desired color. Fold the paper in half lengthwise to create a crease down the center. On one half of the paper, draw the outline of a jersey, including sleeves and a neckline. Cut out the jersey shape, ensuring to keep the fold intact so you have a front and back piece connected at the shoulders.

Decorate the jersey with markers, stickers, or printed logos to represent your favorite team or player. This method results in a simple yet effective paper jersey that can be hung on a wall or used as a card.
Method 2: 3D Paper Jersey
For a more dimensional look, create a 3D paper jersey. Start with two pieces of construction paper or cardstock in your desired color. Fold each piece in half lengthwise and draw the outline of a jersey on one half of each sheet. Cut out the jersey shapes, ensuring to keep the fold intact on both pieces. Glue the front and back pieces together along the sides and shoulders, leaving the bottom open.
Stuff the jersey with tissue paper or cotton to give it a 3D effect. Decorate the jersey with markers, stickers, or printed logos. This method results in a more lifelike paper jersey that can be displayed standing up or hanging.
Method 3: Origami Paper Jersey
Origami offers a unique and intricate way to create a paper jersey. Begin with a square piece of origami paper or any thin paper cut into a square. Fold the paper in half diagonally to create a triangle, then unfold. Fold the top and bottom edges towards the center crease, creating two narrow flaps. Fold these flaps outward to create the sleeves of the jersey. Fold the top edge down to create the neckline, then fold the bottom edge up to create the hem.
Decorate the jersey with markers or stickers. This method results in a delicate and detailed paper jersey that showcases the art of origami.
Method 4: Collage Paper Jersey
A collage paper jersey allows for a more creative and artistic approach. Begin with a large piece of construction paper or cardstock in your desired color. Draw the outline of a jersey and cut it out. Gather various scraps of colored paper, magazine clippings, or printed images. Glue these pieces onto the jersey cutout to create a collage effect.
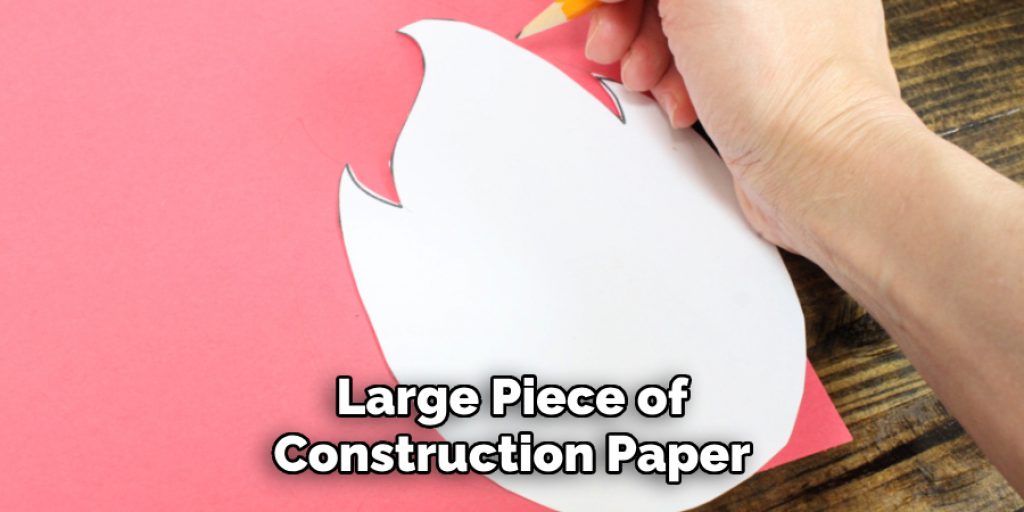
Layer the pieces to add texture and dimension. Add details such as numbers, logos, and names using markers or printed cutouts. This method results in a vibrant and artistic paper jersey that is unique and visually striking.
Method 5: Stenciled Paper Jersey
Using stencils is a great way to create a precise and professional-looking paper jersey. Start with a piece of construction paper or cardstock in your desired color. Place a jersey-shaped stencil on the paper and trace around it. Cut out the jersey shape. Use additional stencils to add details such as numbers, logos, and names.
Fill in the stenciled areas with markers, paint, or colored pencils. This method results in a clean and polished paper jersey that looks professionally made.
Method 6: Layered Paper Jersey
A layered paper jersey adds depth and dimension to your project. Begin with a piece of construction paper or cardstock for the base of the jersey. Cut out additional pieces of paper in various colors and shapes to represent different parts of the jersey, such as the sleeves, neckline, and hem.
Layer these pieces on top of the base, gluing them in place to create a multi-dimensional effect. Add details such as numbers, logos, and names using markers or printed cutouts. This method results in a visually dynamic paper jersey that stands out.
Method 7: Interactive Paper Jersey
An interactive paper jersey can be a fun and engaging project, especially for kids. Start with a piece of construction paper or cardstock in your desired color. Draw and cut out the outline of a jersey. Create flaps on the sleeves or body of the jersey by cutting along three sides of a small rectangle or square. Underneath each flap, write or draw something fun, such as a hidden message, a player’s stats, or a team logo.
Decorate the rest of the jersey with markers, stickers, or printed logos. This method results in a playful and interactive paper jersey that offers an element of surprise.
Method 8: Recycled Paper Jersey
Creating a paper jersey from recycled materials is an eco-friendly and creative way to repurpose paper. Gather old newspapers, magazines, or scrap paper. Begin with a piece of construction paper or cardstock as the base. Draw and cut out the outline of a jersey. Tear or cut the recycled paper into small pieces and glue them onto the jersey base, covering it completely.
Add details such as numbers, logos, and names using markers or printed cutouts. This method results in a unique and environmentally friendly paper jersey that highlights the importance of recycling.
Method 9: Pop-Up Paper Jersey
A pop-up paper jersey adds an element of surprise and can be used as a card or decoration. Start with a piece of construction paper or cardstock folded in half to create a card base. On the inside of the card, draw and cut out the outline of a jersey, ensuring to keep the bottom attached to the card. Fold the jersey forward to create a pop-up effect. Decorate the jersey with markers, stickers, or printed logos.
This method results in a fun and interactive paper jersey that can be used as a greeting card or display piece.
Method 10: Mixed Media Paper Jersey
A mixed media paper jersey combines various materials and techniques for a rich and textured look. Begin with a piece of construction paper or cardstock as the base. Draw and cut out the outline of a jersey. Gather various materials such as fabric scraps, buttons, beads, and sequins. Glue these materials onto the jersey base, layering them to create texture and depth.
Add details such as numbers, logos, and names using markers, paint, or printed cutouts. This method results in a unique and tactile paper jersey that is visually and texturally interesting.
Troubleshooting Common Issues
Creating paper jerseys can be a fun and fulfilling project, but occasionally, you might encounter some challenges. Here are some common issues and their solutions:
- Paper Tears or Rips: If you’re working with thin paper, it may tear easily during cutting or folding. To avoid this, use a sharper pair of scissors for clean cuts and be gentle while handling the paper. Consider using thicker cardstock for more delicate methods.
- Glue Not Sticking: If your glue isn’t adhering properly, ensure you’re using the right type for your materials. For heavier items like buttons or fabric, consider using a stronger adhesive like craft glue or a hot glue gun. Allow sufficient drying time for best results.
- Design Imbalance: Sometimes, the proportions of the jersey may look off. To prevent this, take time during the drawing phase to measure and mark guidelines. Also, keep a reference of actual jersey designs to ensure proportion and symmetry.
- Colors Not Matching: If certain colored papers or markers don’t match your vision, don’t hesitate to mix and layer them. Use colour swatches or samples to test combinations before applying them to the final piece.
- Difficulty with Stencils: If stencils are hard to use or create messy edges, try anchoring them down with tape to prevent movement. Alternatively, you can practice on scrap paper to familiarize yourself with the stencil before working on your final design.

Conclusion
Creating a paper jersey is a versatile and creative project that can be customized to fit any style or occasion. Each of these ten methods offers a unique approach, from basic and traditional designs to intricate origami and mixed media creations. Thanks for reading, and we hope this has given you some inspiration on how to make a paper jersey!

