How to Make a Polymer Clay Flower
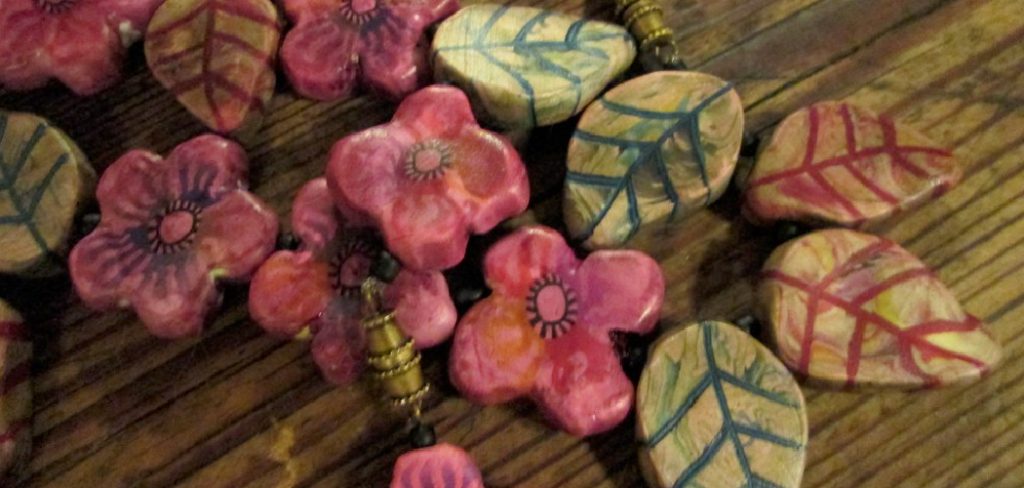
Creating a polymer clay flower is a delightful way to explore your artistic talents while enjoying a hands-on craft. Polymer clay is a versatile material that can be shaped and molded into intricate designs, making it perfect for capturing the beauty of flowers.
Whether you’re a seasoned creator or a beginner, this guide on how to make a polymer clay flower will walk you through the essential steps and techniques to craft your very own stunning flower, allowing you to unleash your creativity and make personalised decorations or gifts that are sure to impress.
Why Choose Polymer Clay for Flower Making?
Polymer clay is a popular choice for flower making due to its pliable texture, vibrant colors and the ability to harden when baked. Unlike natural flowers that wilt and die, polymer clay flowers can last a lifetime with proper care. They are also lightweight and durable, making them suitable for various uses such as jewelry, home decor or even cake toppers.
It is also a cost-effective option, as a small amount of polymer clay can go a long way in creating multiple flowers. Plus, it is readily available in craft stores and online, making it easily accessible for all skill levels.
Materials You Will Need
To make your own polymer clay flower, you will need the following materials:
Polymer Clay:
Choose a high-quality polymer clay in your desired colors. The most commonly used brands include Fimo, Sculpey and Kato Polyclay.
Cutting Tools:
A sharp knife or blade will be needed to cut the clay into desired shapes and sizes.
Shaping Tools:
Tools such as toothpicks, skewers or ball styluses can help create textures and add intricate details to your flower petals.
Oven:
Polymer clay needs to be baked at a specific temperature for it to harden. A regular household oven will do the job just fine.
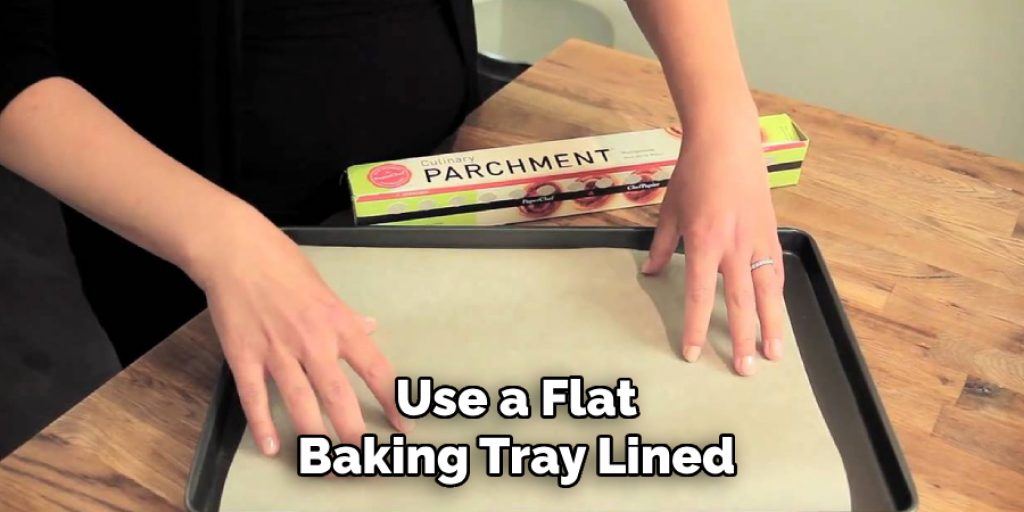
Baking Tray:
Use a flat baking tray lined with parchment paper or aluminum foil to place your clay creations on for baking.
Liquid Polymer Clay:
This optional material can be used as an adhesive to attach different pieces of clay together and create a more secure bond.
8 Steps on How to Make a Polymer Clay Flower
Step 1: Choose Your Flower Design and Colors
Before you begin shaping your polymer clay flower, it’s essential to decide on the type of flower you want to create and the colors you will use. Take some time to research various flower designs, such as roses, daisies, or tulips, and find inspiration from photographs or nature. Once you have chosen your flower type, select colors that best represent it or experiment with vibrant hues for a more artistic interpretation.
Having a clear vision of your design will guide you through the crafting process and ensure that your final creation reflects your chosen aesthetics. Be sure to gather your color selections, as this will set the stage for the rest of your flower-making journey.
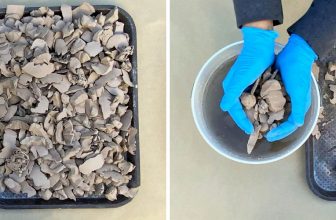
Step 2: Condition and Prepare the Clay
Conditioning your polymer clay is essential to prepare it for shaping. To do this, knead the clay in your hands until it becomes soft and pliable. This step helps to remove any air bubbles and makes the clay easier to work with. Once conditioned, roll out a small piece of clay into a thin sheet using a rolling pin or another flat surface.
You can also mix different colors of clay to create a marbled effect for a more unique flower design. It’s best to work with small amounts of clay at a time, as it can dry out quickly.
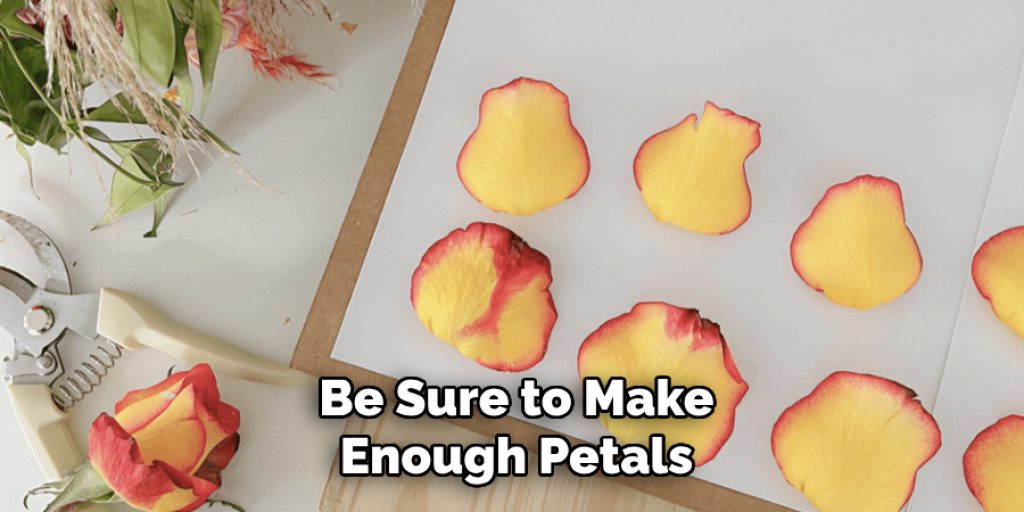
Step 3: Cut Out the Petals
Using your chosen design as a guide, use your cutting tool to cut out the petals from the rolled-out clay. You can either freehand or trace a stencil onto the clay for precision. Be sure to make enough petals for your desired flower size, and don’t forget to create a few smaller ones for the center of the flower.
You can also add texture and dimension by gently pressing tools into the clay petals to create veins or creases.
Step 4: Shape the Petals
Once you have cut out your petals, it’s time to shape them to give your flower a lifelike appearance. Begin by taking each petal and gently curving the edges. You can use your fingers or shaping tools to create a slight wave along the edges for a more natural look. If you’re making a flower with distinctive petal styles, like a rose, consider rolling the bottom of each petal to form a tighter curl.
To add additional depth, press the center of each petal down slightly while lifting the edges to create a slight bowl shape. This will help the petals sit more realistically when assembled. Remember to experiment with different shapes and textures to bring your unique vision to life, and don’t hesitate to reference photographs of real flowers for inspiration. Once you’re satisfied with the shape of your petals, lay them aside to prepare for assembly.
Step 5: Create the Stamen
For this step, you will need a small piece of clay in a contrasting color to your petals. Roll it into a thin log and cut it into small pieces, about ½ inch long. Using your fingers or shaping tools, gently mold each piece into a cone shape. These will be the stamen of your flower that adds an extra layer of detail and realism. Set them aside for assembly later.
You can also use small beads or sequins as stamen for a different look and texture.
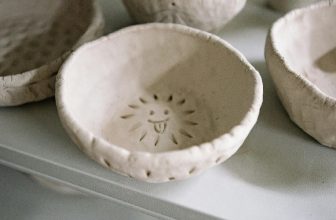
Step 6: Assemble the Flower
Now, it’s time to bring all of your pieces together and start assembling your flower. Begin with the largest petals, placing them in a circular pattern on a flat surface. Use liquid polymer clay or water to adhere each petal together, slightly overlapping each one to create depth. Continue adding the remaining petals, alternating sizes and colors until you have achieved your desired shape and fullness.
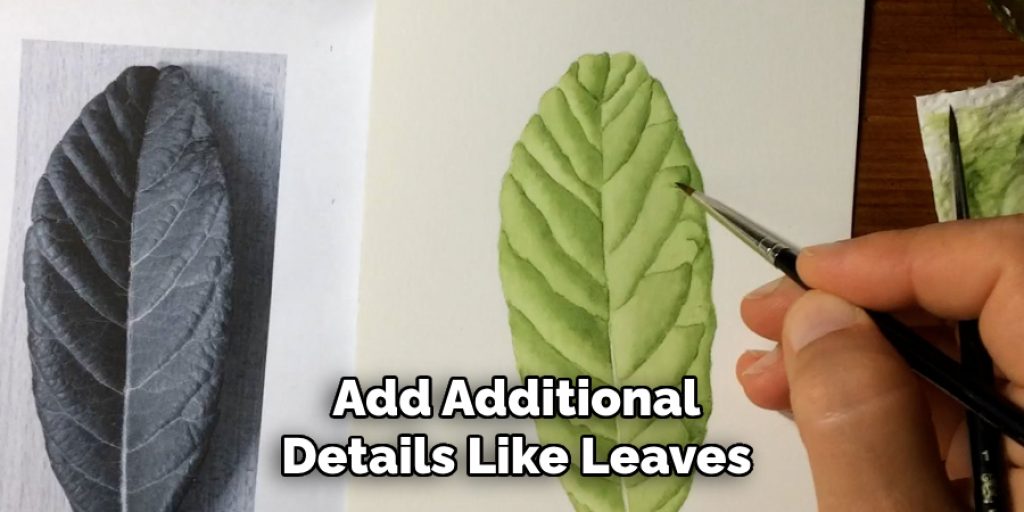
Next, add the stamen to the center of the flower, gently pushing them into place while ensuring they are evenly distributed. You can also add additional details like leaves or smaller flowers to enhance your design further.
Step 7: Bake the Flower
Once you have assembled your flower, it’s time to bake it in the oven according to the instructions on your clay package. Typically, polymer clay needs to be baked at a low temperature between 265°F to 275°F (130°C-135°C) for about 15-20 minutes per ¼ inch thickness of clay. Place your flower on a lined baking tray and carefully follow the recommended baking time and temperature.
It’s crucial to keep a close eye on your flower as it bakes to prevent it from burning or cracking.
Step 8: Finishing Touches
Once your clay flower has cooled, you can add any final touches or details, such as painting the edges with acrylic paint for a more realistic appearance. You can also use a glaze or varnish to give your creation a glossy finish and protect it from wear and tear.
Afterward, display your beautiful polymer clay flower in a vase or use it to decorate other crafts, such as greeting cards or jewelry pieces. Following these steps on how to make a polymer clay flower, you can create an endless variety of polymer clay flowers to add a unique touch to your home or personal style. And remember, don’t be afraid to experiment and add your own personal flair to make each flower truly one of a kind.
Additional Tips
- Experiment with different types of clay such as translucent or glittery, for more variety in your flowers.
- Use shaping tools such as ball styluses or knives for precise details and textures.
- Do not over-handle the clay as it can become too soft and difficult to work with.
- Practice makes perfect. Don’t be discouraged if your first attempt doesn’t turn out as expected; keep trying and honing your skills.
- Have fun and let your creativity flow! There are no limits to what you can create with polymer clay flowers. Overall, making a polymer clay flower is a fun and rewarding craft that allows for endless possibilities in design and personalization. So gather your materials, pick your favorite flower, and let your imagination bloom! #Happy Crafting!
Frequently Asked Questions
Q: How Long Does It Take to Make a Polymer Clay Flower?
A: The time can vary depending on the complexity of the design and your working speed, but typically, it takes about 30 minutes to an hour to create a simple polymer clay flower.
Q: Can I Use Air Dry Clay Instead of Polymer Clay?
A: While air clay is a popular alternative for many crafts, it may not work well for creating detailed and delicate flowers as it dries out quickly and can crack easily. Polymer clay is recommended for its flexibility and durability.
Q: How Do I Store My Polymer Clay Flowers?
A: To keep your clay flower creations in top shape, store them in a cool, dry place away from direct sunlight. You can also wrap them in tissue paper or bubble wrap to prevent any damage. Remember to handle them with care and avoid dropping or squishing them.
Conclusion
Creating a polymer clay flower is an enjoyable and artistic process that allows you to bring your visions to life. With these eight simple steps on how to make a polymer clay flower, you can create a beautiful and unique flower that will add a touch of charm and creativity to any space or project. So gather your materials, let your imagination run wild, and start crafting! Happy creating!
Elizabeth Davis
Elizabeth is a creative writer and digital editor based in the United States. She has a passion for the arts and crafts, which she developed from a young age. Elizabeth has always loved experimenting with new mediums and sharing her work with others. When she started blogging, she knew that DIYquickly would be the perfect platform to share her tutorials and tips. She's been writing for the blog from the beginning, and her readers love her helpful advice and easy-to-follow instructions. When she's not writing or editing, Elizabeth enjoys spending time with her family and friends.