
How to Get Rid of Air Bubbles in Window Tint
Introduction:
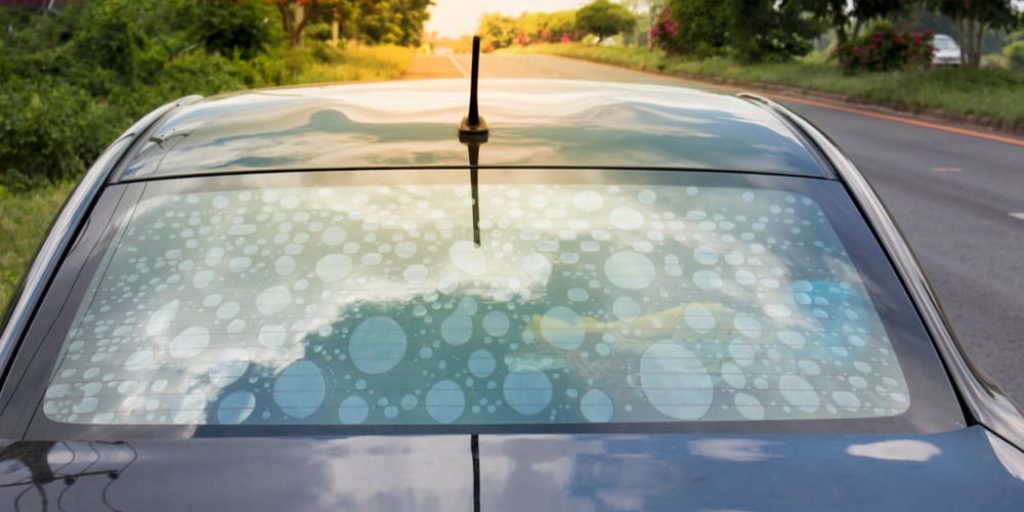
A window tint is a film placed on the exterior of your car’s glass. It is usually applied during manufacturing, although it can be added to a vehicle as an aftermarket accessory. The purpose of this film is to reduce glare and enhance privacy while at the same time protecting against harmful UV rays. Window tints are standard in some industries, such as law enforcement vehicles. Although they offer benefits for commercial purposes, many consumers have questions about how to get rid of air bubbles in window tint to use this type of product on their own cars or homes.
So today, I will be discussing a technique for removing air bubbles in window tint.
Why do They Occur?
Air bubbles are formed when the liquid adhesive of window tint attempts to bond to its substrate. When this happens, air will rush out as a result. It is important to note that not all windows have the same qualities; therefore, what works for one car window may not necessarily work on another. This is due in part to variables such as:
The Type of Glass Used:
Some types of auto glass are more prone to causing air bubbles than others due to their chemical makeup (tempered or laminated).
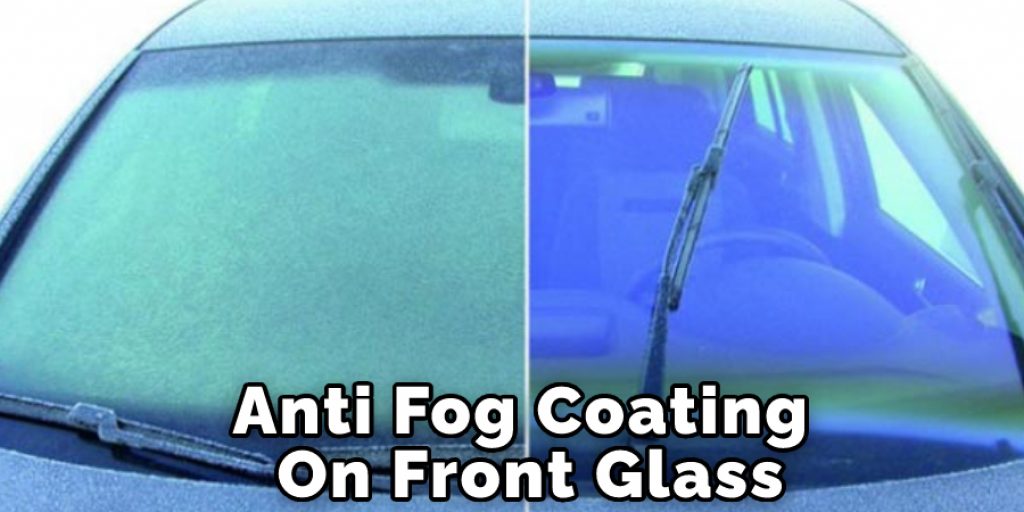
Some manufacturers require that their windshields be treated with an anti-fog coating before tinting. This hinders adhesion and can make it difficult for the tint to stick well. In addition, the presence of an adhesive rain-repellent treatment on vehicle glass can make it difficult for tint to adhere properly.
The Age of the Tint:
Newer films tend to have better adhesion and are less likely to leave air bubbles than older ones.
Some cars have been painted or had surface treatments that interfered with window film adhesion. Vehicles with ceramic, metallic, or other specialty paints have a reduced ability for static cling and must be prepped properly before applying the window film.
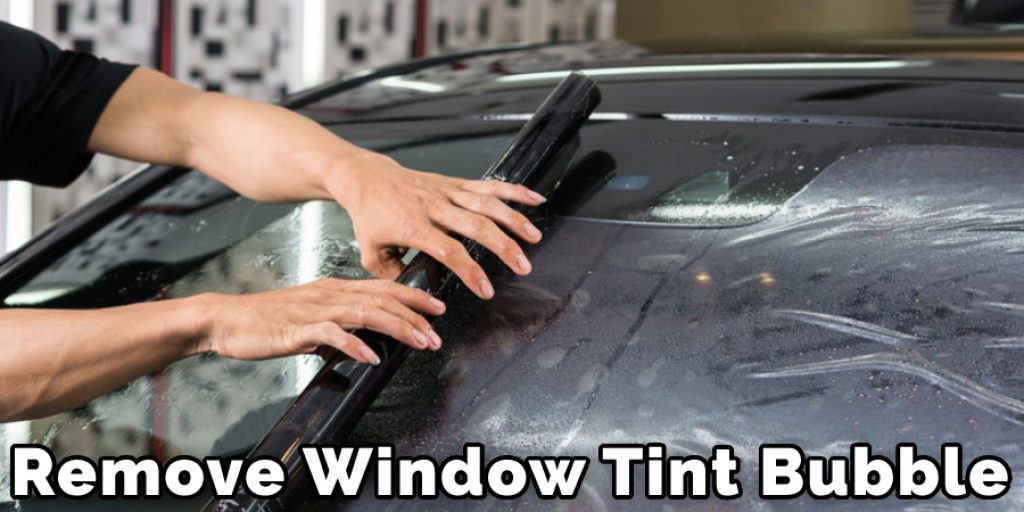
Step-wise Guide on How to Get Rid of Air Bubbles in Window Tint:
Step 1: Use a Hair Dryer
Use a hairdryer. Your job in this step is to melt the adhesive and help shape it into place. Start by rubbing some hot air from the hairdryer onto one end of the bubble until it protrudes outwards from under the film. Next, stretch along the edge using your thumb and forefinger to stretch the bubble out as much as possible.
Step 2: Use A Razor To Carefully Cut
Use a razor to cut the bubbles carefully. Once you have the bubble popped out of the film as you’re going to get it, it’s time to take your razor blade or Exacto knife and carefully cut the leftover air bubble shape from under the window tint.
This is a very important step as you want to be sure you’re left with only the tinted film and nothing else. That’s why a good blade is needed, as it will ensure you don’t leave pieces of leftover window tint under the new one.
You’ll have to cut very slowly to ensure that you don’t remove or damage the tint film.
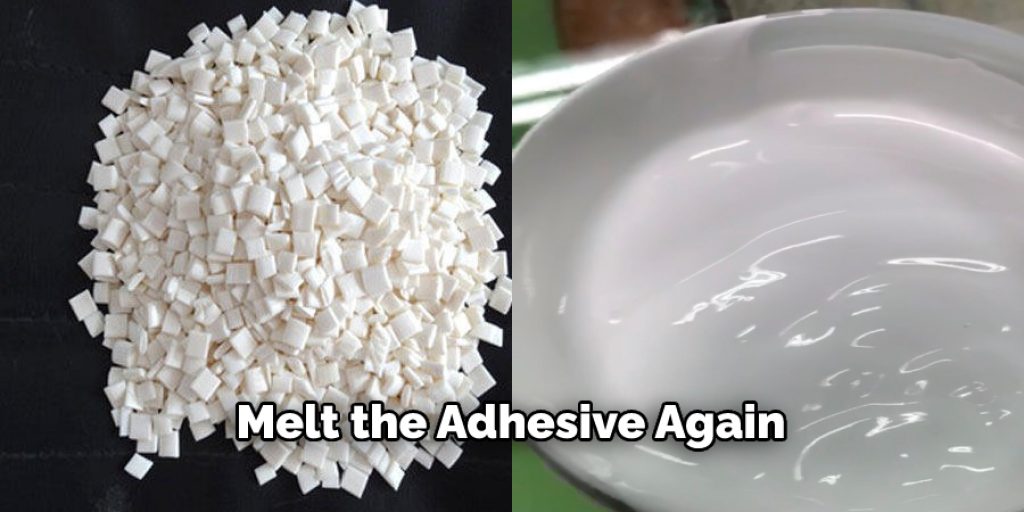
Step 3: Melt The Adhesive Again
Melt the adhesive again finally, and apply some more hot air with a hairdryer onto the adhesive until it melts again. (this will help ensure that when you press down on it again, it’ll stick back down into place). Then press down on both sides of the newly created air bubble line firmly with your fingers. For best results, leave for a couple of hours.
Step 4: Remove The Tint And Adhesive
Remove the tint and adhesive before the adhesive is completely cured. Pull off the remaining window tint, and all of your air bubbles should be gone for good! Note that this method may not work if you’ve waited too long to melt the adhesive again or if there was a lot of excess adhesive on the film when you applied it (if these are both true, then try following steps two and three twice before trying step four again).
Precautions While Performing How to Get Rid of Air Bubbles in Window Tint:
- No matter what you do, do not allow the window film applicator or your partner to walk away before the bubbles are fully removed and fixed. That’s why both of you must sign a written agreement about how many days are needed for this project and who will go where during this certain time frame.
- Make sure that your window is free from any dust particles because if one little piece of dust is stuck on the surface, it could cause another bubble after the tinting process. If possible, try wiping your car with water, but be careful not to let any water drip inside your car (Eg: through the driver’s side window). Just wipe it while it is raining, or use a water hose and a microfiber towel.
- Do not allow the person applying window tinting to have any food or drinks inside your car because if he gets thirsty mid-way during work, he might reach out and grab some from you without washing his hands first. In addition, some of the food items could stain your car seats (if that’s the case), so it would be best to prevent this by asking him not to bring anything with him.
Frequently Asked Questions
How Long Should Tinted Windows Last?
The answer depends on how well they are installed. But, if you’re a driver who drives like an idiot and you have tinted windows, then chances are your glass will get a lot of scratches. And when that happens, those bubbles will start happening in the car window tint. Those small (and annoying) air bubbles can make your tint look old before its time, and it’s important to eliminate them while you can still enjoy clear views through your infrequently used rearview mirror.
Gone are the days when only people who wanted their cars to be cool had window tints. Nowadays, even government-owned vehicles have special sun protection
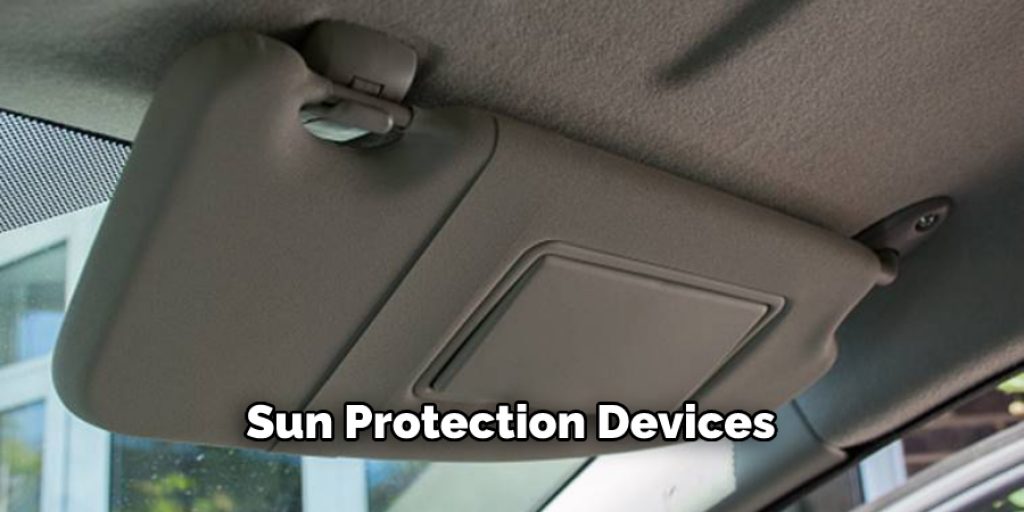
devices fitted into them for optimum safety while driving around with the windows open or closed. Some people believe that tinting the windows will provide additional cushioning in an accident. Others think it’s like sporting a set of sunglasses on your vehicle, adjusting and improving the view from inside or outside.
How do You Fix Peeling Tint?
First and foremost, there are a couple of things that you can do to try and prevent your window tint from peeling off. First, if possible, make sure the installers put all the trim molding back on before they leave. When the trim moldings are removed for installation purposes, it is straightforward for them to be sucked under the vacuum hose during installation and wind up in Hawaii!
You should be especially careful about this if you have black plastic windshield
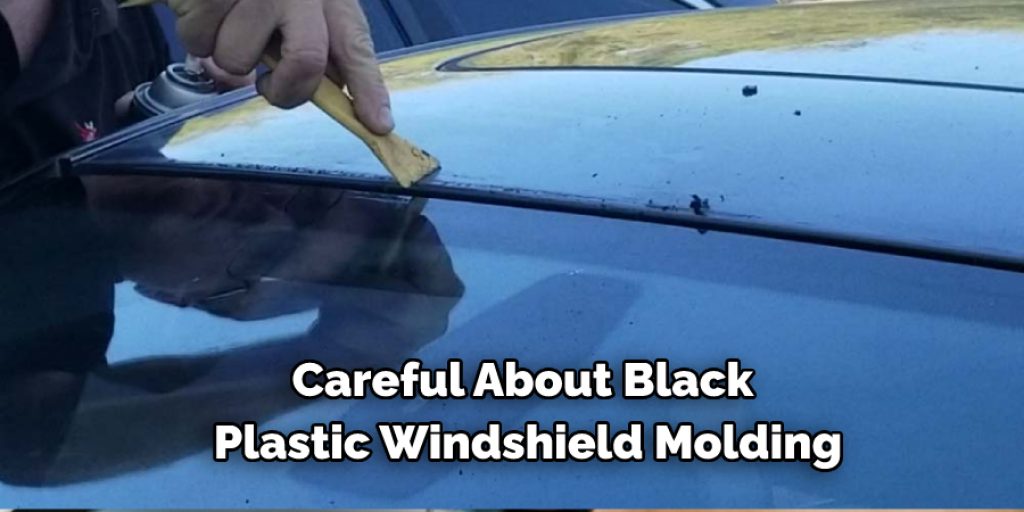
molding because it tends not to stand out quite as much when it’s gone (it blends into the headliner). So check with your installer before he leaves to ensure everything is accounted for. Also, remember that adhesive tends to get brittle when you heat film as part of the installation process.
If you put a good deal of stress on things that are being heated (especially those parallel surfaces-like moldings), there’s a chance some will come out later when they cool off and contract back down in size. So try not to bang your car or otherwise subject the windows and/or molding to stress until after the tint has had a chance to cure for at least 2 weeks.
How do You Fix Wrinkled Tint?
Also known as air bubbles, wrinkles are caused by trapped air between the window and film. The key is trying to work out what is causing them before dealing with them.
Applying the tint can make it difficult to see any bubbles or other issues on your window, but once you have finished applying the tint, it will be much easier to spot these problems. It would help if you took some time afterward to inspect where you applied the film. If you come across any unwanted air bubbles or ripples in the tint that was not there previously, follow these steps first: Check and clean all of your tints tools – Cleaning your applicators will help you avoid contaminating your tints next application by using dirty utensils.
Next, clean and dry the windows – Make sure the windows are clean before you begin tinting them again. This will be essential for your film to stick properly, so try to remove all streaks and residue with a lint-free cloth or towel dampened with water. No dirt, dust, or moisture should be left on the surface of the glass after drying it off.
Wipe away any dried excess solution from previous films. If you have applied films on your car’s windows before, then there may be some residue preventing new tints from sticking to its surface correctly; You will need to wipe this away as best as possible instead of applying more liquid over it.
Make sure your car’s windows are clean and dry. A glass cleaner can be used to
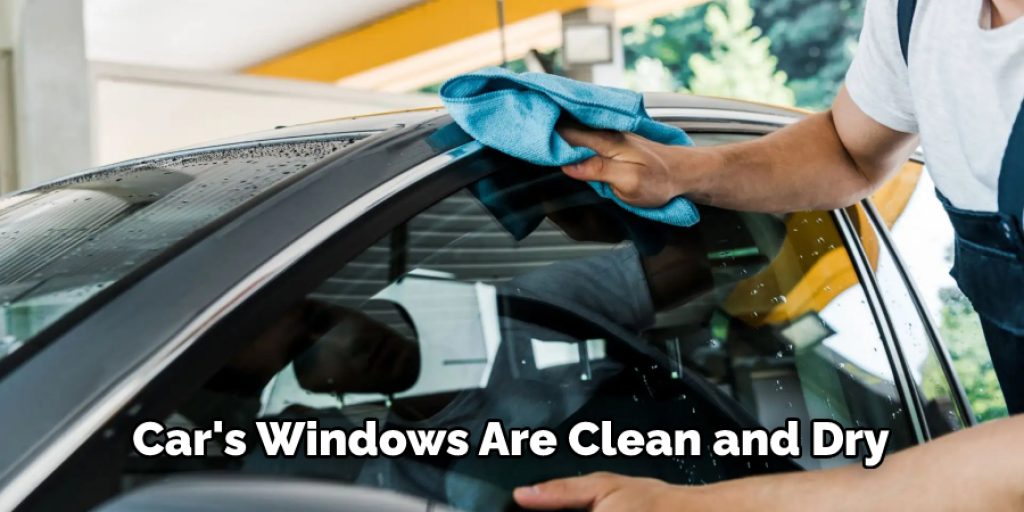
wipe off any dirt or water residue on the window glass before applying a film. When you’re done, dry it properly using a towel. If there is any dirt or grime left on the surface, they will show through the tint after you apply it.
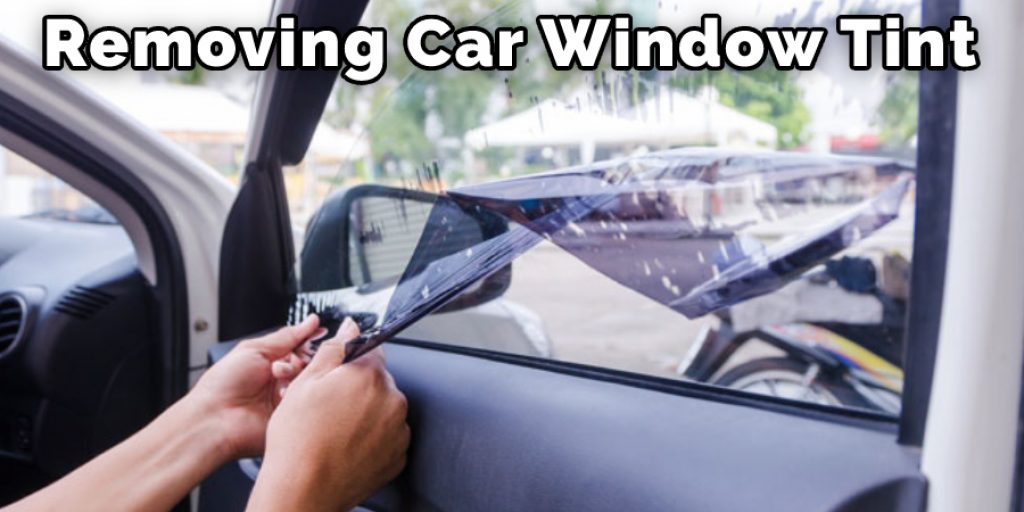
How Do I Remove Window Tint?
Most window films are removable and may be able to be done so with little or no damage to the film. Removing old, non-transparent window tint can be difficult since it is typically several layers of opaque material. You may need a razor blade to remove stubborn adhesive residue from the glass and/or trim. To ensure a safe removal process, thoroughly clean all surfaces in question before starting the job.
Remove any debris from the outside edge of each glass pane, wiping along both sides (inside & out) of the vehicle windows, ensuring that you gently scrub both painted & plastic areas thoroughly. Then take a damp cloth and wipe your cleaned surfaces for good measure!
Conclusion
In conclusion, this article contains all the relevant information about how to get rid of air bubbles in window tint. So ensure to follow all the steps properly. Thank you, and have a nice day!
Louis Wein
Louis has always been fascinated by cars. He loves the way they look, the sound of the engine, and how they make him feel when he's driving. He is always keen to learn more about different mechanics of cars and how the engine contributes to other aspects of the car. As an automotive technician with over 10 years of experience, he knew how they worked and loved taking them apart to see how they went back together. He was especially interested in the mechanics of combustion engines and loved finding ways to make them more efficient. He loves to work on cars and help people keep their vehicles running smoothly. As a senior editor, he enjoys contributing to Diy quickly because it allows him to share his knowledge and expertise with others.


