
How to Make a Rope Bridge for a Treehouse
Introduction:
Bridges are the common accessories of a treehouse. It can add more fun and adventure when your kids will move towards the treehouse. The good thing about the bridges is that they can be used for connecting your house with the treehouse or from one treehouse to another.
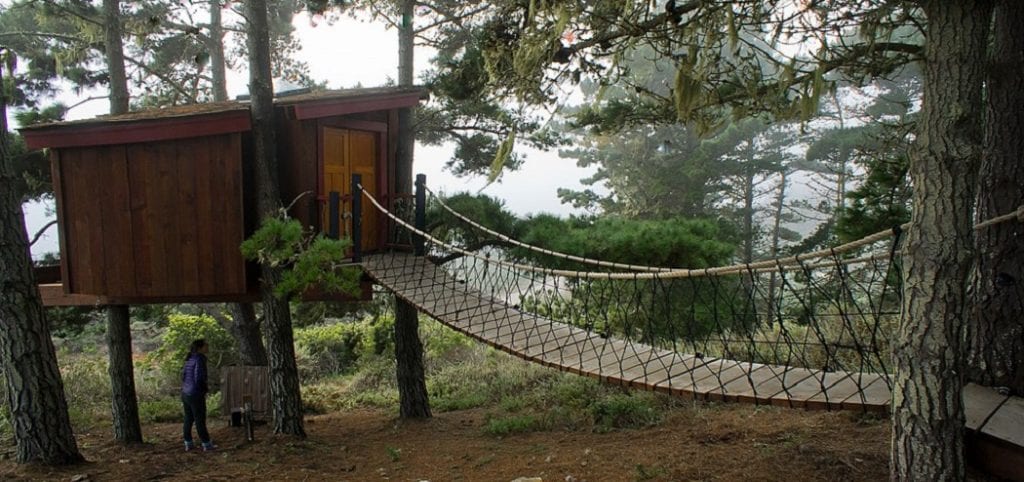
That’s why if you have built a treehouse for your children, you should also add a rope bridge to it. So, how to make a rope bridge for a treehouse. Well, if you don’t follow the proper ways, things can become dangerous. That’s why it’s crucial to follow the exact ways. So, let me provide you with that.
Required Materials:
- 12′ long rope
- 50 lb. weight (optional)
- Tree branch about 15 feet high and at least 16″ in diameter, one shorter tree limb or strong rope for horizontal support
- Regular carpentry tools like hammers and saws.
Processes on How To Make A Rope Bridge For A Treehouse:
Process One:
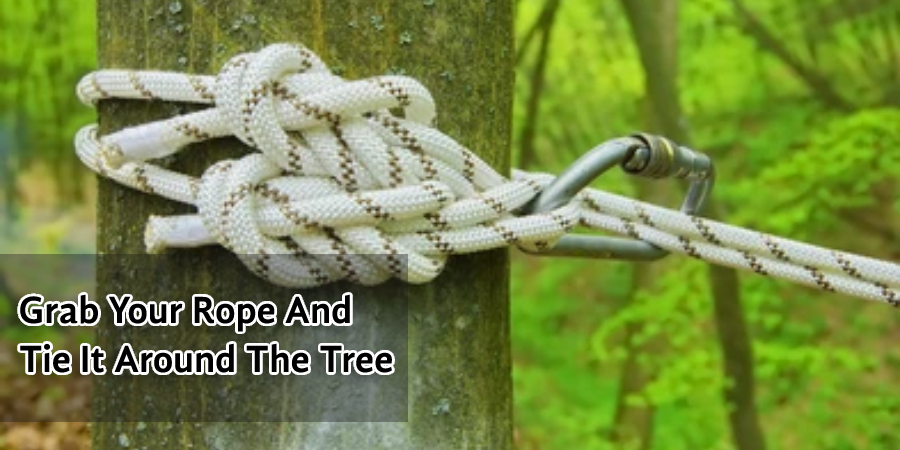
Step One: First, you need to find a tree that is the right size. Then, you grab a rope and tie it around one end of the tree. You need to leave enough slack to create a bridge length, which is about 16 feet long on average. Note that this will vary depending on how high or low you want your bridge to be.
Step Two: Feed the other end of the rope over an adjacent branch—this will be where you’re supporting weight when the project nears completion. Tie tightly with heavy knots, so there’s no risk of slipping loose
Step Three: In order to create a horizontal rope for balance, you need to take two pieces of rope and tie them together in a branch. Then, you feed both ends of the rope across the branch and out again in front of where you’ll stand while building. This will create two new horizontal ropes for balance.
Step Four: Pull the ropes out and down, creating an arch from one branch to another
Step Five: Lay your planks across this bridge – remember they should be long enough that a person can walk along with them without having their feet touch either side of the tree trunk.

Step Six: In order to do this activity, stand on the end of the plank that is farthest away from you. Grip the near-side rope with both hands for support. Take hold of the other two ropes in each hand and pull tight until you feel the plank start to take your weight.
Step Seven: Lean backward onto your rear foot while pulling up hard on both ends of the top rope with both hands
Step Eight: Using your front foot to help guide the rope up and over the branch, pull until you feel it starting to take the weight. Repeat on the opposite side of a tree trunk
When all four ropes are tight and taking support from one another’s weight, tie them off at the top for added security.
Check it out to learn to build a rope bridge with planks.
Process Two
Rope bridges do have a complicated building process, and if you somehow fail to make it appropriately, it can turn your beautiful day into your worst nightmare. So, if you don’t have any woodworking experience, I will suggest you call an expert for this project. But if you have got some skills, you can follow the methods below.

A rope bridge is a bridge made of a cable that you can hold on to and a cable to stand on. There are different designs, but this one is quick and easy. If you can offset the hand cable to one side, it will make the bridge stronger.
In case if you want more improvement, you can add another hand cable with it. It will improve the balance, and the rider will be able to spread their arms wide. Most of the weight is usually put on the foot cable. So, they are tied up with one another, using some short-length cables to it. This will also increase the safety of the climber. If you can follow all these instructions, you will be able to make a rope ladder easily.
Tips to Make a Rope Bridge for a Treehouse
Here are some tips to help you make a rope bridge for your treehouse:
- Make sure the tree has enough branches that can be used to attach the rope bridge and bear its weight.
- Select an appropriate type of rope or chain, depending on the weight you need it to bear.
- Measure the length of rope you will need and double it to allow for knots and sagging.
- Tie a secure knot at one end of the rope, making sure it is strong enough to hold any extra weight that may be put onto it later on.
- Attach the other end of the rope by wrapping it around a sturdy branch or trunk and tying another secure knot.
- Test the strength and stability of your bridge by gently bouncing up and down in different areas of the bridge before letting anyone else use it
Precautions:
- Be aware of the weight limit as well.
- You may want to include a guard rail or something else that will prevent someone from falling in either direction off the bridge.
- If building for young children, make sure they are old enough to stay out of it when not using it and never let them play on it unattended.
- Wear goggles and gloves while cutting the logs.

Frequently Asked Questions
Where is rope bridge?
A rope bridge is a type of suspension bridge that uses ropes to suspend the deck above the river or other body of water. It is a very popular tourist attraction because it is easy to use and can be accessed by all.
The rope bridge was invented in 1793 by Jean-Pierre Blanchard, and it became very popular in Europe during the 1800s. The first rope bridge was built over the Rhine River in Germany.
Is concrete good for bridges?
There is no one-size-fits-all answer to this question, as the quality of concrete used in bridges will vary depending on the specific needs of the bridge. However, some general benefits of using concrete in bridges include:
• It is a strong and durable material that can withstand a lot of wear and tear.
• It is resistant to water and weather damage, which means it can last for a long time without needing repairs or replacements.
• It is easy to mix and pour, which makes it a fast and cost-effective option when constructing new bridges or repairing existing ones.
What kind of rope do you use for a rope bridge?
There are many types of ropes that can be used for a rope bridge. The most common type of rope is the natural fiber rope. This type of rope is made from fibers such as cotton, hemp, or silk and is very strong and durable.
Another type of rope that is often used for a rope bridge is synthetic fiber rope. This type of rope is made from synthetic materials such as polypropylene or nylon and is much less durable than natural fiber rope.
The final type of rope that can be used for a rope bridge is the wire cable. This type of cable is made from thin wires that are tightly twisted together to form a strong cable.
Conclusion:
Lastly, we are quite optimistic that the techniques we have stated here will be enough for you to make a rope bridge for a treehouse. But you should always have a specific look at the bridge’s weight limit and use all the tools carefully so that you do not get hurt and have a good day.
You may read also:


