How to Make a Rug With Yarn by Hand
Are you looking for a fun and creative way to add cozy warmth to your home decor? Making a rug with yarn by hand is a great way.
How to make a rug with yarn by hand is a rewarding and creative endeavor that allows you to infuse your space with personal style and warmth. Whether you’re looking to add a pop of color to your room or seeking a cozy accent for your home, making a rug by hand can be a fulfilling project.
This guide will walk you through the materials, techniques, and steps to craft your yarn rug. With patience and creativity, you can transform basic yarn into a beautiful, functional piece that complements your décor.
What Will You Need?
Before you get started on your rug-making journey, it’s essential to gather all the necessary materials. Here are some things you will need:
- Yarn: The type and amount of yarn you’ll need for your rug depends on the size and design you have in mind. Choose a durable material suitable for foot traffic if you’ll be using your rug in a high-traffic area.
- Rug Backing: This is the base of your rug, providing stability and structure. You can find pre-made rug backings at craft stores or online or use a large piece of sturdy fabric like canvas or burlap.
- Scissors: A good pair of sharp scissors is essential for cutting yarn and trimming the edges of your rug.
- Rug Hooking Tool (Optional): If you want to create a traditional hooked rug, using a specialized rug hooking tool can make the process easier.
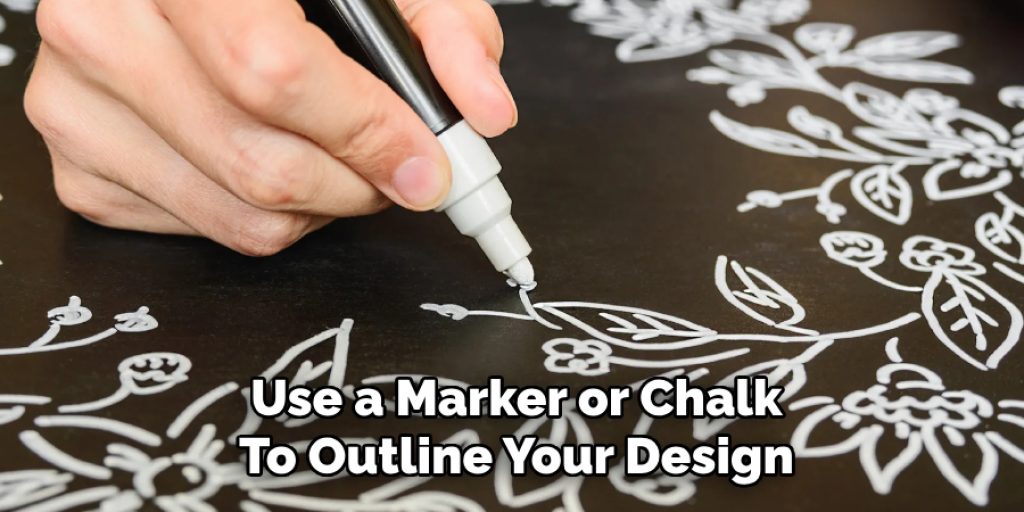
- Marker or Chalk: This will draw out your rug design on the backing before adding yarn.
Now that you have all your materials ready, it’s time to start creating your beautiful yarn rug!
10 Easy Steps on How to Make a Rug With Yarn by Hand
Step 1: Preparing Your Rug Backing
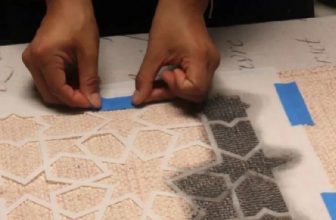
The first step in creating your rug is to prepare the backing material. If you’re using a pre-made rug backing, ensure it is clean and flat before starting. If you opt for a sturdy fabric like canvas or burlap, cut it to your desired shape and size, leaving some extra material around the edges for finishing. Use a marker or chalk to outline your design on the backing carefully; this will serve as a guideline while you work.
Make sure the lines are clear and distinct, as they will help you visualize where to place your yarn and maintain the overall pattern. Additionally, if your design has intricate patterns or specific sections, consider numbering each part or segment to keep your project organized.
Step 2: Choosing Your Yarn Colours
Now that your rug backing is prepared, it’s time to select the yarn colors that will bring your design to life. Consider the overall aesthetic you want to achieve and choose hues that complement each other, as well as the surrounding decor in the space where the rug will be placed. Keep in mind the texture and thickness of the yarn, as these factors can also influence the final appearance of your rug. If you’re unsure how different colors will look together, try arranging them side by side or refer to color palettes for inspiration.
Step 3: Cutting the Yarn
Once you’ve chosen your yarn colors, it’s time to cut the yarn into the appropriate lengths for your rug design. Depending on the style of your rug, you may want to cut longer strands for a shaggy look or shorter pieces for a more compact texture. A good rule of thumb is to cut the yarn pieces about 2-3 times longer than the desired finished length, as they will be folded or tied during assembly.
Take your time with this step to ensure consistency in size; this will help create a neat and uniform appearance in your finished rug. Organize the cut strands by color, making it easier to access them while working on your design.
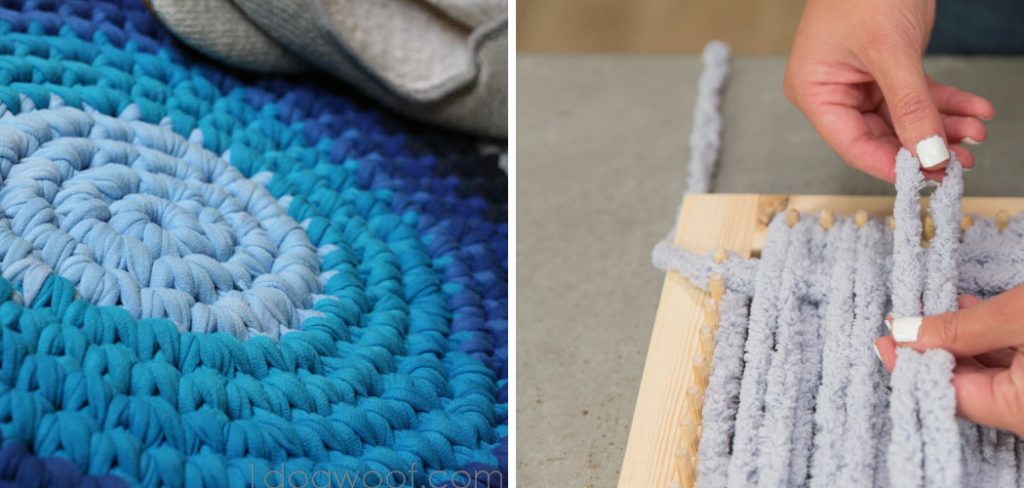
Step 4: Attaching the Yarn to the Backing
With your yarn cut and organized, it’s time to start attaching the strands to your rug backing. Begin by selecting a strand of yarn and positioning it along the outline of your design. You can use a simple knot or a looped technique to secure each piece. If you’re using a rug hooking tool, insert the tool through the backing, pull the yarn through, and create a loop to hold it securely. Repeat this process, alternating yarn colors as desired to fill in the design. It’s essential to keep the tension consistent to ensure your rug maintains its shape and prevents gaps.
Step 5: Shaping Your Rug
Once all the yarn strands are securely attached to the backing, it’s time to shape your rug. Tug on the yarn pieces to ensure they are evenly distributed and create the desired texture. If you notice any areas that seem sparse or uneven, you can add more yarn strands to fill them in. Pay attention to the edges as well, as a well-defined shape will enhance the overall look of your finished rug. Use a ruler or measuring tape to confirm that the dimensions remain accurate if your rug has a specific form, like a circle or rectangle.
Step 6: Finishing the Edges
As you approach the completion of your rug, it’s crucial to focus on the finishing touches, particularly the edges. Neatly trim any uneven yarn ends that may have resulted from the previous steps to create a polished look. If you prefer, you can finish the edges with a simple border using a contrasting yarn color to frame your design; this enhances the aesthetic and provides additional durability. Depending on your technique, you may need to secure the edges further by sewing or knotting the yarn strands to prevent unraveling.
Step 7: Adding a Backing (Optional)
If you’d like to provide extra stability and protection for your rug, consider adding a backing material once the main body of your rug is complete. This step is crucial if your rug will be placed in a high-traffic area or if it will be exposed to moisture. You can use a non-slip rug pad, felt, or even a secondary layer of fabric that complements your design. Cut the backing material to the same size as your rug and attach it using a strong adhesive or by sewing it securely along the edges. This will help keep the yarn strands in place, making your rug more durable and extending its lifespan while providing a finished, professional look.
Step 8: Cleaning and Maintaining Your Yarn Rug
Once your yarn rug is fully assembled and finished, it’s essential to establish a maintenance routine to keep it looking its best. Regularly shake out or vacuum the carpet to remove dust and debris, ensuring any trapped particles don’t embed into the yarn. For deeper cleaning, gently spot clean any stains using a mild detergent mixed with water and a soft cloth—avoid soaking the rug to maintain its structure. If your rug becomes soiled, wash it in cold water with a gentle detergent and then air dry it flat to prevent distortion. Implementing these care tips will help your yarn rug retain its original beauty for years.

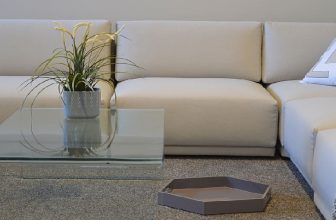
Step 9: Enjoying Your Yarn Rug
With your yarn rug completed and cleaned, it’s time to enjoy the fruits of your labor! Place your rug in the desired location, taking care to style it to enhance both the carpet and the surrounding space. Whether in your living room as a cozy focal point, in a child’s room for playful decor, or in a hallway as a vibrant path, your unique creation can add warmth and personality to any area. Don’t hesitate to showcase your rug to friends and family, as they will surely appreciate the craftsmanship involved in its creation. Remember to continue caring for your rug regularly to keep it looking fresh and inviting for years to come.
Step 10: Experimenting with Designs
As you become more comfortable with making yarn rugs, don’t hesitate to experiment with different designs and techniques. Try incorporating various patterns, such as geometric shapes, floral motifs, or even abstract designs to make your rugs uniquely yours. You can also explore mixing different yarn textures and weights to add depth and dimension to your creations. Consider using alternative materials, like recycled fabrics or other types of yarn, to create a more sustainable and eclectic piece. Documenting your creative journey can inspire new ideas and allow you to refine and hone your skills as you develop your yarn rug-making style.

By following these steps, you can create beautiful and functional yarn rugs that add character to your home and serve as a tangible representation of your creativity and skill.
Conclusion
How to make a rug with yarn by hand is a rewarding and enjoyable craft that allows you to express your creativity while adding a unique touch to your home decor. From selecting your materials and creating a design to the final touches and maintenance, each step contributes to your rug’s overall charm and character.
Following the outlined steps, you can produce a beautiful piece of art that reflects your style, showcases your crafting skills, and offers comfort and warmth in any space.
Remember, the beauty of crafting lies in the process, so embrace your creativity, experiment with different techniques, and most importantly, enjoy the journey of bringing your yarn rug to life!
Elizabeth Davis
Elizabeth is a creative writer and digital editor based in the United States. She has a passion for the arts and crafts, which she developed from a young age. Elizabeth has always loved experimenting with new mediums and sharing her work with others. When she started blogging, she knew that DIYquickly would be the perfect platform to share her tutorials and tips. She's been writing for the blog from the beginning, and her readers love her helpful advice and easy-to-follow instructions. When she's not writing or editing, Elizabeth enjoys spending time with her family and friends.