
How to Make a Spanner Wrench
A spanner wrench is one of the most useful tools in any workshop. It’s a handheld tool that you can use to turn nuts and bolts. But what if you need to tighten or loosen a nut but don’t have access to your workshop? In this guide, we will show you how to make a spanner wrench with your household objects.
What Is a Spanner Wrench?
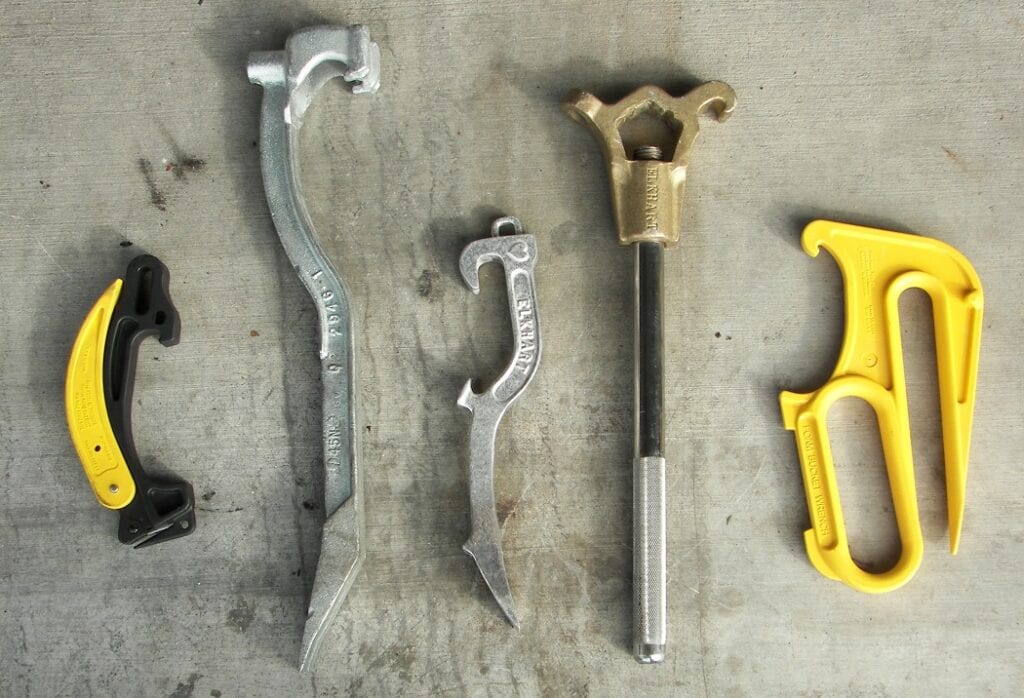
A Spanner Wrench is an eight-inch long, one-inch wide flat metal bar that usually has two holes drilled in it for use with bolts or nuts. It can be used to remove and install threaded fasteners by turning the head of the bolt back and forth against its threads until tight enough to loosen or tighten them. A socket wrench is a handheld tool that is used to loosen or tighten bolts and nuts. It consists of a handle with a ratchet mechanism, and a socket that fits over the head of the bolt or nut. The socket is attached to the handle with a detachable joint.
There are many different types of wrenches available to purchase, each designed for different purposes and budgets. For example, some wrenches are made specifically for plumbers or mechanics, while others are made from different materials like plastic. When choosing a wrench, it is important to consider what needs it will be used for in order to find the best option.
What a Spanner Wrench is Used For
A spanner wrench is a tool that you can use to tighten or loosen nuts and bolts. It is also very useful when you need a tool that is portable, as it allows you to use the same force on all kinds of different sizes of objects. This means you don’t have to buy multiple tools to do the same job.
Tools You Will Need for This Project
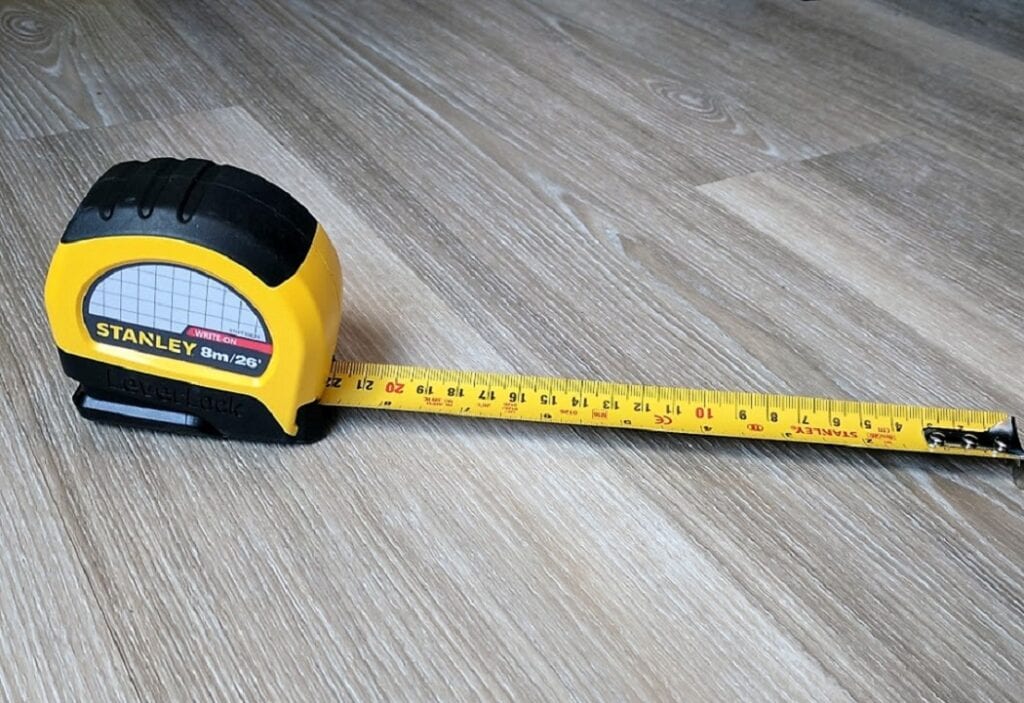
- A ruler or tape measure
- Two pieces of wire, about two feet long
- An old rag
- PVC pipe
- metal rod
- A pair of scissors
- Wire cutters (optional)
Steps for Making Your Spanner Wrench
Step 1
To make a wire loop game, first create a loop in one of the pieces of wire. Then, place the loop over your fingers and bend the ends of both wires so that they form an “X.” Leave about four inches on each side. Next, create two pairs of loops with space for a hook connecting them together at their center point. Finally, use pliers or wire cutters to remove any excess from these bends.
Place this set under the other piece of wire and press down firmly with your left hand (or right if you’re left-handed). This step will ensure that the hooks are secure enough not to slip out when manipulated later on during assembly steps. Place a handful of hooks on the wire with their tips pointing toward the opposing wire. You’ll want them to sit tightly against each other, but not completely overlap. This is because the overlapping wires will prevent the hooks from lying flat against the accompanying steel plate when finished.
Step 2
Cut a length of wire from the second piece that is about eight inches in length. Hold it between your left thumb and forefinger while simultaneously pressing on one end with a small pair of needle-nose pliers (you may also use wire cutters). Slowly pull down so as to create a looping motion as you do this, then place an index finger at the top coil for extra support. Be sure not to let go of the other side yet!

Step 3
Grasping firmly onto both ends, take hold of these loops with your right-hand fingers, and twist them together until they merge into one continuous strand. The process should be relatively easy if done correctly; just make sure to keep pulling steadily downwards using even pressure all around. This should produce a tight braid, which should start to resemble the pattern of our finished product.
Step 4
When you’ve got it done and wrap your fingers around the now braided steel wire, release the loops from one hand in order to create two separate pieces that are each about eight inches long.
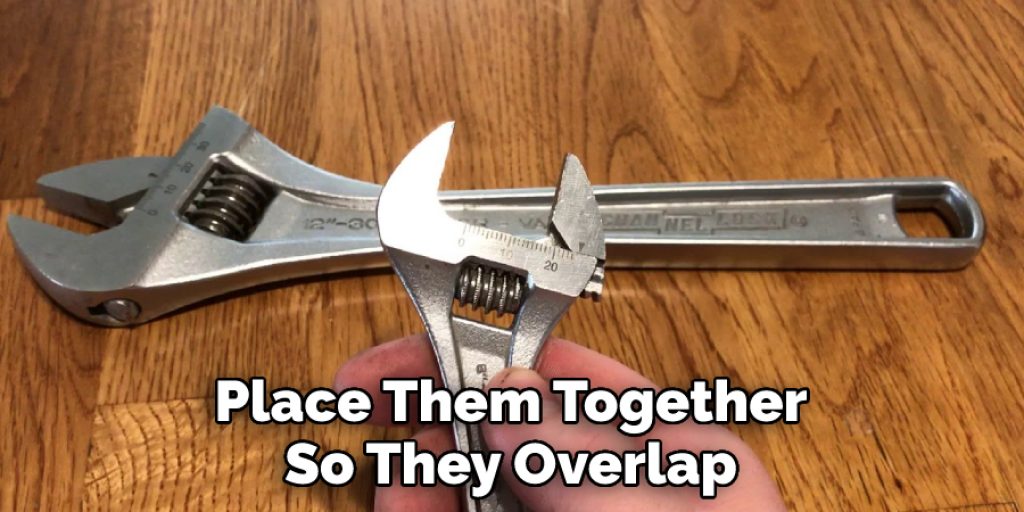
Step 5
Place them together so they overlap evenly with both ends pointing upwards this time; then take hold of these two new coils using needle nose pliers or any other type of pincer grip tool as before (this will be much easier if you’re using the latter). This time when twisting them together into one single strand, make sure not to let go until you achieve an even consistency once more – otherwise, we might end up with a messy, uneven, and probably useless-looking result.
Step 6
Now take one of the loops in your left hand (assuming you’re right-handed) and wrap it tightly around both ends to make a loop at least an inch long; then do the same with the other end.
Take hold of these two coils again by using needle nose pliers or any appropriate grip tool for removing nails from woodwork blobs etc. But this time uses them to twist once more – only this time we’ll try not to let go until we’ve created what resembles a small rope about eight inches long!
Step 7
Trim off the excess wire so that our new spanner wrench will be just less than four feet in length when done, threading on some sort of eyelet or hook to one end so that we can hang it on a nail and then snip off the other.
Step 8
Now take your first loop from the left hand (the one you made by wrapping tightly around both ends) over the second coil in your right hand, which is still coiled loosely; likewise with the next two loops, and finally last two coils of wire. Hold onto these four loops again using needle nose pliers etc., but this time twist them together as tight as humanly possible while pulling hard enough for everything else to stay put!
Frequently Asked Question
How to Figure Out the Size of Spanner Wrench?
The size of the wrench depends on the size of the bolt or nut you need to turn. The general rule of thumb is that you can use a spanner wrench with an opening size that’s about one-half the size of a bolt or nut.
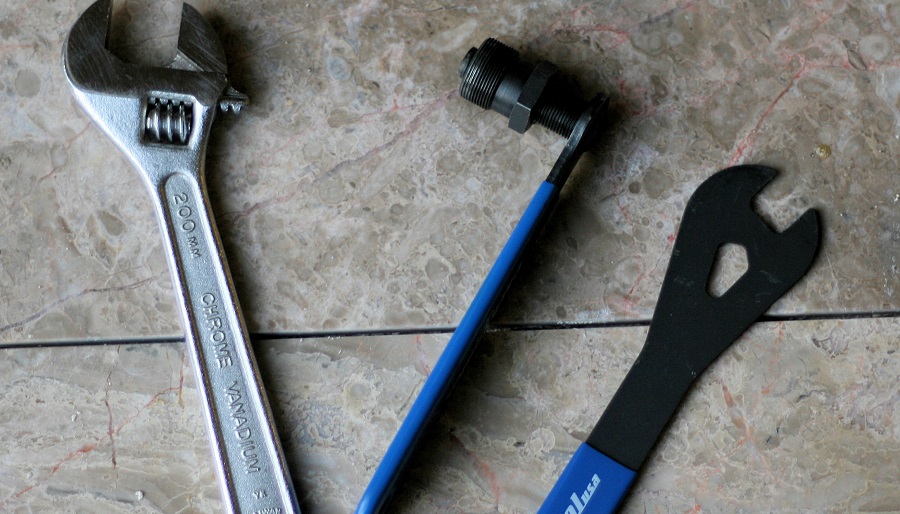
Why Are Some Wrenches So Expensive?
It’s because when they’re made by hand at the factory level (or sometimes even in your garage), each one takes hours to produce. That means more production time and more money coming out of your pocket! Lucky for us, we have this handy guide on how to create a cheap version using household items – no tools required!
Conclusion
If you’re interested in how to make a spanner wrench on your own, we hope this article has been helpful. We’ve shown you all the steps and tools needed to make a durable spanner wrench that will last for years. All you need is some time and patience! Let us know how it goes by sending us an email or leaving a comment below.
You may read also – How To Remove Spanner Nut Without Wrench


