How to Make a Sword Holder
Creating a sword holder is an essential project for any enthusiast looking to display their collection or safely store their blades. Whether you’re a seasoned craftsman or a beginner eager to learn, building a sword holder allows you to showcase your swords while ensuring they remain in pristine condition.

In this guide on how to make a sword holder, we’ll explore the materials needed, the step-by-step process, and various design options to suit your individual taste and space. By the end of this project, you’ll have a stylish and functional piece that enhances your sword-collecting experience.
Why Make a Sword Holder?
Creating a sword holder is not just about aesthetics; it serves multiple practical purposes. First and foremost, a sword holder provides a safe and secure way to store your blades, protecting them from accidental damage and ensuring they remain well-maintained. Additionally, a thoughtfully designed holder can help prevent rust and deterioration, which is crucial for preserving the integrity of your swords.
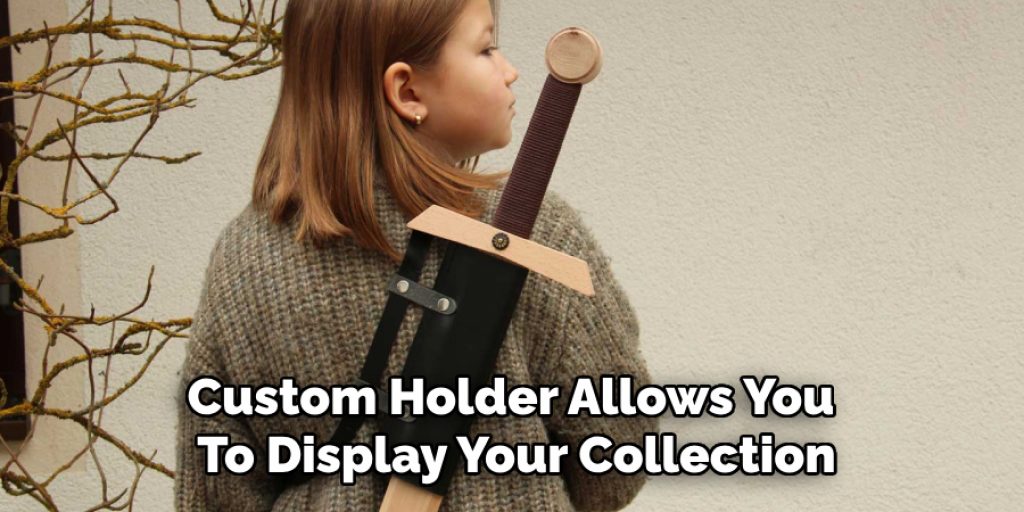
Moreover, a custom holder allows you to display your collection in a way that reflects your personal style, transforming your swords into a focal point of decor in your home or workspace. Ultimately, building your own sword holder is a rewarding project that combines functionality with creativity, making it an invaluable addition to any sword enthusiast’s collection.

Needed Materials
Before we dive into the step-by-step process of making a sword holder, let’s first gather all the necessary materials. Here are the items you’ll need:
Wood:
You can use any type of wood, but hardwood is recommended for its durability and strength. You’ll need enough wood to create the base, backing board, and individual sword holders. Maple, oak, and cherry are popular choices for their beautiful grain patterns and sturdiness.
Saw:
A saw will be your main tool for cutting the wood to size. A hand saw or power saw can both get the job done, depending on your preference and access to tools.
Sandpaper:
This is essential for smoothing out rough edges and ensuring a polished finish on your sword holder. Choose sandpaper with different grits (from coarse to fine) for best results.
Screws/Nails:
You’ll need screws or nails to assemble the holder pieces together securely. Make sure they are appropriate in size and strength for the type of wood you’re using.
Drill:
A drill will be necessary for drilling holes and creating the individual sword slots in the base and backing board. If you don’t have access to a drill, a hammer and chisel can also do the job.
Wood Glue:
Wood glue is essential for reinforcing the joints of your holder and ensuring its stability. Make sure to use a strong, waterproof adhesive for longevity.

8 Step-by-step Guidelines on How to Make a Sword Holder
Step 1: Measure and Cut the Wood
Using your saw, measure and cut your chosen wood into pieces for the base, backing board, and individual sword holders. The dimensions will depend on how many swords you want to display and the size of your blades. A standard base size is 12×24 inches, while a backing board can range from 18-24 inches in height and 3-4 inches in width.
It’s important to measure and cut accurately to ensure your sword holder is stable and balanced. But don’t worry; you can always trim the pieces later if needed.
Step 2: Sand Down the Edges
After cutting your wood pieces to size, the next step is to sand down the edges to eliminate any roughness and ensure a smooth finish. Start with coarse-grit sandpaper to remove any splinters or imperfections from the cuts. Once you’ve achieved a smoother surface, switch to finer-grit sandpaper for a polished look. Pay special attention to the edges and corners, as these areas benefit greatly from sanding.
This process not only improves the aesthetic appeal of your sword holder but also helps prevent any potential snagging or injury while handling the holder. Make sure to wipe away any dust with a clean cloth before proceeding to the next step.
Step 3: Drill Holes in the Base and Backing Board
Using your drill or hammer and chisel, create evenly spaced holes along the length of both the base and backing board. These holes will serve as slots for your swords to rest in, so make sure they are wide enough to accommodate the width of your blades. The number of holes you’ll need will depend on how many swords you plan to display.
You can also opt for a more intricate design by drilling holes in different patterns or shapes. Just make sure the holes are evenly spaced and sturdy enough to support your swords.
Step 4: Create Individual Sword Holders
To create individual sword holders, cut smaller pieces of wood (around 2-3 inches in length) from the remaining material. These will act as slots that fit into the holes drilled in the base and backing board, securely holding your swords in place.
Sand down these pieces and drill a small hole at one end of each to insert a screw or nail for reinforcement. Make sure they are thick enough to support the weight of your swords.

Step 5: Assemble the Pieces Together
Now that you have all the individual pieces ready, it’s time to assemble them together. Start by attaching the individual sword holders onto the backing board using wood glue and screws/nails. Then, attach the backing board to the base in a similar manner.
Make sure all joints are securely glued and screwed/nailed for stability. You can also add additional reinforcement by gluing small wooden blocks on the back of the holder where the base and backing board meet.
Step 6: Final Sanding and Finishing Touches
Once your holder is fully assembled, give it one final sanding to ensure a smooth finish. You can also add any finishing touches at this stage, such as painting or staining the wood to your desired color. You can also choose to leave it in its natural state for a rustic look.
It’s important to let the holder dry completely before proceeding to the next step.
Step 7: Hang or Mount Your Sword Holder
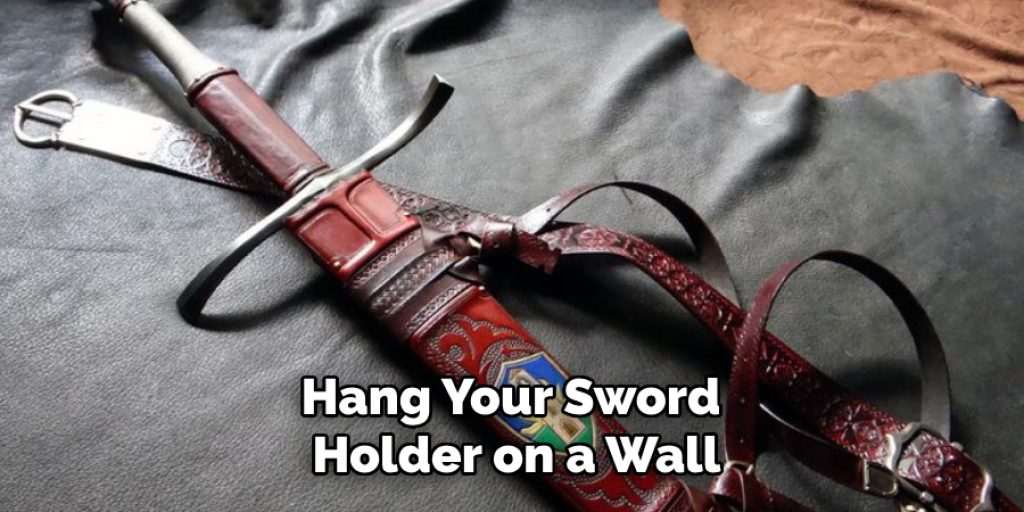
If you plan to hang your sword holder on a wall, attach hanging hardware (such as D-rings or sawtooth hangers) on the back. If you want to mount it onto a surface, use brackets or L-shaped brackets for support. Make sure the chosen method is strong enough to hold the weight of your swords.
Otherwise, you can simply place your holder on a flat surface for display. It’s important to consider the placement of your holder, making sure it is easily accessible and not in the way of high-traffic areas.
Step 8: Display Your Swords
Finally, it’s time to place your swords into their designated slots on the holder. Carefully slide each blade into its respective slot, making sure they are secure and balanced. You can also add additional support by placing small pieces of foam or fabric inside the slots for a snug fit.
And there you have it – a beautiful sword holder ready to display your prized weapons!
Now that you’ve completed this project feel free to personalize it further with engravings, decorations, or even lights for added flair. Remember to regularly maintain and clean your holder to keep it in top condition. Show off your creation with pride and enjoy the sight of your swords beautifully organized on display.

Additional Tips
- If you’re using a hardwood for your sword holder, pre-drill holes before inserting screws or nails to prevent splitting.
- For a more rustic look, use reclaimed or weathered wood for your holder.
- Consider adding felt or velvet lining to the sword slots for added protection and a luxurious touch.
- If you plan to display sharp swords, make sure they are securely fastened in their slots to prevent any accidents.
- For an even more impressive display, add a layer of clear epoxy resin on top of the base and backing board for a glossy finish.
- Don’t limit yourself to just displaying swords – this holder can also be used for other weapons such as daggers, axes, or small firearms.
Now that you have the know-how unleash your creativity and get making your very own sword holder! Keep practicing and honing your woodworking skills, and who knows – you may even end up creating custom holders for your entire sword collection. The possibilities are endless with this versatile and practical DIY project. Following these steps on how to make a sword holder and additional tips will ensure that your swords are not only beautifully displayed but also well-protected for years to come. Happy crafting!
Conclusion
Creating a sword holder is not only a practical solution for displaying your collection but also an opportunity to express your craftsmanship and creativity. By following the outlined steps on how to make a sword holder, you can construct a visually appealing and functional piece that enhances your living space while safely showcasing your swords.
Remember to take your time during each phase of the project, ensuring that attention to detail is prioritized. Whether you choose to personalize your holder with unique finishes or maintain its natural beauty, the final result will be a testament to your skills and dedication. Enjoy the pride of your work and the admiration of your beautifully organized swords for years to come. Happy crafting!


