
How to Make a Tassel Garland
Tassel garlands have gained immense popularity in home decor and party decorations, adding a touch of whimsy and charm to any space. Whether draped across a mantel, hanging above a dessert table, or used as a photo backdrop, these decorative pieces effortlessly elevate the aesthetic of any event.

Learning how to make a tassel garland is a straightforward and enjoyable project that even beginners can tackle with ease. By selecting your favorite colors and materials, you can customize your garland to perfectly match your theme or personal style. In this guide, we’ll provide you with everything you need to know, including a brief overview of the project, essential materials and tools, and step-by-step instructions to create your very own tassel garland.
Materials and Tools Needed
To create your tassel garland, you’ll need the following materials: yarn or embroidery floss in your chosen colors, sturdy string or twine for hanging, and optional decorative elements such as beads or ribbons to embellish your garland.
Tools required for this project include a pair of scissors for cutting the yarn, a ruler to measure lengths, and a comb to fluff the tassels. For added creativity, consider using different textures of yarn or incorporating various shapes and sizes of decorative pieces. Gathering these materials and tools beforehand will prepare you for a smooth crafting experience as you embark on this delightful project of making a tassel garland.
Choosing Your Materials
When creating a tassel garland, the type of yarn or thread you choose can significantly influence the overall aesthetic. Opt for soft yarns like acrylic or cotton for a cuddly appearance, or select shiny embroidery floss for a more vibrant and polished finish. Additionally, consider using specialty materials such as tulle or ribbon for a unique texture-filled look that stands out.
Color selection is crucial in matching your garland with your event or home decor. Select a harmonious color palette, keeping in mind the themes of your celebration or the hues of your living space. Mixing complementary shades can also add depth while contrasting colors will create a bold statement.
Combining different textures and materials can offer an eye-catching appeal. Experiment by using various types of yarn alongside beads, ribbons, or fabric strips to create a multi-dimensional garland that reflects your creativity. Don’t hesitate to incorporate playful patterns or seasonal colors to align perfectly with your chosen theme.
How to Make a Tassel Garland: Making the Tassels
Cutting the Yarn
To begin making your tassels, first measure and cut multiple strands of yarn to your desired length. A common length for festive tassels is around 12 inches, but you can adjust this according to your preference. Consistency in length is key for achieving uniform tassels, so using a ruler when measuring is advisable.
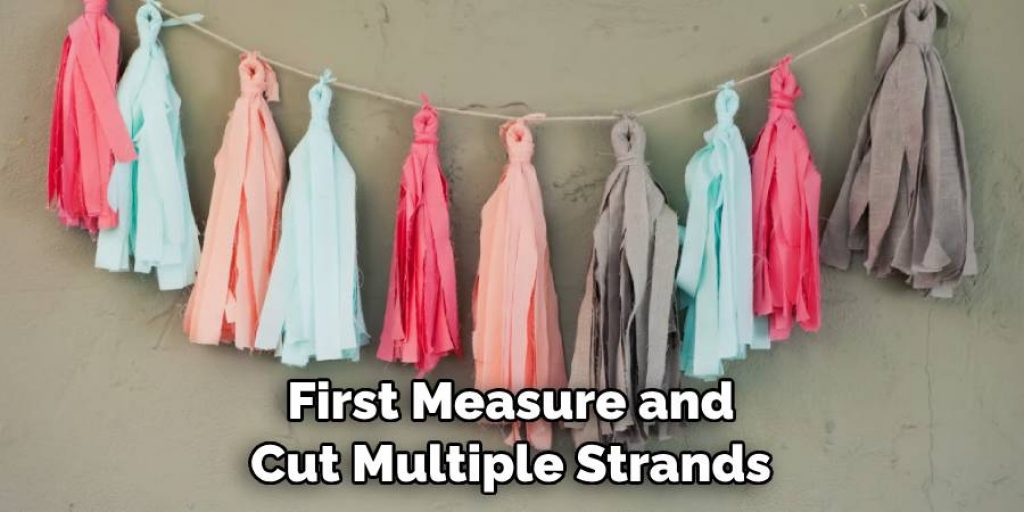
Gather your yarn and lay it flat when cutting multiple strands at once. Pinch the strands together at one end, then align them neatly. Utilize your scissors to make a clean cut at the opposite end, ensuring that the strands remain even. For added efficiency, consider using a cutting mat and rotary cutter, which can handle several strands simultaneously, saving you time while ensuring that each cut is sharp and precise.
Creating the Tassel Body
Once your yarn is cut, the next step is to create the tassel body. Start by gathering the cut strands together so that they are even at one end and form a bundle. Next, fold the strands in half, creating a loop at the top. This loop will serve as the foundation for your tassel.
Take a piece of yarn (a few inches long) and tie it tightly around the center of the loop to secure the strands. Make sure your knot is double-knotted for durability, as this will hold the tassel together when you fluff it later. By adjusting the loop size, you can vary the size of your tassel’s head. This is an excellent opportunity to get creative; you may also consider using contrasting yarn for this tie to add visual interest.
Securing the Tassel
To finish securing the tassel, take another piece of yarn and wrap it around the top of the tassel to create the “head.” This step not only enhances the visual element but also reinforces the structure of your tassel. Be sure to tie off this wrap with a knot for stability, ensuring it won’t unravel over time.
Trim any excess yarn from the wrap to achieve a neat finish. A tidy appearance enhances the overall impact of your garland and projects a professional look.
Fluffing and Trimming
After securing the tassel, it’s time to fluff it out. Gently comb through the strands, allowing them to separate and create a fuller appearance. Finally, trim the ends of the tassel to ensure a uniform look. This attention to detail will elevate your garland’s overall aesthetic.
Assembling the Garland
Preparing the String
To start assembling your tassel garland, first, cut a length of string or twine to your desired measurement. A common length is typically around 5 to 6 feet to allow for a graceful drape, but this can vary based on your display area. Be sure to leave extra length at both ends for hanging purposes; this will make it easier to attach the garland to hooks, nails, or display areas later.

It’s also crucial to ensure that the string or twine you select is strong enough to support the weight of your tassels without sagging. A thicker string may provide added durability, especially if you’re incorporating several heavy tassels or additional decorative elements. Once your string is ready, you are set to begin attaching your tassels.
Attaching the Tassels
When it comes to attaching the tassels, spacing is key to achieving a balanced look. Start by holding the tassels in one hand and the string in the other, determining the overall placement before securing them. A general recommendation is to space the tassels about 6 to 8 inches apart for a cohesive appearance. When you’re satisfied with the arrangement, tie or knot each tassel securely onto the string; a sturdy double knot will ensure that the tassels don’t slip or come loose as the garland moves.
If desired, consider weaving in beads or other decorative elements between the tassels to enhance visual interest. This can add a playful touch and create a personalized look that matches your event’s theme. Beads can also serve as stops to keep the tassels from drifting too closely together, contributing to a well-structured design.
Adding Decorative Elements
Incorporating additional decorative elements can elevate your tassel garland’s charm. You can include beads, ribbons, or charms between the tassels to bring dimension and flair to your creation. Choose a mix of colors and sizes that complement or contrast with your tassels to create a visually striking effect. For instance, using larger beads next to small tassels can create a delightful balance.
When adding these embellishments, it is important to secure them adequately to prevent them from sliding along the string. A simple knot before and after each bead can act as a secure holder, ensuring that your decorative elements remain in place. Alternatively, you can use fabric glue or a hot glue gun to adhere the embellishments directly to the string, providing an additional layer of security.
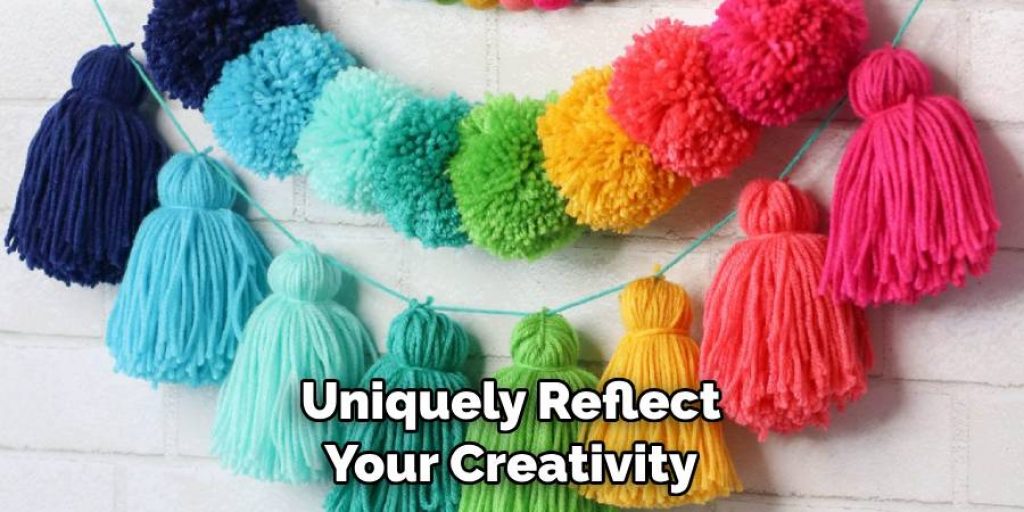
Experiment with various combinations of textures and colors to reflect your personal style. Ultimately, your tassel garland will uniquely reflect your creativity, perfect for enhancing any space or occasion.
Hanging and Displaying Your Tassel Garland
Once your tassel garland is complete, it’s time to showcase your creation! Choosing the right location can enhance the overall ambiance of your space. Ideal places include mantels, walls, doorways, or party backdrops where the garland can be easily viewed.
To hang your garland, consider various methods such as nails, adhesive hooks, or even removable adhesive strips, which are great for lightweight garlands and prevent wall damage. Before securing the garland, ensure its level by measuring or adjusting it as needed, giving your display a polished and professional look. The garland must be securely fastened to avoid any mishaps during celebrations.
Tips and Variations
To add a unique touch to your garland, explore creating tassels with a variety of materials. Consider fabric strips for a luxurious feel or paper tassels for a fun, whimsical touch suitable for kids’ parties. Each material produces a different visual effect and can match various themes.
Additionally, think about seasonal or themed garlands; for instance, pastel colors for spring celebrations, warm hues for fall, or festive red and green for the holidays can set the perfect tone for any occasion. You might even incorporate themes such as birthdays or baby showers using corresponding colors and embellishments.
Adjusting the size and length of your tassels can also provide distinct looks for different events. Longer tassels can create a dramatic effect, while shorter ones can create a more playful and casual vibe. Experimenting with these variations can help you design a garland that perfectly fits your style and the theme of your event.
Troubleshooting Common Issues
Even with the best intentions, some common issues may arise while creating your tassel garland. If you find that tassels are uneven, try repositioning them along the string for a balanced appearance; this involves gently adjusting their placement rather than cutting them.
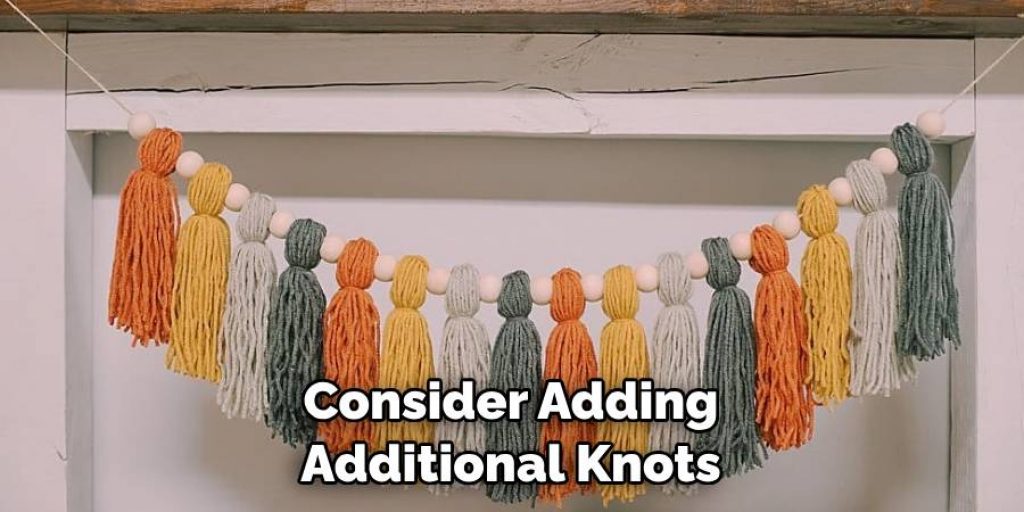
For securing loose or slipping tassels, consider adding additional knots or using a small dab of fabric glue at the points where they attach to the string, ensuring they stay in place. To maintain the garland’s shape and appearance over time, store it in a cool, dry location and avoid crushing it under other items. When displaying, ensure it’s hung securely to prevent sagging.
Conclusion
In summary, learning how to make a tassel garland involves understanding the various components from crafting the tassels to assembling and displaying them. Key points include utilizing strong materials, spacing the tassels evenly, and personalizing your garland with decorative elements.
Don’t be afraid to get creative with colors and materials — the charm of tassel garlands lies in their adaptability to suit any occasion. You can design a garland that reflects your unique style by exploring different fabric or paper options and incorporating themed colors. Ultimately, these garlands beautify your space and bring a sense of joy and celebration to any event. So gather your supplies and let your imagination run wild as you create your very own tassel garland!
Elizabeth Davis
Elizabeth is a creative writer and digital editor based in the United States. She has a passion for the arts and crafts, which she developed from a young age. Elizabeth has always loved experimenting with new mediums and sharing her work with others. When she started blogging, she knew that DIYquickly would be the perfect platform to share her tutorials and tips. She's been writing for the blog from the beginning, and her readers love her helpful advice and easy-to-follow instructions. When she's not writing or editing, Elizabeth enjoys spending time with her family and friends.


