
How to Make a Tree Collar Out of Cardboard
Are you tired of the same old tree skirt every year? Want to add a unique touch to your Christmas decorations? Why not try making a cardboard tree collar?
Creating a cardboard tree collar is a fun and eco-friendly way to enhance your holiday decor while providing a neat and tidy appearance around your Christmas tree. This easy DIY project not only recycles materials you may already have at home but it also allows for personalization and creativity in your festive decorations. A cardboard tree collar can be an attractive alternative to traditional tree skirts, providing a clean, modern look that highlights your tree’s beauty.
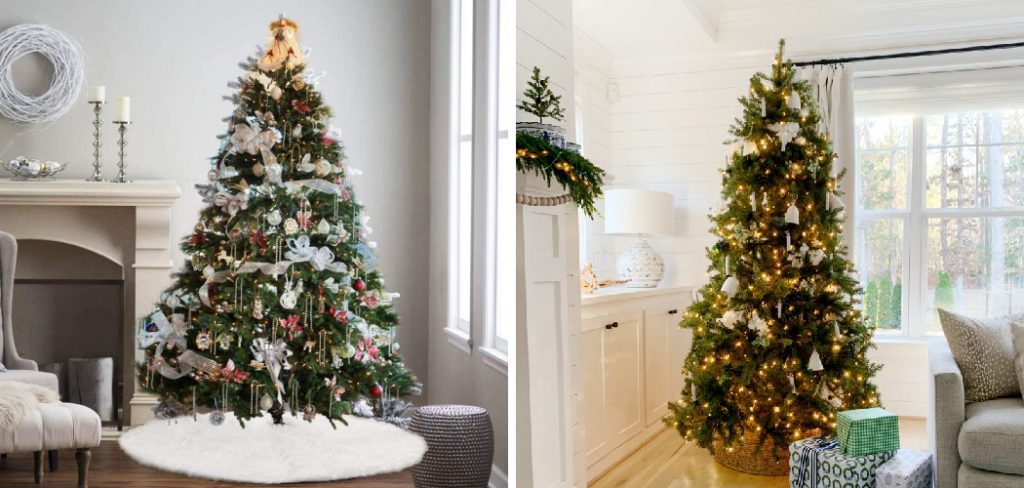

In this guide, we will walk you through the steps on how to make a tree collar out of cardboard, ensuring it complements your holiday style beautifully.
What Will You Need?
To create your tree collar out of cardboard, you will need the following materials:
- Corrugated cardboard sheets or boxes
- Ruler
- Pencil
- Box cutter or scissors
- Glue gun and glue sticks
- Decorative paper or fabric (optional)
Once you have gathered your materials, you are ready to begin crafting.
8 Easy Steps on How to Make a Tree Collar Out of Cardboard
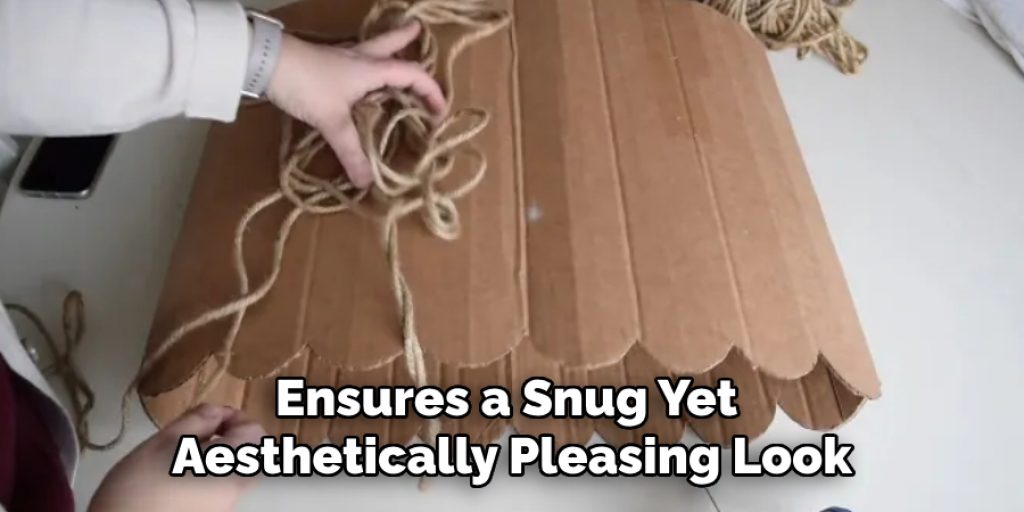
Step 1. Measure the Base of Your Tree:
Begin by measuring the diameter of the base of your Christmas tree. This measurement is crucial as it will determine the size of your cardboard tree collar. Use a ruler or measuring tape to find the widest point where the tree rests on the ground. Note this measurement, and consider adding a few extra inches to allow for a comfortable fit around the tree’s base. Once you have your measurements, you can move on to preparing the cardboard pieces that will form the structure of your tree collar. This step ensures a snug yet aesthetically pleasing look, setting a solid foundation for the rest of your crafting process.
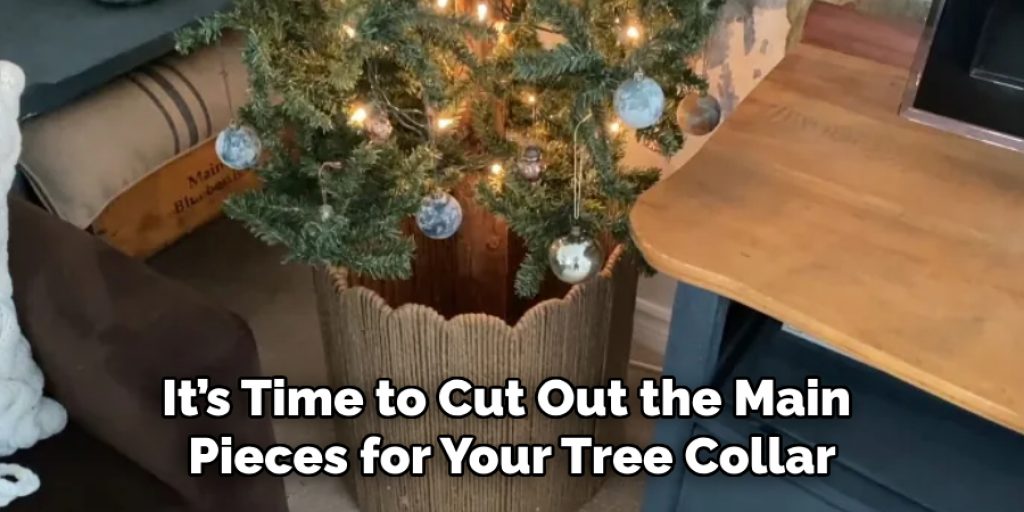
Step 2. Cut Out the Cardboard Pieces:
Using your measurements from Step 1, it’s time to cut out the main pieces for your tree collar. Start by laying your corrugated cardboard flat on a clean surface. Using the ruler and pencil, mark out a rectangle that matches your desired height and width based on the tree’s base. Ensure that the height is tall enough to cover the trunk but not too tall to overwhelm the tree’s aesthetic. Once marked, carefully cut along the lines with a box cutter or scissors. Repeat this process to create additional panels, depending on how many sides you want your collar to have. Remember to keep your edges straight for a clean and polished look. After cutting, you should have the necessary pieces ready to assemble the structure of your tree collar.
Step 3. Assemble the Panels:
Now that you have your cardboard panels cut, it’s time to assemble them into the shape of your tree collar. Begin by placing the panels upright in a circular or square formation around the tree’s base, depending on your design preference. Use the glue gun to attach the edges of the panels together, applying a generous amount of glue for a sturdy bond. Hold each joint together for a few seconds until the glue sets, ensuring the structure remains stable. If you opted for a square design, ensure each corner is aligned neatly. After the glue has dried, your cardboard tree collar should now hold its shape and be ready for the finishing touches.
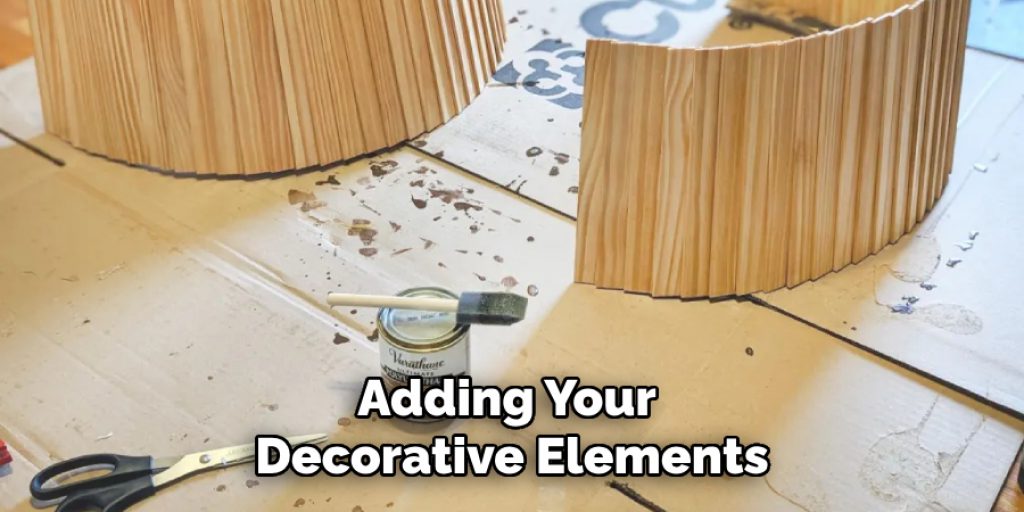
Step 4. Add Decorative Elements:
With your tree collar assembled and the glue dried, it’s time to personalize it with decorative elements. You can cover the exterior with decorative paper or fabric or even paint it in colors that match your Christmas theme. If you use fabric, simply cut it to size and adhere it securely using the glue gun. For a more creative touch, consider adding embellishments such as ribbons, pinecones, or festive ornaments that can be glued onto the collar. This is your opportunity to express your style and make the tree collar a beautiful extension of your holiday decor. Whatever method you choose, aim for a cohesive look that enhances the overall appearance of your Christmas tree.
Step 5. Finalize the Structure:
After adding your decorative elements, take a moment to ensure that everything is securely attached and visually appealing. Check the stability of the tree collar by gently pressing on the panels to confirm they are firmly glued together. If any areas feel loose, add additional glue to reinforce those spots. This step is essential to create a sturdy base to maintain its shape throughout the holiday season. Once you’re satisfied with the structure and decoration, you can place it around your tree for the final reveal. Make sure it’s positioned correctly, showcasing your hard work and enhancing the beauty of your Christmas tree.
Step 6. Position Your Tree Collar:
With your decorated cardboard tree collar ready, it’s time to position it around your Christmas tree. Carefully lift the collar and slide it around the base, ensuring it sits flush against the floor for stability. Adjust the collar to encircle the trunk without being too tight if necessary. It aims to frame the tree’s base beautifully while allowing for easy access to any tree lights or decorations. Once positioned correctly, take a step back and admire how your new tree collar enhances the overall look of your holiday decor. Ensure it aligns well with your festive theme and complements the decorations on the tree itself.
Step 7. Add Final Touches:
In this step, take a moment to inspect your tree collar and enhance its appearance further. Consider placing additional small decorative elements around the base of the tree collar to create a cohesive look. This could include faux snow, small holiday figurines, or even LED string lights that can be draped along the edge. These final touches will beautify your collar and create a festive atmosphere that invites holiday cheer. Ensure that everything is securely placed and, if necessary, use glue or double-sided tape to keep these elements in position. Once completed, your personalized tree collar will be a stunning addition to your Christmas setup.
Step 8. Enjoy Your Festive Decor:
Now that your cardboard tree collar is beautifully decorated and positioned, it’s time to sit back and enjoy the festive atmosphere it brings to your home. Gather family and friends around the tree, appreciating the holiday spirit that your efforts have created. This is the perfect opportunity to take photos and create lasting memories as you celebrate the season. Remember to remember the collar as you unwrap and place presents underneath. Its charming design will enhance the joy of gift-giving, making the entire holiday experience even more special. Celebrate your creativity and the warmth of your unique tree collar during your Christmas celebrations!

By following these simple steps, you can create a personalized tree collar that not only adds to the aesthetic of your Christmas tree but also showcases your creative spirit and holiday cheer.
5 Things You Should Avoid
- Using Weak Adhesives: Avoid using glue that is not strong enough to hold the panels together securely. A weak bond may cause the collar to fall apart, especially when decorations or presents are placed around it. Opt for a hot glue gun or a strong craft adhesive for reliable results.
- Cutting Irregular Shapes: Avoid creating jagged or uneven edges when cutting your cardboard panels. This can give the tree collar a messy appearance and may complicate the assembly process. Use a straight edge or guide to ensure clean, even cuts.
- Neglecting to Measure: Avoid skipping the measuring step before cutting your panels. Failing to measure accurately may lead to poorly fitting pieces that don’t correctly encircle your tree, compromising your collar’s visual appeal and stability.
- Forgetting Stability: Don’t overlook the importance of ensuring stability in your design. A collar that is too flimsy or doesn’t sit flush against the floor can wobble or shift quickly. Take time to reinforce corners and edges to create a sturdy structure.
- Overloading with Decorations: While embellishments can enhance the appearance of your tree collar, avoid overloading it with too many decorations. An overly cluttered design can detract from the tree and make the collar appear chaotic. Aim for a balanced and cohesive look that complements your Christmas tree.

By avoiding these common mistakes, you can create a stunning tree collar that will elevate your holiday decor and be a source of pride and joy throughout Christmas.
Conclusion
How to make a tree collar out of cardboard is a rewarding and fun project that allows you to personalize your holiday decor.
Following the steps outlined, from constructing the collar to adding decorative elements and final touches, you can craft a beautiful accessory that frames your Christmas tree perfectly. Remember to use sturdy materials, precise measurements, and a balanced design to ensure a polished final product.
Ultimately, your unique tree collar will enhance the aesthetic of your festive setup and reflect your creativity and holiday spirit, making it a cherished part of your Christmas celebrations for years to come.
Elizabeth Davis
Elizabeth is a creative writer and digital editor based in the United States. She has a passion for the arts and crafts, which she developed from a young age. Elizabeth has always loved experimenting with new mediums and sharing her work with others. When she started blogging, she knew that DIYquickly would be the perfect platform to share her tutorials and tips. She's been writing for the blog from the beginning, and her readers love her helpful advice and easy-to-follow instructions. When she's not writing or editing, Elizabeth enjoys spending time with her family and friends.


