
How to Fix a Leaning Artificial Christmas Tree
It’s that time of year when everyone starts putting up their Christmas trees. If you’re like most people, you probably have an artificial tree. If your artificial Christmas tree is leaning, don’t panic!
There are a few simple steps you can take to fix it. This guide will show you how to fix a leaning artificial Christmas tree and straighten the trunk. You can also add some weight to the tree’s base to keep it in place. Follow these simple steps, and your Christmas tree will be looking good as new!
What do You Need to Fix a Leaning Christmas Tree
- Water
- A place to hang your tree
- A nail or drill with a small bit
- Water level (optional)
- Rubber gloves (optional)
10 Easy Ways on How to Fix a Leaning Artificial Christmas Tree
1. Figure Out Why Your Tree Is Leaning:
Ensure your tree is receiving the adequate support it needs. If it’s leaning forward, it could be because the stand’s screw was tightened too much or someone bumped into it while decorating.
Ensure all branches are well-fluffed before using this method to ensure a good result. Also, if you have a large number of lights on your tree, make sure they’re turned off before attempting this fix for safety reasons.
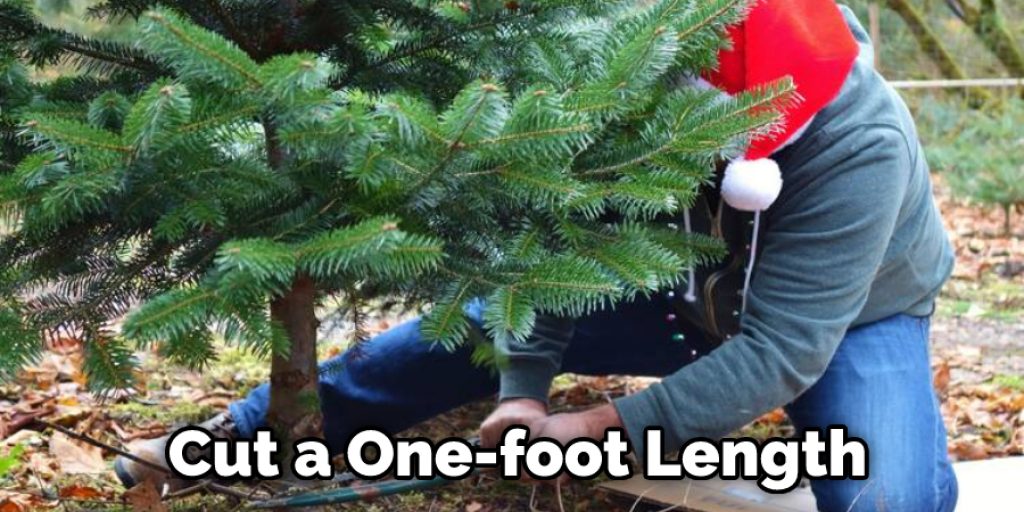
2. Cut Your Wood:
Using a saw, cut a one-foot length from a two-by-four. Make sure the cut is perpendicular to the board’s wider face. For the purposes of this project, it is best to cut the wood at least six inches longer than your tree’s height. This will give you enough material to work with.
Mark the center of one end of your block with a pencil and hammer in a nail about half an inch deep. Use the hole in the block as a starting point for drilling a larger hole using a power drill fitted with a five-eighths inch by three-quarter inch spade bit.
3. Clean Out Your Stand:
Remove the base of the artificial tree stand. Then, use a wire brush to clean out any dirt or foreign objects from the area where the pole will be inserted.
4. Drill Your Holes:
Drill two holes vertically across from each other to create both an upper and lower set of screw holes, using your spade bit as a guide. You can also use a drill bit with smaller screws if you don’t want your repairs visible on your brand-new stand (not recommended unless you’re dealing with kids).
5. Attach Your Tree To The Stand:
Insert the upright member of the stand into the topmost hole and screw it in place until the top extends straight out from the stand.
Use a screwdriver to attach your artificial tree to the upright member of its stand, sliding one end into each hole and tightening with a screwdriver and wrench (if necessary) until secure (depending on your stand’s construction). If you’re using screws with larger heads, it may be easiest to tighten them by hand not to strip the threads.
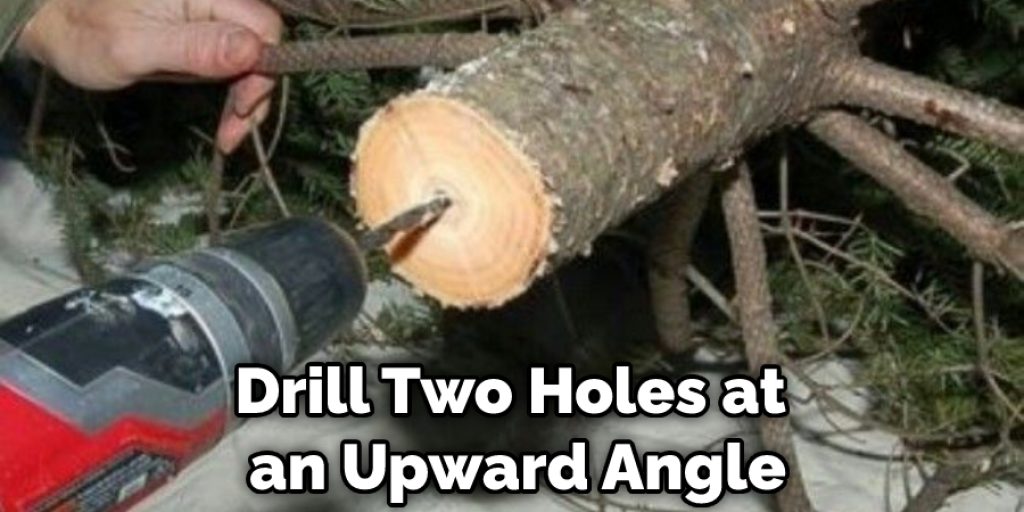
6. Adjust Your Stand:
If the bottom of your repaired stand is still too high, follow these instructions again, only this time drill two holes at an upward angle instead of straight down. After drilling, slide your piece of wood down through the holes so that one end rests within three inches of the bottom of your stand and the other end rests directly beneath the topmost hole.
Tighten all screws as before using a screwdriver to hold the wood from sliding out as you tighten.
7. Position the Wood:
Place the three-quarter-inch side of your wood behind the frontmost branches of your tree near its base and use a pencil to mark where the wood’s holes will be once it’s in place.
8. Make Necessary Adjustments:
Drill additional holes where you’ve marked with your pencil. Use a screwdriver to attach the wood behind your branches, tightening it until it’s even with the top of the tree. This will give your tree a more polished look.
9. Straighten Your Tree:
If any branches are still too loose make another pass at adding support by drilling more holes and attaching them again (be careful not to overdo it though, since every support member you add is another place that the tree will be visible).
10. Trim the Branches Evenly:
After your tree is in place, trim away any branches that are hanging down in front of it after you’ve completed your final adjustments. Keep in mind that this may be a good time to switch out older, dead, or dried-out branches for fresh ones.
Some Tips and Suggestions
1. Start by unplugging the tree to avoid any accidents.
2. Along with marking which section is too long, determine where each cut should be made so that it will extend evenly up the tree. For example, cut about an inch or two off of one side & then measure again to see if it helps the leaning problem at all.
3. Decide how high you want each branch tip to be; they can be shorter than usual but try not to make them too short because they’ll look weird with fewer branches. This is where you can also adjust the height of your tree stand to help with the leaning problem.
4. If you opt to decorate the tree before cutting it, consider that any ornaments hung near the top will be out of place after cutting & there may not even be enough space for lower decorations.
5. Use a wire cutter tool to cut the branches as close as possible & do not use a wire cutter near power lines.

6. Place a small weight near the bottom of each branch that needs fixing to ensure that they’ll stay in place once the tree is upright.
7. If you’re putting the tree in a corner with walls on both sides, the backside may lean more than usual because one of the walls will automatically add support to it. Again, you can place something heavy behind the tree to counterbalance this effect & straighten it out.
8. Spraying your tree’s branches with glue or sticky tack makes them stiffer and less likely to fall over or bend while you fix them in place or decorate for Christmas.
Why Won’t My Christmas Tree Stay in the stand
Your Christmas tree won’t stay in the stand. You’ve tried filling it up with water, but every time you set it up on the stand, you have to readjust it. You can try using sand in your base instead of water to keep your Christmas tree standing straight and upright.
Although it may take some time for your Christmas tree to get used to the new weight of sand, this tip should solve the problem once and for all. If you don’t want to go through the hassle of trying different weights on your tree, we suggest that you simply buy a new one. You can find great deals on Christmas trees online or at your local department store.
Conclusion
The key to fixing a leaning artificial Christmas tree is by using the weights that come with it, or you can use pennies and nickels in plastic bags weighted down with rocks. If your weight doesn’t work, try moving the tree’s base closer to an outside wall.
You could also put blocks under one side of its base to even out any unevenness on both sides, but make sure they are stable so as not to cause further damage. We hope this blog post on how to fix a leaning artificial christmas tree has been helpful. If you have any questions or want to know more, then feel free to comment below!


