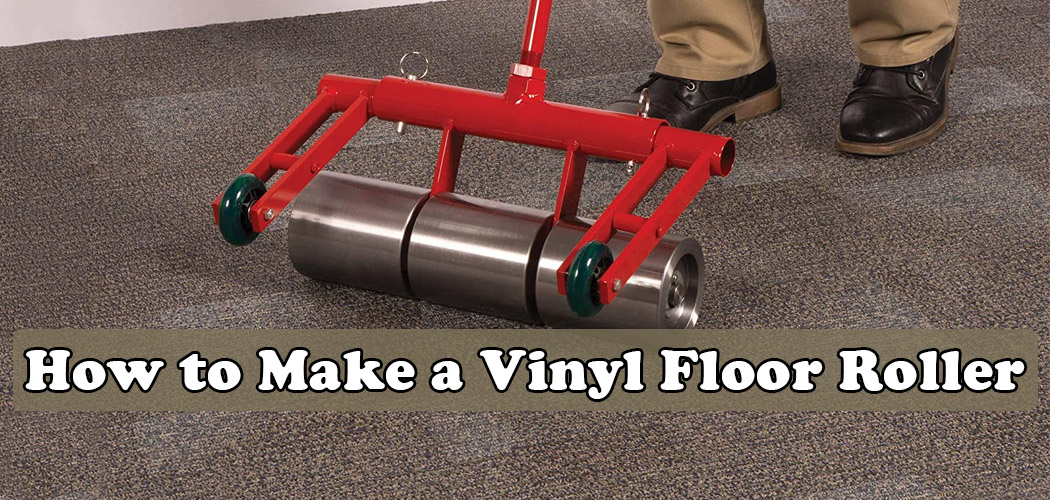
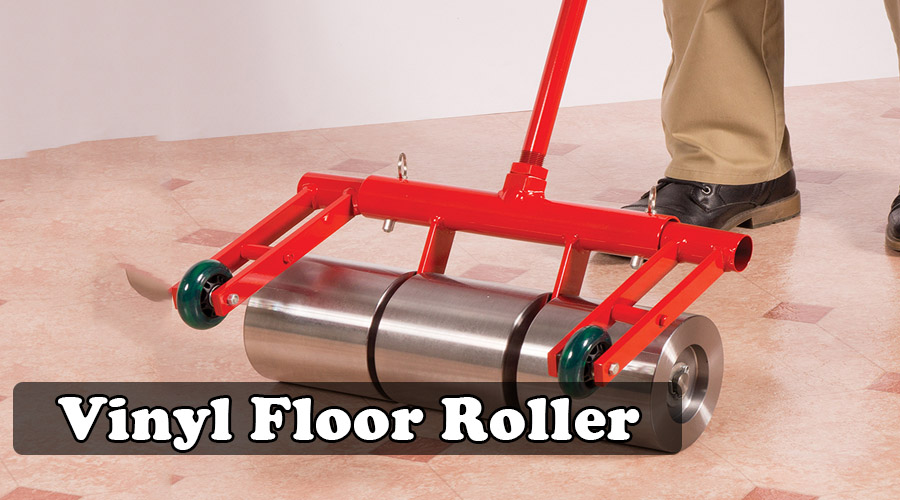
How to Make a Vinyl Floor Roller
Flooring is an essential part of the building. Whether it is your house or your office, if the floor is looking adequate and suitable, you will see how things will bring a tremendous change in the outlook for the whole apartment or place that you are working. There are various types of flooring available. You can carpet your entire floor, install tiles, linoleum, vinyl, etc. As for this time, we will be discussing over vinyl flooring. When you install vinyl floors, you would need the help of a roller to set the pieces of vinyl into place. That is why we will tell you how to make a vinyl floor roller. Flooring is an essential part of the building.
Whether it is your house or your office, if the floor is looking adequate and suitable, you will see how things will bring a tremendous change in the outlook for the whole apartment or place that you are working. There are various types of flooring available. You can carpet your entire floor, install tiles, linoleum, vinyl, etc. As for this time, we will be discussing over vinyl flooring. When you install vinyl floors, you would need the help of a roller to set the pieces of vinyl into place. That is why we will tell you how to make a vinyl floor roller.
There are a few things to consider before you decide to make your own vinyl floor roller. They can be expensive to buy, and borrowing one every time you need it can be tiresome. But if you’re into wielding kinds of stuff, then making your own floor roller is easy. Let’s get started!
DIY: How to Make a Vinyl Floor Roller:
The first thing we are going to talk about is what materials you are going to need to make the roller and why do you need them. We will tell you the instruments as well that you can use for making the roller. You are going to need
- Cold roll pieces that you are going to use for rolling
- Steed pipes
- Flat iron bars
- Angle iron
- Drill machine or lathe
- Pipe cutter
- Wielding machine
- Measurement tools
Before you start working, we are going to advise you to get the materials at hand. In this way, you will not get stuck when doing the project and have a smooth start and end. If you have them all, we can begin with the tutorial.
Step 1: Prepare the rolls.
To prepare the cold roll pieces, you’ll need to do some measurements. First, decide how much weight you want, then determine the length of the cold roll you’ll use. We’ll show you a measurement for ten-inch cold roll steel. If you decide to use ten inches, you’ll need to cut them into pieces. This will help you move back and forth quickly when you’re using the roll. You can make ten pieces of one-inch or five pieces of two-inches; it’s up to you.
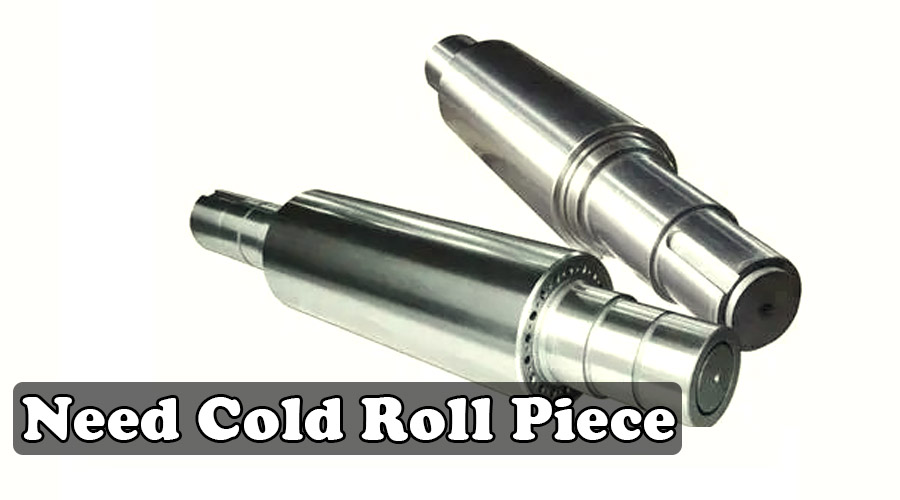
Cut the cold roll into the number of pieces you want using a cutter that you have. Before you cut them, measure them correctly.
After you are done cutting the pieces, you need to make holes in the middle of the cold roll pieces to attach them together with a selection of pipe later. The holes need to be in the same place for every cold roll pieces. Before you do that, you need to measure the width of the pipe you are going to use. For example, if the tube is one-inch width, then drill a one-inch hole. Use a drill machine or lathe to drill holes into pieces.
Step 2: Attach the Cold Rolls
To make the central part of the roller, you will need to attach the cold roll pieces together. The first thing you need to do is cut a piece of pipe. If your cold rolls are ten inches long, then cut a pipe with an extra 0.5 inches. After you cut the pipe piece, put it into the holes of the cold rolls to see if it fits.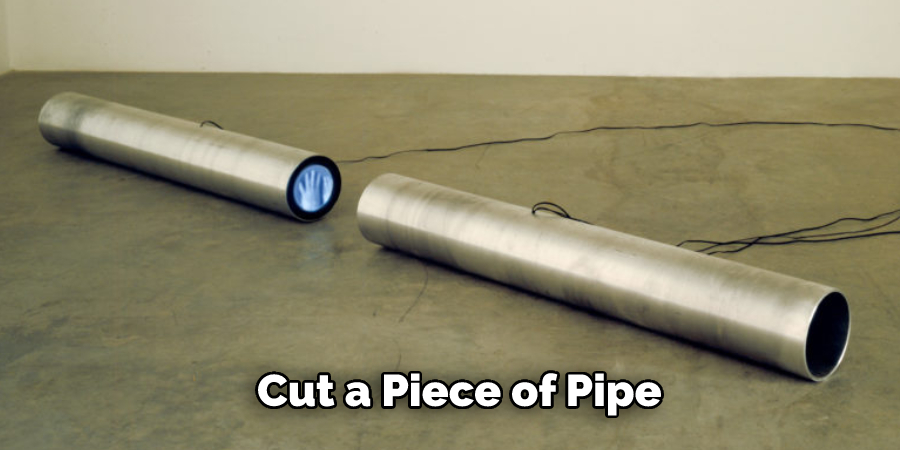
Now, you will need to use the flat iron bars. Take two pieces of flat iron bars and make a one-inch hole in one side of them. What you are going to do is use them on both sides of the cold rolls and pipes. Wield them together, and you will see if your cold rolls will not fall out of the pipes anymore.
Next, you need to take the angle bar and wield it down in the middle between the flat iron bars. That will give a platform to the handle to attach. Test the roller if it rolls appropriately or not.
Step 3: Make the Handle
Now we’re going to make the handle for our vinyl floor roller. You’ll need three pieces of steel pipe for this – one long and two short. Cut the long one into 30-40 inches and the other two to about ten inches so they’ll fit between the roller.
Attach the body part of the pipe to a short part horizontally. To do that, you have to use a welding machine. Now, you have to wield the handle into the angle iron that is attached to the roller.
The last thing is using the short pipe to connect at the end of the handle; you will use it hold when you are rolling. As for the previous step, you need to see if the roller is working correctly by rolling it over the floor.
Final Thoughts
That was all for how to make a vinyl floor roller. It is always better to make your own roller as that will help you use it whenever you want. Once you have your own roller, you will not have to worry about borrowing it for your next project or buying
You May Also Read –How to Get Rid of a Rock Shower Floor
Angela Ervin
Angela is the executive editor of DIY quickly. She began her career as an interior designer before applying her strategic and creative passion to lifestyle and home. She has close to 15 years of experience in creative writing and online content strategy for housekeeping, home decorations as well as other niche efforts. She loves her job and has the privilege of working with an extraordinary team. She lives with her husband, two sons, and daughter in Petersburg. When she's not busy working she spent time with her family.