
How to Make a Whelping Box Out of Cardboard
A whelping box is a safe and comfortable place for your dog to raise her puppies. A cardboard version can be made in minutes without spending any money. It’s also easy to clean and move around the house as needed. In this article, we’ll give you step-by-step instructions on how to make a whelping box out of cardboard!

Whether you’re a first-time breeder or this is your hundredth litter, it can be hard to know exactly what you need. The whelping box is the most important thing for a mother and her puppies to have once she has given birth.
A cardboard whelping box will cost less than other materials and will last through multiple litters of puppies. For step-by-step instructions on how to make a whelping box out of cardboard, read on!
10 Reasons Why You Should Make a Whelping Box:
- A whelping box is necessary in case of a large litter or two.
- A whelping box can help you, and your dog gets better acquainted with one another and will be helpful in the long run.
- The whelping box will keep your bitch close to you once she goes into labor, and it creates an opportunity for you to help her through work.
- A whelping box can provide a place for mom and pups to stay until they’re ready to be placed in the nursery (preferably two weeks before the due date).
- The whelping box will keep the pups in one place once they’re born and can provide a sense of security for them.
- The whelping box is also helpful because it makes it easier to move mom into another area (preferably your living room) where you can spend time with her if necessary.
- It helps the mom create a bond with her pups and brings them closer together.
- A whelping box helps make cleaning up after the puppies easier since it gives you a safe place for all of them in one area (besides their mother).
- The whelping box can help bring in potential buyers sooner.
- The whelping box can be used for more than just birthing; it can also serve as a place for you to put the pups if they aren’t nursing or your bitch is exhausted from being up all night with them.
What You Will Need:
- Cardboard
- Scissors
- A Marker
- Vinyl flooring
- Duck Tape
- Pet hair roller
- A utility knife (or something to cut the cardboard with)
- A staple gun
Step by Step Guide: How to Make a Whelping Box Out of Cardboard
Step 1:
First, you will need to measure the dimensions of your dog. The whelping box must be large enough for the mother’s body but small enough so she can stretch out while nursing her puppies comfortably and so they do not wander away from her
A whelping box is typically 2×3 feet or larger, and at least 1-2 inches tall. The next step is to fold the piece of cardboard in half and place it against yourself to make sure you can stand inside the box comfortably.
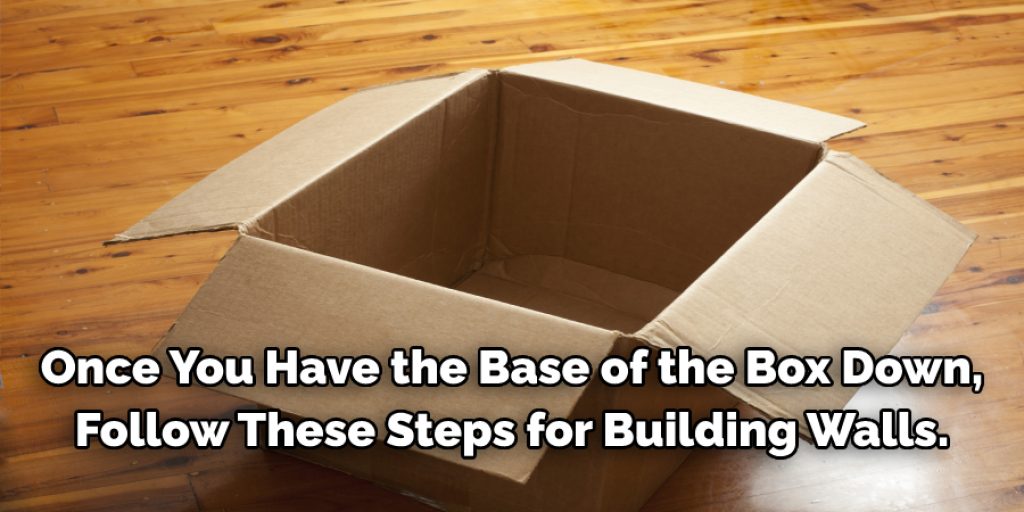
Step 2:
Once you have the base of the box down, you can start building the walls. You will need two 2-inch high pieces and one 3-inch high piece for the door. Place them 4 inches away from each end and side to leave room for the door. Test the fit by placing the pieces on top of the cardboard base and marking the measurements. These will be the four walls of your whelping box, so you will need to do this twice.
Step 3:
First, you need to measure yourself with a tape measure. Then, cut out a piece of paper that is the same size as you. Fold the paper in half and stand inside of it to make sure it fits. If it does, then cut out two more pieces of paper that are exactly the same size.
Step 4:
Once you have the base of the box down, you can start building the walls. You will need two 2-inch high pieces and one 3-inch high piece for the door. Place them 4 inches away from each end and side to leave room for the door. Test the fit by placing the pieces on top of the cardboard base and marking the measurements. These will be the four walls of your whelping box, so you will need to do this twice.
Step 5:
When you are satisfied with your door (we put ours on the end opposite of where we made our measurements because it makes more sense that way), then lay 3 of your walls out flat and stack them together. Draw a line around each wall 1-2 inches from the edge. This will need to be where you cut so that your box is rounded off at the corners.
Step 6:
Cut out each wall with a pair of scissors or a utility knife. You may want someone to help hold them together during this process to prevent them from bending or getting caught.
Step 7:
Now, take the fourth wall you cut out earlier and lay it on top of your box to go above where you made your measurements before. Next, use a ruler to measure up 1 inch from the bottom of this piece and draw another line across each side. This will be where you attach your hinges for your door.
Step 8:
To finish, take all of your pieces apart and cut out one large square in the middle of the door opening. Fold this piece over to make it look nice when finished. After that, you are done! Just repeat all of these steps for any other whelping boxes you might need or want!
You Can Check It Out to Shred Cardboard for Compost
Some Tips and Tricks:
- Elevate the whelping box off of the ground to keep it clean and dry.
- Whelping puppies is a messy business. Protect your flooring and make it easy to clean up by placing down painters or plastic drop cloths before putting the whelping box in place.
- If you are using bedding, make sure it is absorbent enough for female dogs’ needs but not too comfortable to entice the puppies to play in it.
- If you use towels or blanket scraps, make sure that they are clean and free of holes or tears to avoid injuring the puppies during their early wriggling stage.
- The whelping box should be big enough for the mother to turn around inside comfortably while raising her puppies, but not so big that the puppies will be able to crawl into a corner and become trapped.
- Place a towel over the mother’s bedding in case she needs to have her puppies on it, but make sure there are no holes or tears in the towel as well.
Conclusion:
If you’re not looking to shell out a lot of money for a whelping box, the following steps will show how easy it is to make one yourself. All you need are some cardboard boxes and duct tape! But, of course, if your dog has been spayed or neutered, there should be no reason why they can’t have puppies in the future, so you must plan by making sure your space is set up correctly.
A whelping box is an essential part of any breeding facility because it protects from drafts and other household pets while offering plenty of room for momma to relax comfortably with her pups.
A new litter will come along every six months if all goes well, which means that you will need more than just one whelping box. We hope this blog post on how to make a whelping box out of cardboard has been helpful. If you have anything to ask, feel free to comment below!


