How to Make a Window Seat Cushion
Do you ever wish your home was a little cozier and more inviting? If the answer is yes, don’t look any further than this guide on how to make a window seat cushion.
Not only can it be an enjoyable DIY project you can do in just one afternoon but also help boost both the comfort and aesthetic of your house by adding vibrant colors and patterns or calming neutrals as desired.
Making your own custom window seat cushion ensures that its measurements are tailored perfectly for your space—the possibilities are endless!
What is Window Seat Cushion?
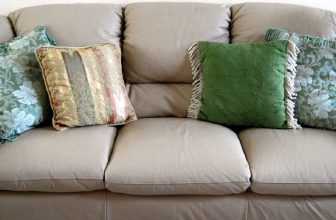
Window seat cushions are types of furniture that is placed along a window and provide a comfortable seating space. They can be used as extra seating in any room, such as a bedroom, living room or kitchen. Window seat cushions are also often used to fill the awkward empty space below bay windows, making it both aesthetically pleasing and practical.
What Materials Do You Need to Make a Window Seat Cushion?
When making your window seat cushion, you’ll need some basic tools and supplies. Given below are the items you will need for this project:
The Fabric of Your Choice
Measure twice and buy enough to cover the size of your cushion.
Foam (or Stuffing) for Cushion Filling.
The density and thickness should be based on how much weight it’s expected to hold.
A Sheet of Plywood
The size should be large enough to cover the area you want it to fit in.
Screws, Nails or Glue
You can choose whatever method you prefer to secure the plywood.
Sewing Machine/Sewing Needle
You’ll need this to stitch the cushion cover.
Staple Gun or Glue Gun
These tools will help you to secure the fabric onto the plywood.
Step-by-step Guide on How to Make a Window Seat Cushion
Step 1: Measure the Area.
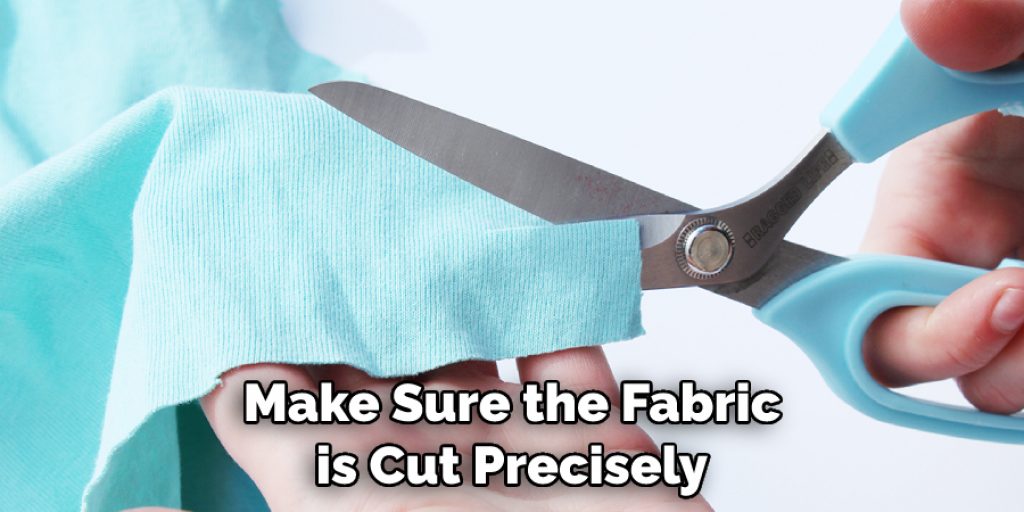
Measure the space where you’ll be placing your window seat cushion and determine how much fabric you’ll need. It’s best to add an extra 2-3 inches on all sides for seam allowances. If you need to, mark the measurements on the plywood for easier reference. This will help you ensure that the cushion fits exactly. Always double check your measurements and make sure the fabric is cut precisely.
Step 2: Cut Out the Plywood Sheet.
Cut out the plywood sheet according to the measurements you’ve taken. If you need help, take it to your local hardware store for assistance in making sure that all the edges are properly smoothened out. If your measurements are precise, you won’t need to add any more fabric for a snug fit. It’s important to make sure that you don’t end up with any jagged edges.
Step 3: Prepare and Attach Fabric
Attach the fabric onto the plywood by either using a staple gun or glue gun. Make sure that there is a minimum of 2-3 inches of overlap on each side for seam allowance. This will create a neat finish and ensure that the fabric adheres firmly to the cushion. It’s best to lay out the fabric first and cut the pin or mark it for easier attachment. If it’s not even, you can use an iron to smooth it out.
Step 4: Secure Edges
Secure the edges of the cushion cover where it has been attached to the plywood with a sewing machine or needle and thread. It is important to make sure all edges are as secure as possible. If you’re unable to use a sewing machine, you can also hand stitch the edges. It’s important to ensure that all edges are properly secured so that the stuffing doesn’t escape out of the cushion cover.
Step 5: Cut Out Foam to Fit
Cut out the foam to fit the area where your window seat cushion needs to be placed. You can do this using a saw or sharp knife, but it’s best to ensure that all cutouts are precise and perfectly match up with the plywood sheet. However, if you don’t feel confident in doing this yourself, you can always take the plywood sheet and foam to your local hardware store for assistance.
Step 6: Place Cushion Foam onto a Plywood Sheet
Place the cushion foam onto the plywood sheet and secure it with nails, screws or glue depending on what you prefer. Make sure that all sides of the foam have been attached securely. If you’re using glue, then make sure to wait for it to dry before moving on. It’s important to make sure the foam is secured properly in order for it to last longer and look good.
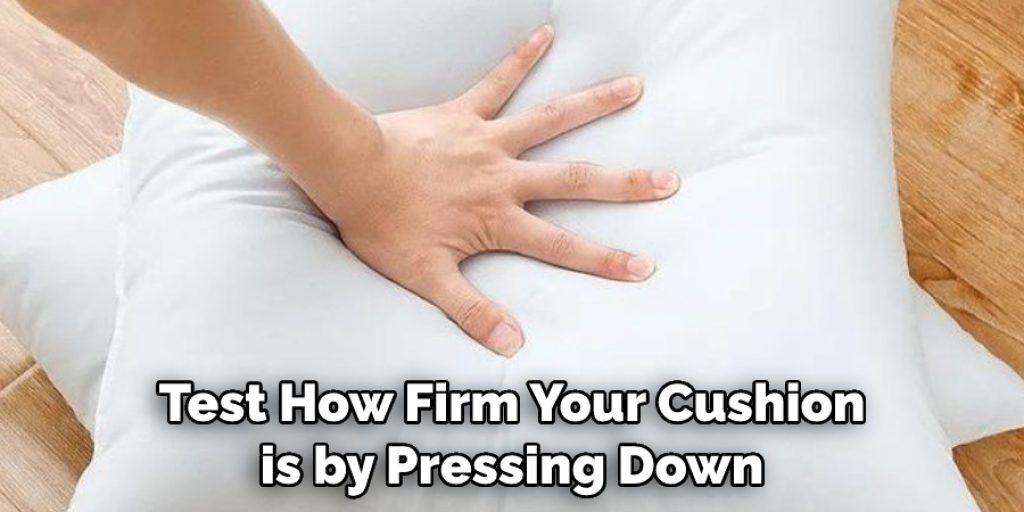
Step 7: Test Cushion Firmness
Test how firm your cushion is by pressing down on it with your hands. If you feel like it needs more stuffing, add some extra foam and repeat step 6 until the desired level of firmness has been achieved. This will ensure that your cushion is comfortable to sit on. It’s important to test it out so you can make any necessary adjustments before completing your window seat cushion.
Step 8: Place Cushion Cover onto Cushion Foam
This step involves placing the cushion cover onto the cushion foam. Make sure that all sides are pulled tight so that no wrinkles appear on the fabric. Secure them in place using a staple gun or glue gun. It’s important to make sure that the edges are properly secured so that the stuffing doesn’t escape. If you’re using a staple gun, make sure to use the appropriate size of staples in order to avoid any problems.
Step 9: Sew the Edges of the Cushion Cover Together
Sew together all edges of the cushion cover to make sure they are secure and won’t come off easily. You can use either a sewing machine or needle and thread for this process. This will help ensure that the stuffing stays in place and won’t come out. It’s important to make sure all edges are pulled tightly so that the cushion looks neat and finished.
Step 10: Final Check
Check to make sure that your window seat cushion is properly secured and of the desired shape and size. Make adjustments as needed, such as adding more foam or adjusting fabric to fit better. If everything looks good, your window seat cushion is ready to be used. Place it onto the window seat and enjoy! It’s important to make sure that the cushion is properly secured and of the right size so that it fits snugly in place.
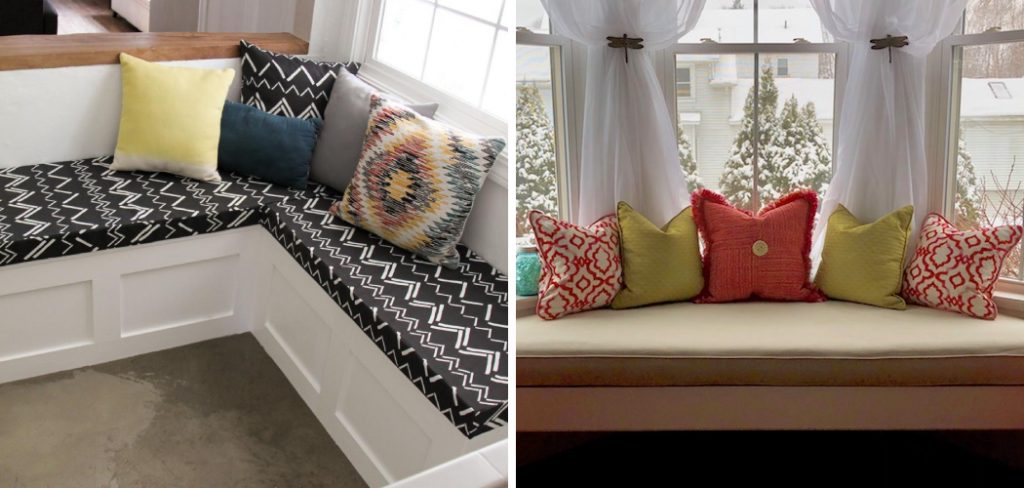
Step 11: Place Window Seat Cushion on Window Seat
Once all steps have been completed, place your window seat cushion onto the bay window area where you want it to be installed. Enjoy its new eye-catching look! This tutorial is an easy and affordable way to make a window seat cushion of your own. With these instructions, you can now make a beautiful and comfortable window seat cushion for any room of your home.
That’s it – now you know how to make a window seat cushion with ease! By following these simple steps, you can easily create a cozy and comfortable seating space in any room of your home. With just some basic tools and supplies, you can make one yourself in no time!
Frequently Asked Questions
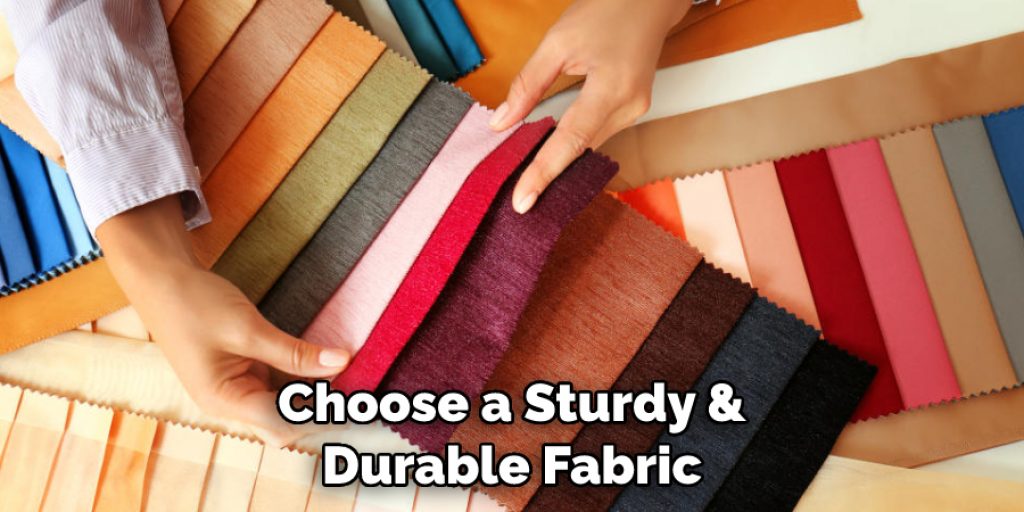
Q: What Type of Fabric Should I Use to Make a Window Seat Cushion?
A: It’s best to choose a sturdy, durable fabric that can withstand wear and tear. Linen, cotton, canvas and suede are all good fabrics for making window seat cushions.
Q: How Often Should I Clean My Window Seat Cushion?
A: Clean your window seat cushion at least once every two weeks using mild soap and warm water. For tougher stains or dirt, try using an upholstery cleaner specifically designed for the fabric you have chosen.
Q: Can I Make Different Shapes of Window Seat Cushions?
A: Yes! You can create any shape you want by cutting the foam and fabric to the desired size and shape. You can also use trimmings or other decorative elements such as tassels, buttons and more for a unique look.
Q: How Do I Store My Window Seat Cushion?
A: To keep your window seat cushion in good condition, it’s best to store it in a cool, dry area out of direct sunlight. If you need to transport it, wrap it up in plastic or another protective material before moving it.
By following these steps and FAQs, you can successfully make a window seat cushion that will be sure to enhance the look of any room! So get started with your DIY project today for an eye-catching addition to any home! Happy crafting!

Conclusion
Thanks for reading this article on how to make a window seat cushion. Creating a window seat cushion can have a big impact on the overall aesthetic of your home. With the right fabric and foam, you can now create a comfy spot for yourself in no time at all! It’s necessary to find durable materials that you’re happy with so your cushion will last much longer.
Have fun picking out fun colors and patterns, get creative and explore all of the possibilities. Make sure to measure everything properly before constructing your cushion though, so it fits properly in your window seat.
You won’t regret it—seeing how cozy your finished product looks will fill you with satisfaction! Best of all, when you make weaves and stitches carefully, this project is relatively low-cost. So be sure to give yourself a pat on the back for creating a beautiful pillow seat cushion for your home.
Angela Ervin
Angela is the executive editor of DIY quickly. She began her career as an interior designer before applying her strategic and creative passion to lifestyle and home. She has close to 15 years of experience in creative writing and online content strategy for housekeeping, home decorations as well as other niche efforts. She loves her job and has the privilege of working with an extraordinary team. She lives with her husband, two sons, and daughter in Petersburg. When she's not busy working she spent time with her family.