How to Make an Envelope out Of Wrapping Paper
Making envelopes by hand is a delightful craft that combines creativity with functionality. Not only does it allow for beautiful customization, but it also promotes eco-friendliness by recycling wrapping paper that might otherwise go to waste.

When exploring how to make an envelope out of wrapping paper, one can create unique designs that reflect personal style, making any correspondence feel special. The process involves several straightforward steps, from preparing the wrapping paper to folding and assembling the envelope. With a few simple materials and tools, you can craft stunning envelopes suitable for any occasion, ensuring your letters and invitations stand out in traditional mail.
Materials and Tools Needed
To get started with making your own envelopes, you will need a few basic materials: wrapping paper (preferably lightweight yet sturdy), glue or double-sided tape, and scissors. Additionally, having a ruler, pencil, and a bone folder will help ensure precise measurements and sharp folds.
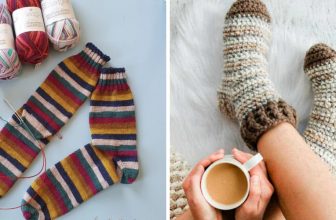
When choosing the right wrapping paper, consider its thickness and pattern; lighter paper is easier to work with, while vibrant patterns can add a personal touch to your envelopes. Select designs that complement the occasion or reflect your style, making your handmade envelopes truly unique.
Preparing the Wrapping Paper
Before diving into the crafting process, measuring the desired envelope size is essential. Standard envelope sizes, such as A4 or A6, can guide you, but you are free to create custom sizes based on your needs. Once you’ve decided on the dimensions, cut a piece of wrapping paper that is typically larger than the final envelope size to accommodate folds.
For instance, if you’re aiming for an A6 envelope, cut your wrapping paper to around 10 x 7 inches for ease in folding. Using a ruler and pencil, mark out the dimensions on the wrapping paper, ensuring accuracy; this will help in achieving a neat and professional-looking envelope.
When cutting the wrapping paper, stability is crucial for straight lines. Use a sharp pair of scissors and hold the ruler firmly against the paper as a guide to avoid slipping. A gentle but steady pressure will produce clean edges, which are essential when folding for a well-constructed envelope.
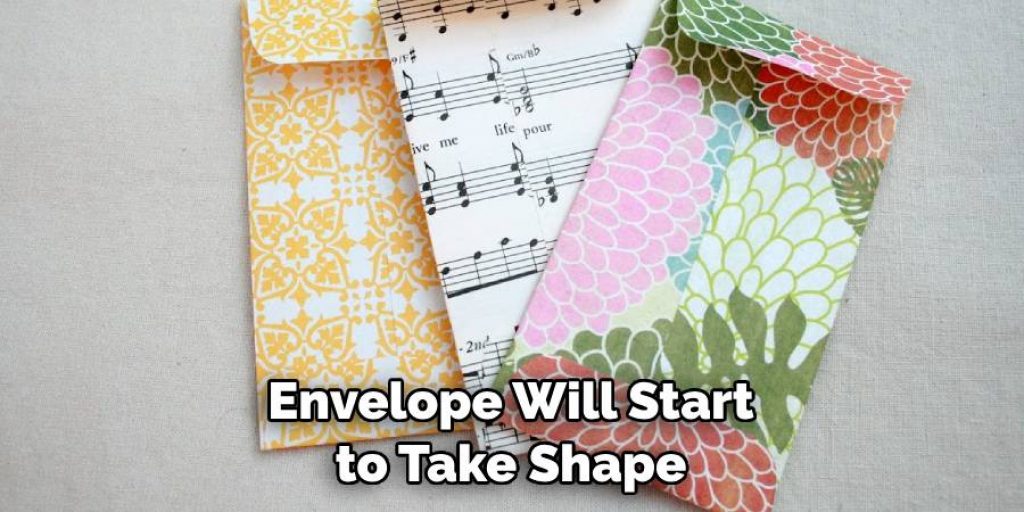
After cutting, take a moment to ensure all edges are neat; any ragged edges can make the final product look unfinished. With the wrapping paper prepared to the correct dimensions, you’re ready to proceed to the folding stage, where your envelope will start to take shape.
Folding the Envelope
Creating the Envelope Shape
Begin by placing the cut piece of wrapping paper face down on a flat surface. This orientation will ensure that the pattern or design is visible on the outside when the envelope is completed. Start folding the paper to form a rectangular or square shape, depending on your desired envelope style. As you fold, use a bone folder to press down sharply along the creases; this will create crisp lines and enhance the overall appearance of the envelope.
Making the Flaps
To create the main pocket of the envelope, fold the bottom section of the paper upward, ensuring that it covers the intended space for your contents. Next, create the side flaps by folding the sides inward toward the center, contributing to the envelope’s structure. Once the side flaps are in position, fold the top flap down to securely close the envelope. Be sure to check that all edges align properly and make any necessary adjustments; a well-aligned envelope not only looks more polished but also functions better when it comes to securing its contents.
How to Make an Envelope out Of Wrapping Paper: Assembling the Envelope
1. Gluing or Taping the Flaps
Once the envelope is folded into shape, it’s time to secure the flaps in place. Start by applying a thin line of glue or a strip of double-sided tape along the edges of the side flaps. Ensure that the adhesive is evenly distributed to avoid any weak spots. If you are using glue, be cautious not to overapply, as this can cause the paper to warp or buckle.
After applying the adhesive, bring the side flaps in towards the center of the envelope, aligning them carefully. Press firmly along the edges to ensure a strong bond, holding them in place for a few seconds until the glue starts to adhere. If you use glue, it’s wise to allow the envelope to sit undisturbed for a few minutes so that it can dry properly before moving on. This will create a sturdy foundation for the contents of your envelope.
2. Reinforcing the Edges
To enhance the durability of your envelope, consider reinforcing the edges where the flaps meet. This can be done by adding a little extra glue or another strip of tape along the adjoining edges. Doing this ensures that all parts remain securely attached over time, even if the envelope is handled frequently. It’s particularly beneficial for envelopes that will hold heavier items like cards or multiple sheets of paper.
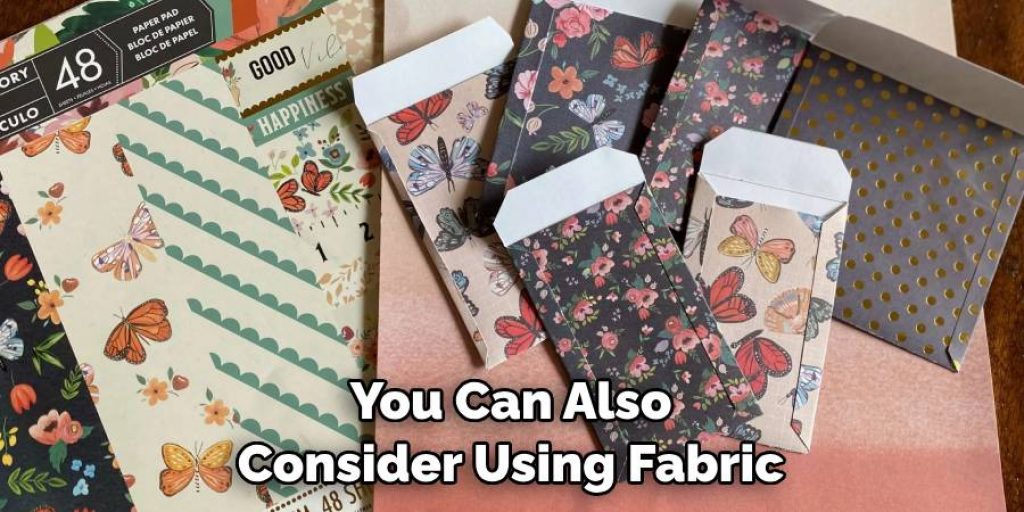
You can also consider using fabric or decorative washi tape for a fun aesthetic while providing extra strength. When reinforcing, smooth out any bubbles or creases for a neat finish. Finally, taking the time to check that all seams are fully adhered to will leave you with a professional-looking envelope that not only looks great but is also resilient enough to withstand the rigors of mailing.
Adding Finishing Touches
Decorating the Envelope
Once you have assembled your envelope, it’s time to unleash your creativity. Adding decorative elements such as stickers, ribbons, or stamps can elevate the overall look. Bright, themed stickers can reflect the occasion, while a pretty ribbon can be tied around the envelope for an elegant touch. Custom stamps or personalized postage can also enhance the aesthetic and make your envelope feel extra special.
Personalizing the Envelope
Personalization adds a unique flair. Consider using handwritten labels or stamps that showcase the recipient’s name in beautiful typography. You might also incorporate small drawings or doodles that resonate with the theme of your message. For a fun vibe, let each envelope showcase your personality or the message contained within.
Creating a Closing Mechanism
To keep the contents secure, think about implementing a charming closing mechanism. A wax seal adds a classic touch, while a simple sticker can be both functional and decorative. Alternatively, a ribbon tied in a bow can contribute to a more festive presentation. If you’re looking for simple methods to keep your envelope closed, reliable glue or double-sided tape will do the job effectively.
Writing the Recipient’s Address
When it comes to addressing your envelope, neat handwriting is essential. Use a contrasting ink colcolorur to ensure readability. For further refinement, consider using stencils for consistent lettering. Take your time to format the address properly, including the return address on the back flap if you wish.
Alternative Designs and Uses
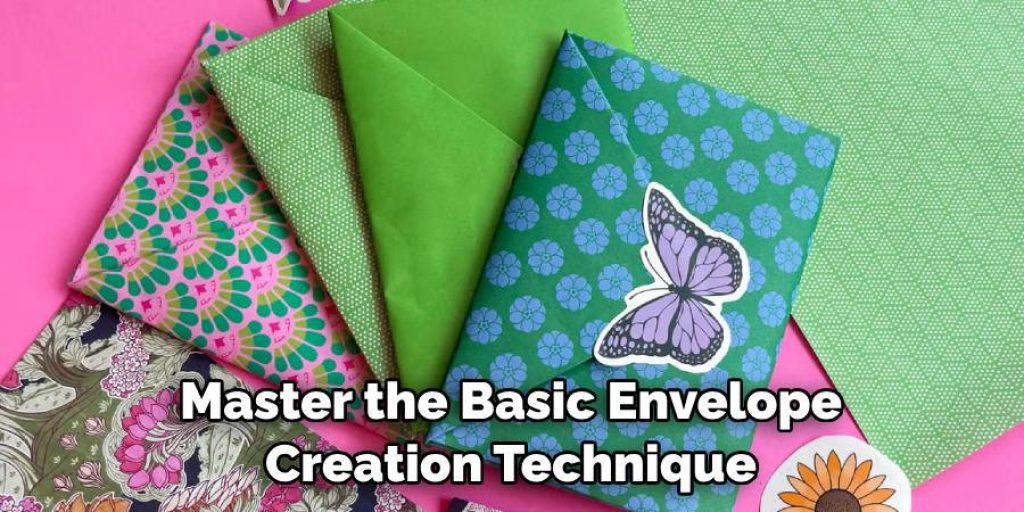
Once you master the basic envelope creation technique, there are countless alternative designs and uses to explore. For a more whimsical approach, consider crafting a triangular or circular envelope shape, which can add an unexpected twist to your correspondence.
You can also use patterned paper, such as floral or geometric designs, to align with the theme of your message, making each envelope feel like a beautiful gift in itself. Creating mini envelopes for gift cards or small notes can also be a delightful way to present a token of appreciation.
Additionally, envelopes are not strictly for mailing letters. They can serve various functions, such as party invitations, save-the-date announcements, or even creative packaging for small items like seeds or handmade gifts.
Try constructing envelopes in the shape of animals or holiday-themed designs for festive occasions, increasing the joy of receiving your correspondence. With a dash of creativity, the possibilities for alternative designs and uses are endless. Whether simple or elaborate, your envelopes can reflect personality and intention, ensuring that they serve a functional purpose and create an engaging visual experience for the recipient.
Frequently Asked Questions (FAQs)
1. What Materials Do I Need to Create a Basic Envelope?
To create a basic envelope, you’ll need paper (any type or thickness), scissors for cutting to size, glue or double-sided tape for securing the flaps, and optional decorative elements like stickers or ribbons. A ruler and pencil might also come in handy for precise measurements and markings.
2. How Can I Ensure My Envelope Is Properly Sealed?
To ensure your envelope is properly sealed, make sure to apply adhesive evenly along the edges and press firmly to secure the flaps. Allow any glue to dry completely before moving the envelope. Additionally, consider reinforcing the edges with extra tape or glue for added durability, especially if your envelope will hold heavier contents.
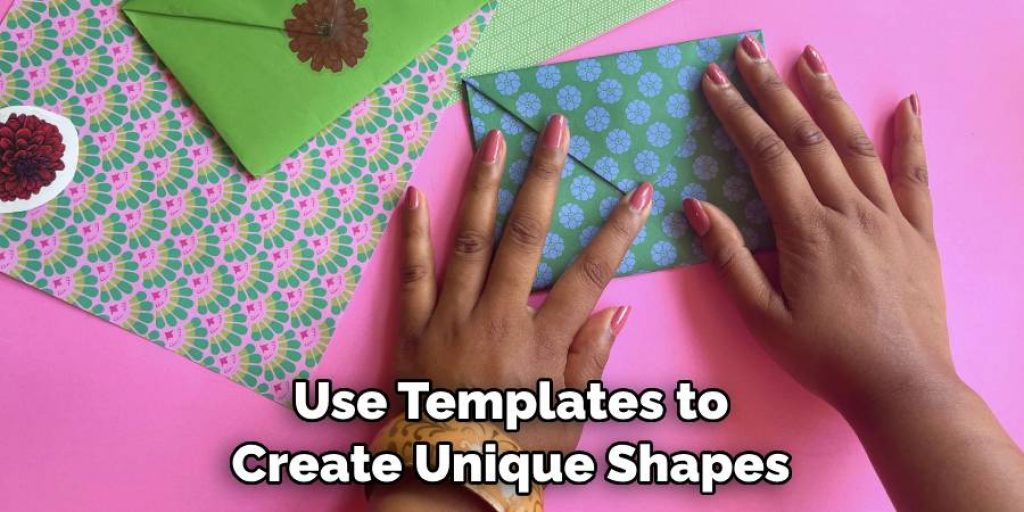
3. Can I Customise the Size and Shape of My Envelopes?
Absolutely! You can customize your envelopes’ size and shape based on your needs. Measure and cut your paper to the desired dimensions, and you can use templates to create unique shapes like triangular or circular envelopes. Experiment with various designs to match the occasion or your personal style!
Conclusion
In summary, learning how to make an envelope out of wrapping paper involves several steps: gathering materials, preparing, folding, and decorating your creation. Embrace the opportunity to experiment with various designs and decorations for a personal touch. Handmade envelopes are not only versatile but also eco-friendly, adding a special charm to your correspondence while allowing your creativity to shine.
Elizabeth Davis
Elizabeth is a creative writer and digital editor based in the United States. She has a passion for the arts and crafts, which she developed from a young age. Elizabeth has always loved experimenting with new mediums and sharing her work with others. When she started blogging, she knew that DIYquickly would be the perfect platform to share her tutorials and tips. She's been writing for the blog from the beginning, and her readers love her helpful advice and easy-to-follow instructions. When she's not writing or editing, Elizabeth enjoys spending time with her family and friends.