How to Tie a Bow With Burlap Ribbon
Creating a bow with burlap ribbon can add a touch of rustic charm to any decoration or gift. Burlap, with its coarse texture and natural fibers, is not only versatile but also eco-friendly, making it a popular choice for craft enthusiasts and eco-conscious decorators alike.
In this guide on how to tie a bow with burlap ribbon, we will walk you through the simple steps to tie a beautiful and sturdy bow that can enhance wreaths, presents, or event décor. Whether you’re a crafting novice or a seasoned pro, mastering the art of tying a burlap bow is a skill that will serve you well for many projects to come.
What is a Burlap Ribbon?
Burlap ribbon, also known as jute or hessian ribbon, is a type of material made from the jute plant. It has a rough and durable texture, making it ideal for use in outdoor and rustic projects. Its neutral color also makes it easy to pair with other materials and colors, making it a versatile choice for any crafting or decorating project.
You can find burlap ribbon in various widths, from thin strands to wider ribbons, and it can come either wired or unwired. The wired version is more suitable for creating structured bows as the wire helps hold the shape of the bow better.
It’s also worth noting that burlap ribbon can shed fibers, so it’s best to handle it carefully during the tying process.
Understanding Burlap Ribbon: Types and Characteristics
Before we dive into the steps for tying a burlap bow, let’s take a closer look at the different types of burlap ribbon available and their characteristics.
Natural Burlap Ribbon
Natural burlap ribbon is made from 100% jute fibers and has a beige or light brown color. It has a rough texture, making it ideal for rustic and natural-looking projects.
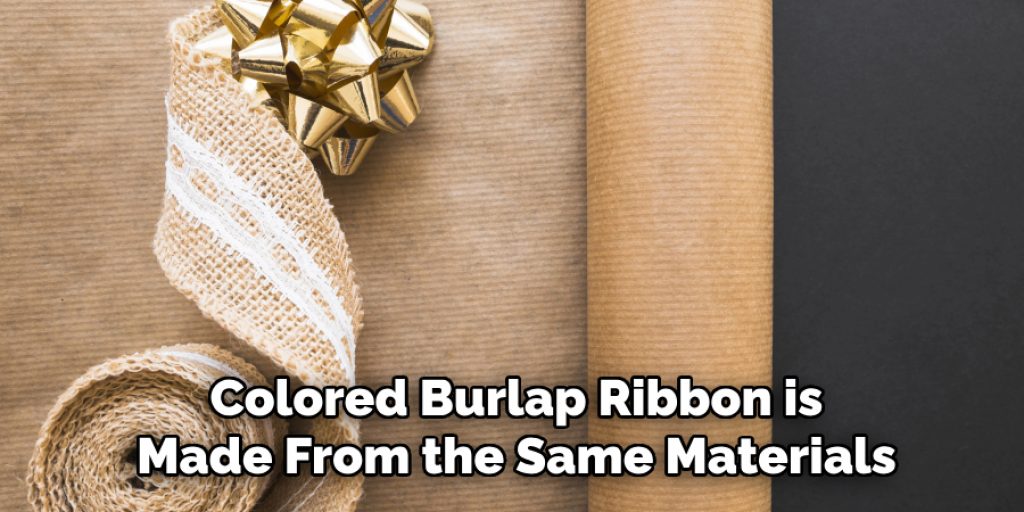
Colored Burlap Ribbon
Colored burlap ribbon is made from the same materials as natural burlap but is dyed in various colors. This type of ribbon gives you more options for incorporating it into different projects, adding a pop of color to your designs.
Burlap Mesh Ribbon
Burlap mesh ribbon is a more loosely woven version of burlap ribbon, giving it a more open and airy look. It’s popular for creating wreaths or adding texture to floral arrangements.
Needed Materials: What You’ll Need to Tie a Burlap Bow
To tie a bow with burlap ribbon, you will need the following materials:
Burlap Ribbon of Your Desired Width and Length:
Choose the width and length of the burlap ribbon based on your project’s needs. For example, if you’re tying a bow for a small gift box, a thinner ribbon would be more appropriate, while a wider ribbon would work better for creating bows for wreaths or larger items.
Scissors:
You will need scissors to cut the burlap ribbon to your desired length and to trim any excess strands after tying the bow.
Wire or Floral Tape (Optional):
For more structured bows, you can use wire or floral tape to secure your bow’s shape. This is especially helpful when using a wired burlap ribbon.
11 Step-by-step Guidelines on How to Tie a Bow With Burlap Ribbon
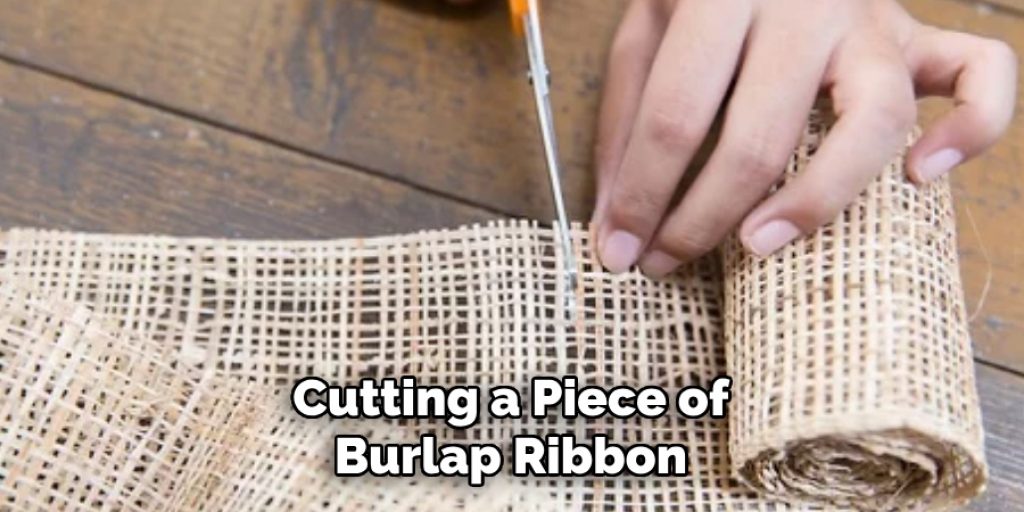
Step 1: Prepare Your Burlap Ribbon
Start by cutting a piece of burlap ribbon of your desired length. It’s recommended to cut it slightly longer than you need, as you can always trim any excess water. You can also use a wired burlap ribbon for a more structured bow, in which case you would want to cut the wire slightly longer than the ribbon. But if you’re using an unwired burlap ribbon, cut it to your desired length. It’s worth noting that the wider the ribbon, the longer you will need to cut it.
Step 2: Create a Loop
Hold one end of your burlap ribbon in one hand and make a loop with the other hand by bringing the loose end over and under itself. The size of this loop will determine how big your bow will be, so adjust accordingly. You can also use your fingers to hold the loop in place. This will be the center loop of your bow. If you’re using a wired burlap ribbon, make sure the wire is facing toward the center of the loop.
Step 3: Create a Second Loop
Bring the loose end of your burlap ribbon over and under itself again, creating a second loop next to the first one. Adjust the size of this loop to match the first one. It’s essential to keep the loops even in size for a symmetrical bow. You can also use your fingers to hold this loop in place. There should now be two loops side by side, with the wired burlap ribbon’s wire facing towards the center of the loops.
Step 4: Create a Third Loop
Repeat the process from step 3 to create a third loop next to the first two. Adjust the size to match, and hold this loop in place with your fingers. There should now be three loops side by side, with the wire of wired burlap ribbon facing towards the center of the loops. Although three loops are standard, you can create more or fewer loops depending on the size and fullness you want for your bow.
Step 5: Create a Fourth Loop
Continue creating loops in the same way until you have four loops on each side of the center loop. Make sure to hold each loop in place as you work to maintain symmetry. Otherwise, you can end up with an uneven bow. It’s also essential to keep the wire of the wired burlap ribbon facing toward the center of each loop.
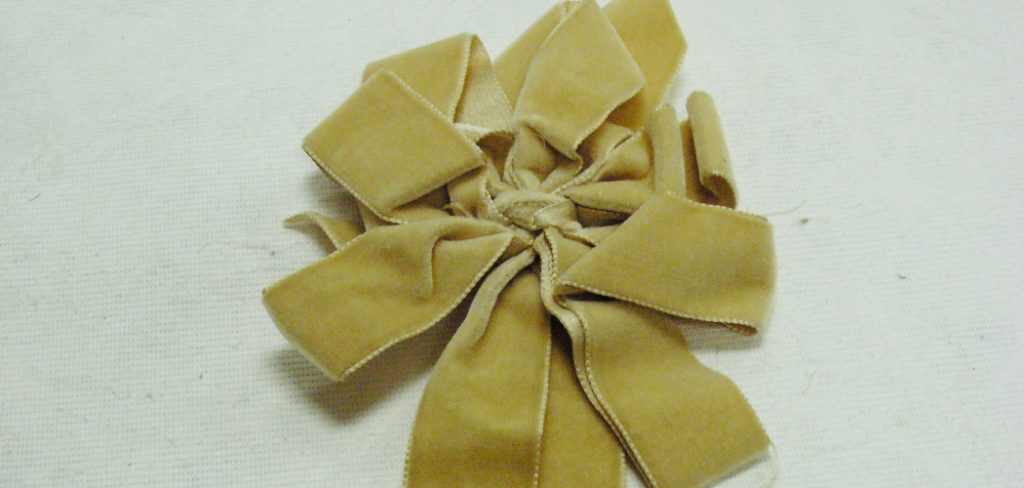
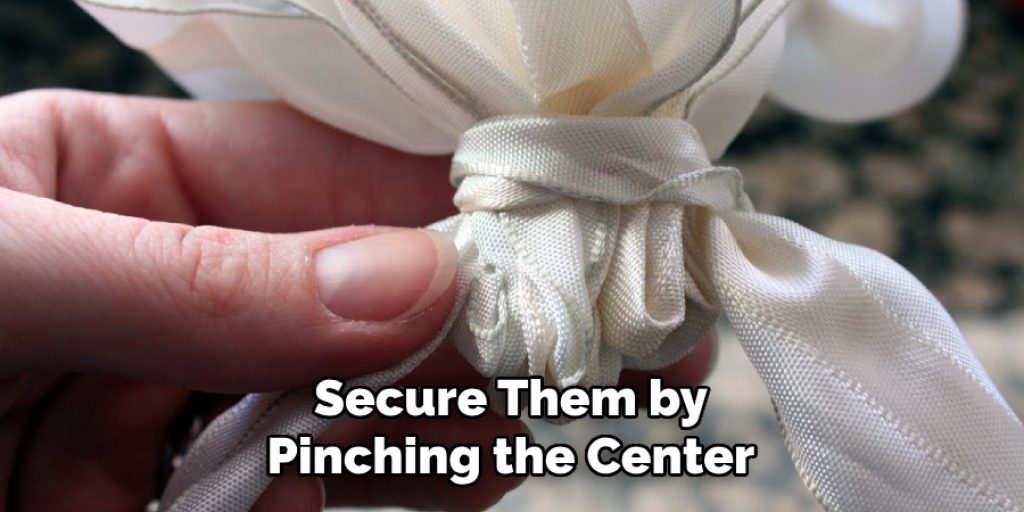
Step 6: Secure the Loops
Once you have created all the desired loops, secure them by pinching the center of all the loops together with your fingers. If you’re using a wired burlap ribbon, make sure to hold onto the wire at this point. The loops should now be held in place, and the wire should be hidden within them. You can also use wire or floral tape to secure the loops in place, especially if you’re using unwired burlap ribbon.
Step 7: Tie the Wire (Optional)
If you’re using a wired burlap ribbon and want to add more structure to your bow, you can tie the wire at this point. Hold onto the center of all the loops with one hand and wrap the wire tightly around the center, tying it off with a knot. This will help keep the loops in place and hold their shape. You can also use floral tape to secure the wire and keep it in place. But if you’re using unwired burlap ribbon, skip this step.
Step 8: Adjust the Loops
Gently pull on each loop to adjust its size and fullness. This is where having a slightly longer ribbon comes in handy, as you can trim any excess if needed. The more you fluff and adjust the loops, the fuller your bow will look. It’s also helpful to create different sizes of loops for a more dynamic and layered look. It’s all about experimenting and finding what works best for your project. You can also trim any excess strands of burlap for a cleaner look.
Step 9: Trim the Tails
If you’re satisfied with the bow’s fullness and size, trim the tails to your desired length. You can leave them long for a more dramatic look or cut them short for a more subtle one. It’s also possible to angle the cuts of the tails for a different effect. The possibilities are endless, and it’s all up to personal preference. You can also add additional decorations, such as faux flowers or greenery, to the tails for a more festive look. But if you prefer a simple and clean look, skip this step.
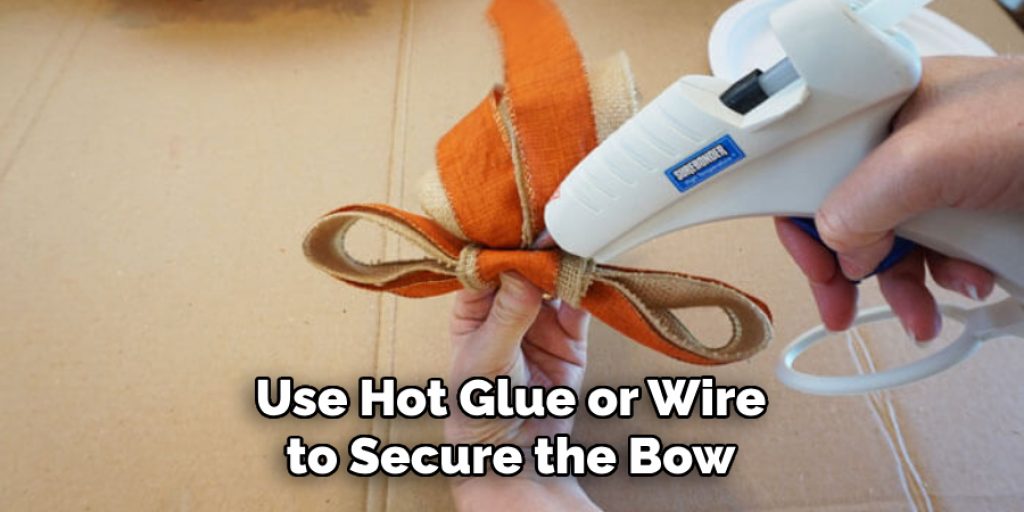
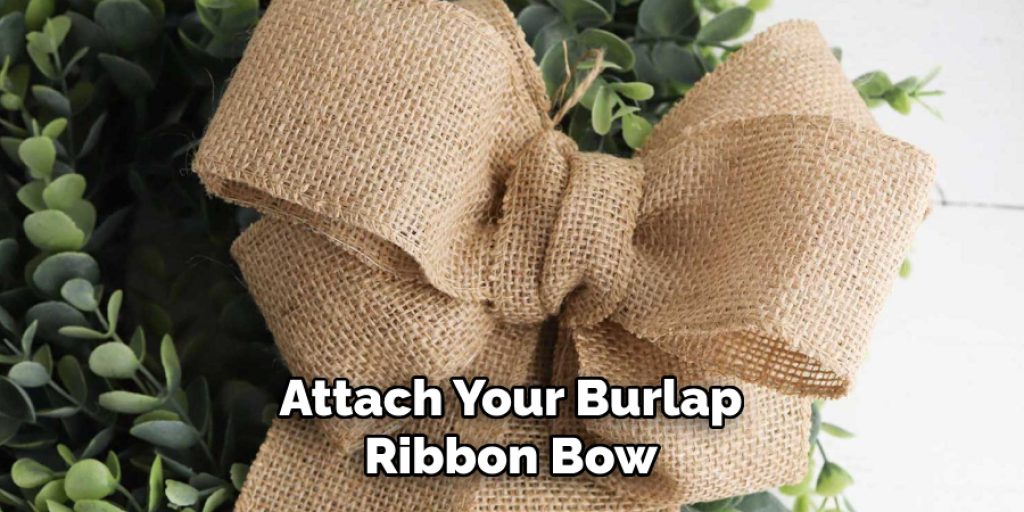
Step 10: Attach the Bow
Now that your burlap bow is complete, it’s time to attach it to your desired item. You can use hot glue or wire to secure the bow. It’s essential to make sure the bow is centered and straight before attaching it. For gift wrapping, you can also use double-sided tape to stick the bow onto the package. The bow can also be used as a standalone decoration for wreaths, centerpieces, or other DIY projects.
Step 11: Fluff and Adjust
Once the bow is attached, give it one last fluff and adjust any loops or tails that may have moved during the attachment process. And voila! Your burlap ribbon bow is complete and ready to add a rustic touch to your project or gift. Remember to have fun and experiment with different sizes, shapes, and decorations for your burlap ribbon bows! So go ahead and impress your friends and family with your newfound bow-tieing skills.
Following these steps will help you create beautiful, professional-looking burlap ribbon bows that are perfect for any occasion. Whether you’re dressing up a gift or adding a touch of charm to your home decor, burlap ribbon bows are an easy and versatile way to add rustic flair. With some practice and creativity, you can incorporate them into all sorts of projects and make them your signature decorating style. So get crafting and have fun with burlap ribbon bows!
Variations and Creative Ideas
- Use different colored burlap ribbons for a pop of color or to match your theme.
- Mix and match burlap ribbon with other materials, such as lace, twine, or fabric, for unique and textured bows.
- Add embellishments like buttons, beads, or charms to the center of your bow for an extra touch of personality.
- Create a layered bow by using different sizes of burlap ribbon loops or adding multiple bows on top of each other.
- Use unwired burlap ribbon and create a rustic, frayed look by pulling out some strands from the edges of the loops.
- Attach your burlap ribbon bow to a hair clip or headband for a charming hair accessory.
- Make mini burlap ribbon bows and use them as accents on cards, scrapbook pages, or other paper crafts.
- Use burlap ribbon bows to decorate mason jars, vases, or candle holders for a rustic chic look.
- Add seasonal elements like faux berries, pine cones, or festive ornaments to your burlap ribbon bow for holiday-themed decorations.
The possibilities are endless when it comes to burlap ribbon bows, so let your creativity run wild and have fun with it! Happy crafting!
Display and Use:
Once you have created your beautiful burlap ribbon bows, it’s time to display and use them. Here are some ideas for how you can incorporate your bows into different projects and occasions:
- Use burlap ribbon bows to decorate gift baskets, boxes, or bags for a rustically charming touch.
- Add a burlap ribbon bow to the handle of a flower bouquet for a rustic wedding or event.
- Use burlap ribbon bows as napkin rings for a shabby chic table setting.
- Attach burlap ribbon bows to mason jar centerpieces or party favors for a rustic-themed party or wedding.
- Make burlap ribbon bows in different sizes and use them to decorate a Christmas tree or garland.
- Incorporate burlap ribbon bows into your home decor, such as on wreaths, pillows, or picture frames.
- Use burlap ribbon bows to dress up a plain gift card or note for a more personal touch.
With these ideas and your newfound bow-making skills, you can elevate any project or occasion with rustic charm. So go ahead and show off your burlap ribbon bows and inspire others to get crafty, too!
Tips and Tricks
- To make a fuller and more voluminous bow, use a wider burlap ribbon or add multiple layers of loops.
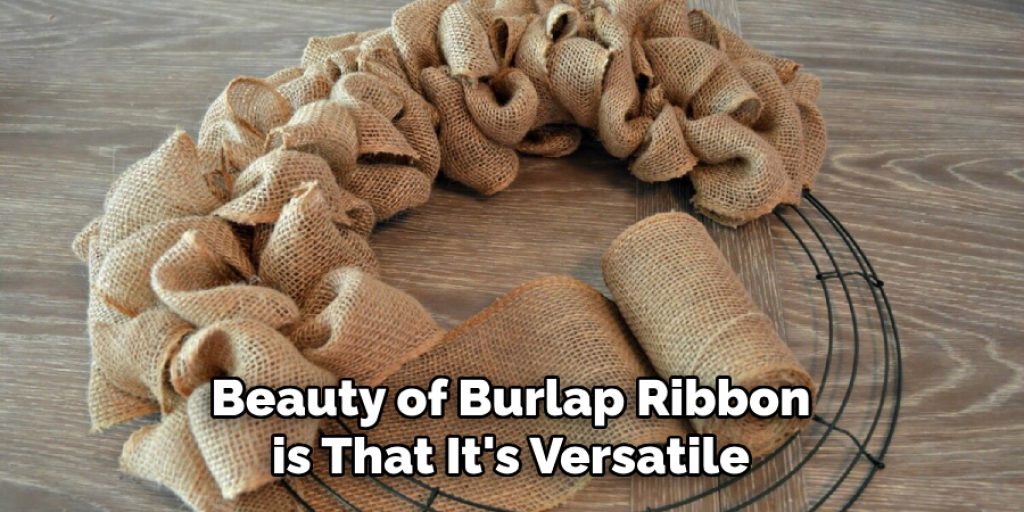
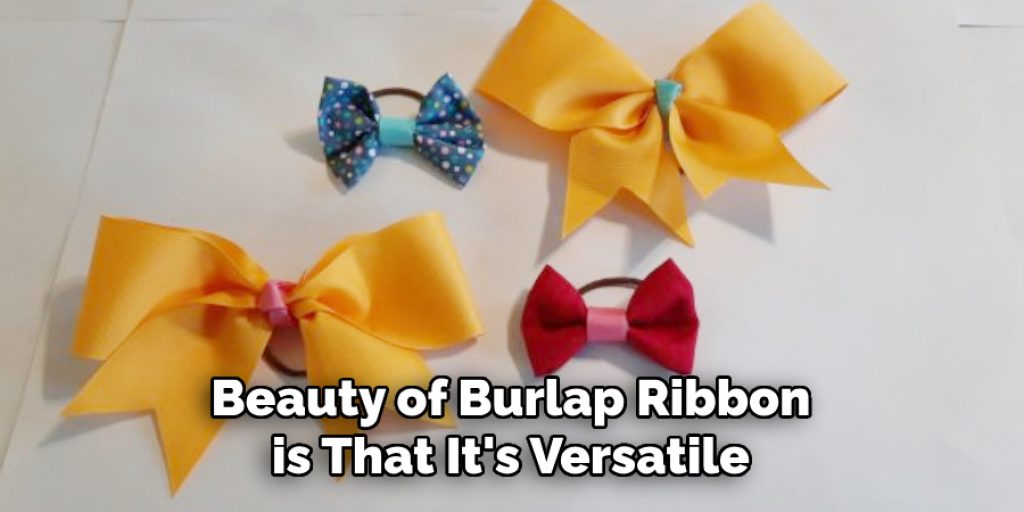
- Don’t be afraid to experiment with different sizes, shapes, and materials for your bows. The beauty of burlap ribbon is that it’s versatile and can work in many ways.
- Use sharp scissors to cut the burlap ribbon cleanly and prevent fraying.
- Practice makes perfect! Don’t get discouraged if your first few attempts don’t turn out exactly how you want them to. Keep trying, and soon, you’ll be a burlap ribbon bow pro.
- Save any leftover scraps of burlap ribbon for future projects or to make smaller bows as accents.
- If using hot glue, be careful not to burn yourself. Consider using a low-temperature glue gun or wearing protective gloves.
- Have fun and let your creativity shine! There’s no right or wrong way to make a burlap ribbon bow, so enjoy the process and make it your own. So get crafting and have fun with burlap ribbon bows!
Maintenance and Storage
To keep your burlap ribbon bows in good condition, store them in a cool and dry place when not in use. If the loop tails become misshapen or creased, simply fluff and reshape them with your hands. You can also iron the loops on low heat to remove any wrinkles if necessary. With proper care, you can reuse your burlap ribbon bows multiple times and continue to enjoy their rustic charm. So go ahead and start crafting your own burlap ribbon bows today!
You now have all the knowledge and tips to create beautiful, professional-looking burlap ribbon bows. So get your materials ready and start crafting! Whether you want to add a touch of rustic charm to your home or impress your loved ones with personalized gifts, burlap ribbon bows are the perfect addition. Keep practicing and experimenting with different variations, and soon you’ll be a bow-making pro. Have fun and happy crafting!
Frequently Asked Questions
Q: Can I Use Wired Burlap Ribbon for These Bows?
A: Yes, you can use a wired burlap ribbon to make these bows. However, be mindful that the wire may make it trickier to shape and manipulate the loops. You may need to use pliers to help shape the loops and secure them in place. However, a wired burlap ribbon can also help create more structured and defined bows. You can try both wired and unwired burlap ribbons to see which one you prefer.
Q: Can I Make These Bows in Different Sizes?
A: Yes, you can make these bows in different sizes by adjusting the length and width of your burlap ribbon. For smaller bows, use shorter lengths of burlap ribbon and create tighter loops. For larger bows, use longer lengths of burlap ribbon and create bigger loops. You can also experiment with different widths of burlap ribbon to create bows in various sizes.
Q: How Can I Prevent the Bow from Unraveling?
A: To prevent your bow from unraveling, make sure to secure the center of the bow tightly with a twist tie, wire, or hot glue. You can also use fray check or clear nail polish on the cut ends of the burlap ribbon to prevent fraying. If using unwired burlap ribbon, make sure to pull out any loose strands from the edges of the loops before securing them in place. With these tips and tricks, your burlap ribbon bows will stay intact and beautiful.
Conclusion
Crafting burlap ribbon bows embodies not just the creation of a decorative item but also the expression of rustic beauty and the warmth of personal touch in your decor or gift-giving. Through this guide on how to tie a bow with burlap ribbon, you’ve gained the knowledge and inspiration to create burlap ribbon bows that add a charming, rustic flair to any project or occasion.
Remember, the key to masterful bow-making lies in practice, creativity, and the willingness to experiment with different techniques and styles. Whether you are decorating for a special event, enhancing your home decor, or making a gift more personal, burlap ribbon bows offer a versatile and appealing option. Keep crafting, keep experimenting, and most importantly, have fun with your creations. Happy crafting!
Elizabeth Davis
Elizabeth is a creative writer and digital editor based in the United States. She has a passion for the arts and crafts, which she developed from a young age. Elizabeth has always loved experimenting with new mediums and sharing her work with others. When she started blogging, she knew that DIYquickly would be the perfect platform to share her tutorials and tips. She's been writing for the blog from the beginning, and her readers love her helpful advice and easy-to-follow instructions. When she's not writing or editing, Elizabeth enjoys spending time with her family and friends.